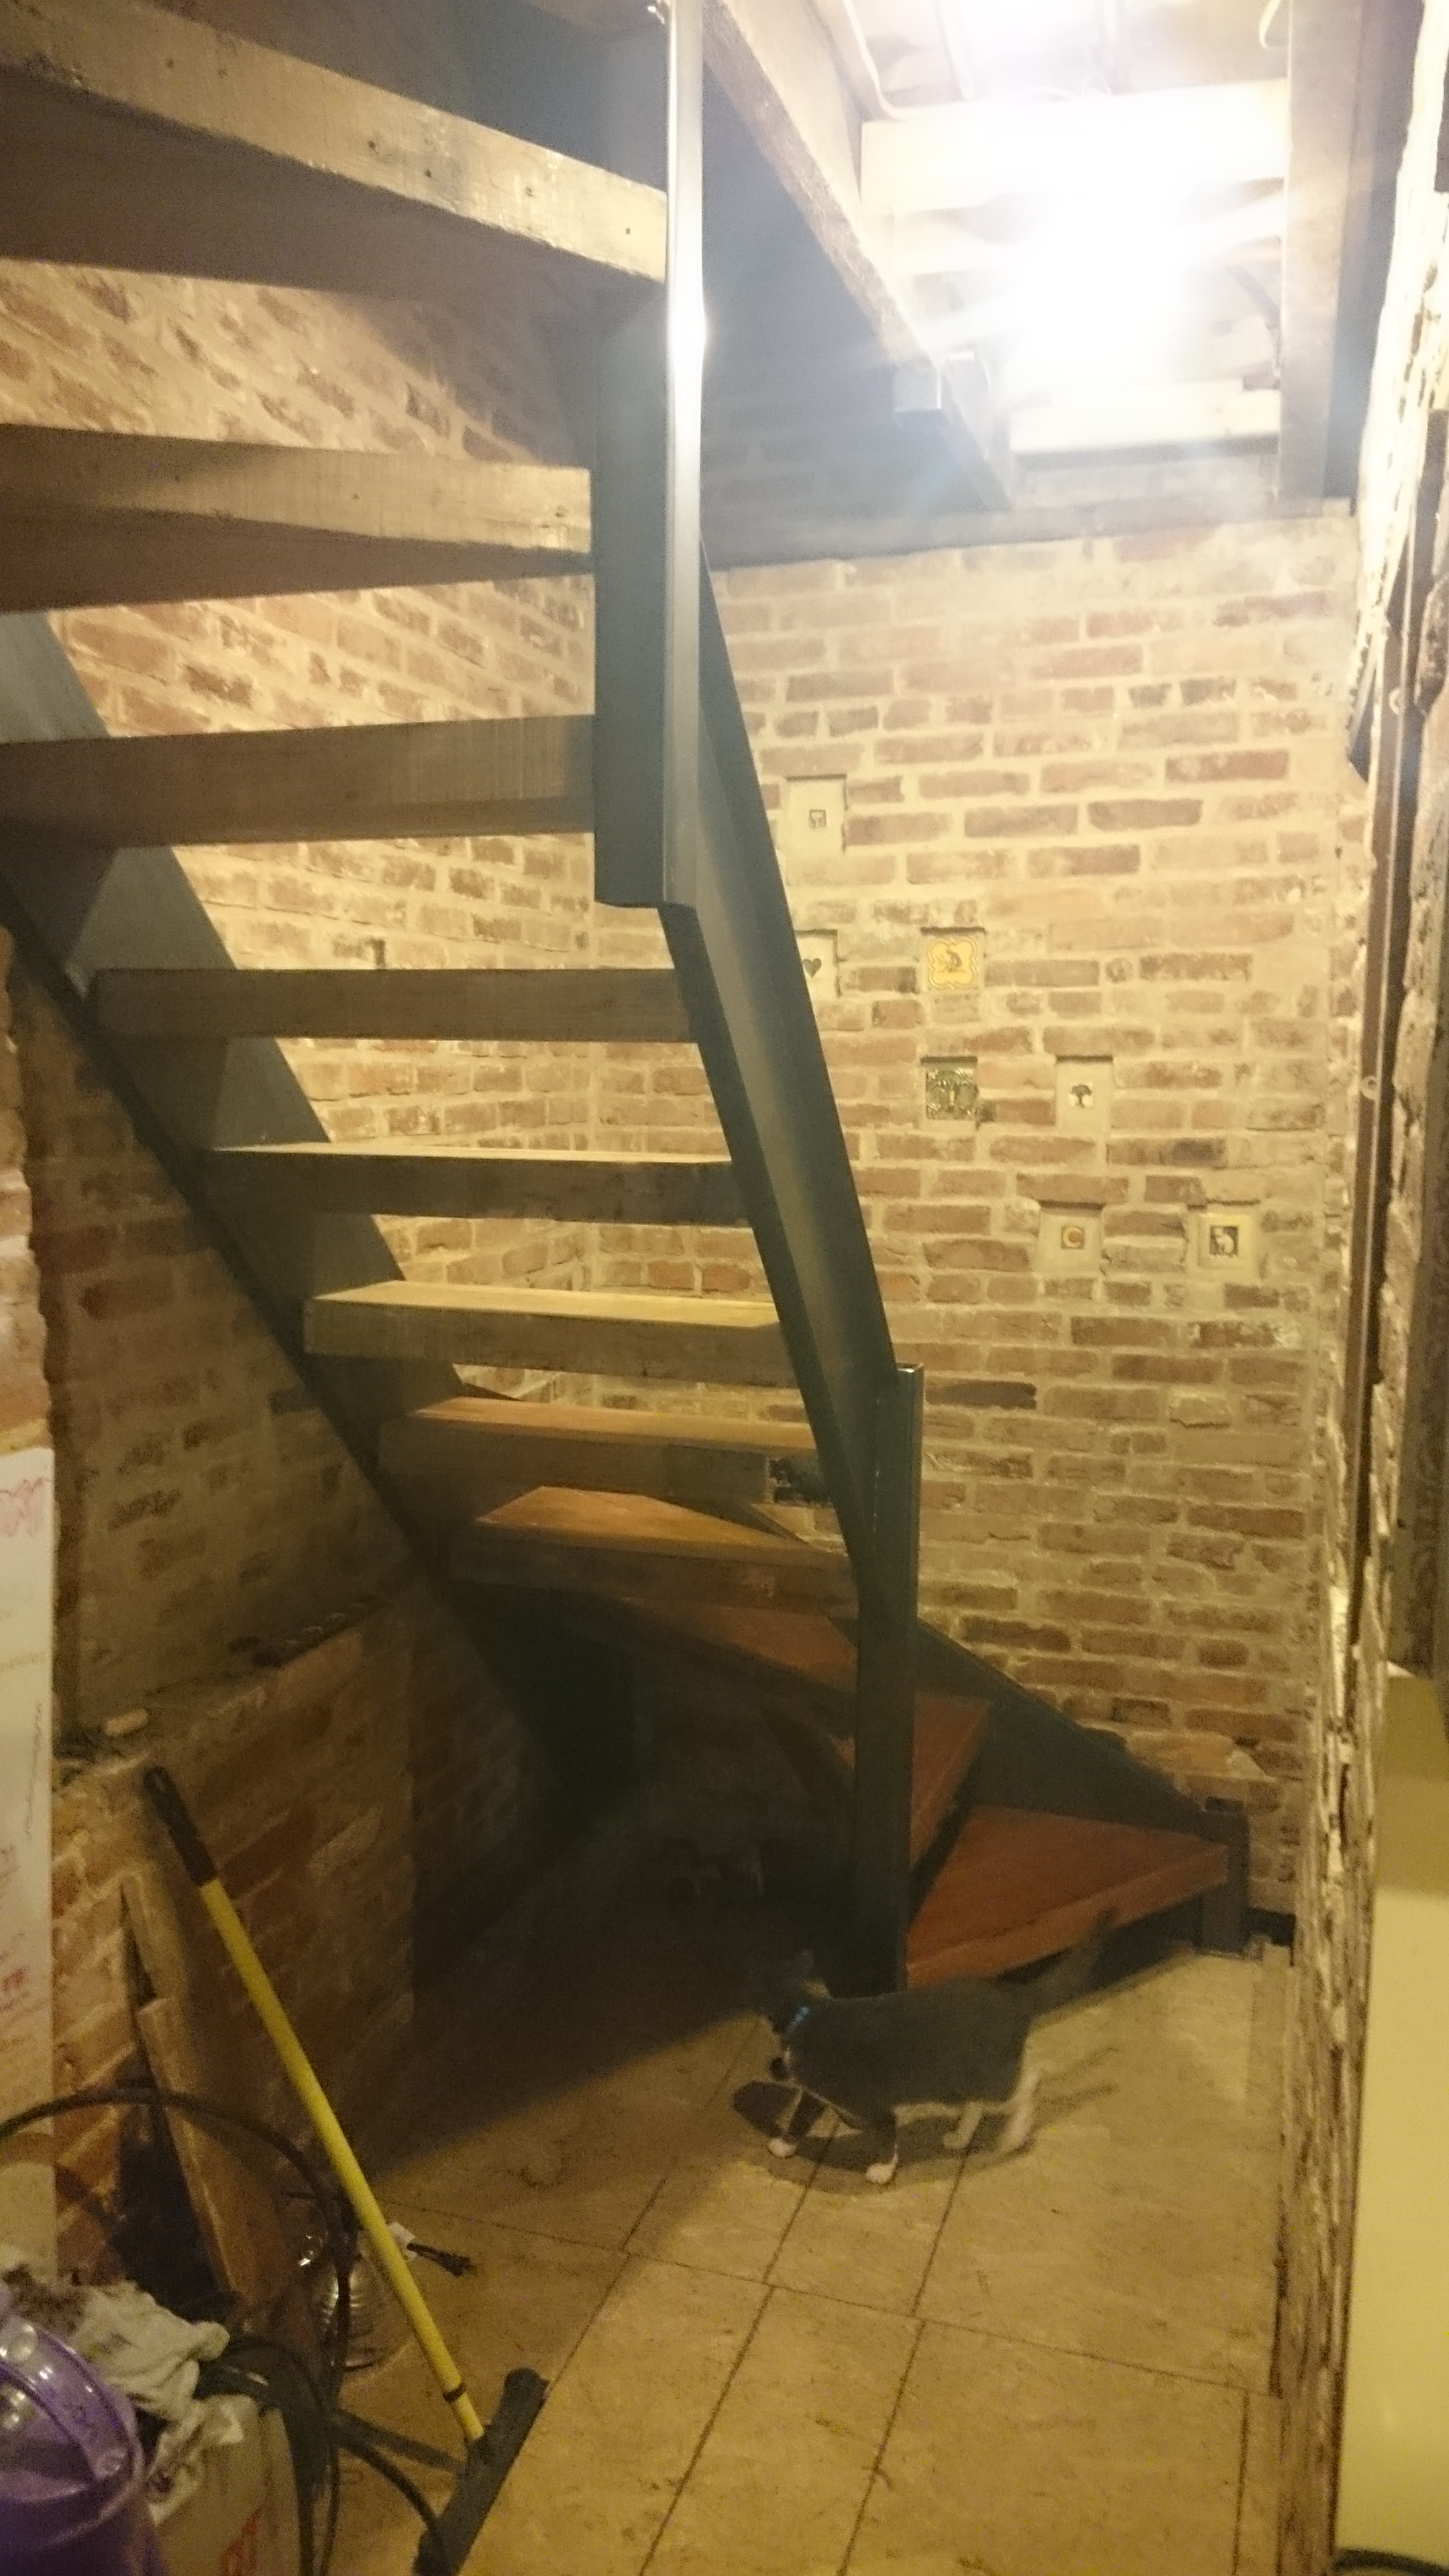
Taking off in October hasn’t gone so well. Things just keep getting done. One was finally getting around to installing video cameras that we bought last year. It’s a Swann HDR-8200 DVR with 4 1080p cameras.
The cameras ended up being way bigger than I thought (3″ x 8″ or so) so mounting options were reduced. I didn’t want to ruin the look of the house, but also needed specific views to cover all the entryways + detail. In the end we have 2 cameras in the back and 2 in the front. One of each is a wide view and the other is a detail view. Being full HD we can still read license plates from way up there and its wide enough to get our front door, alley gate and the neighbor’s doors on either side.
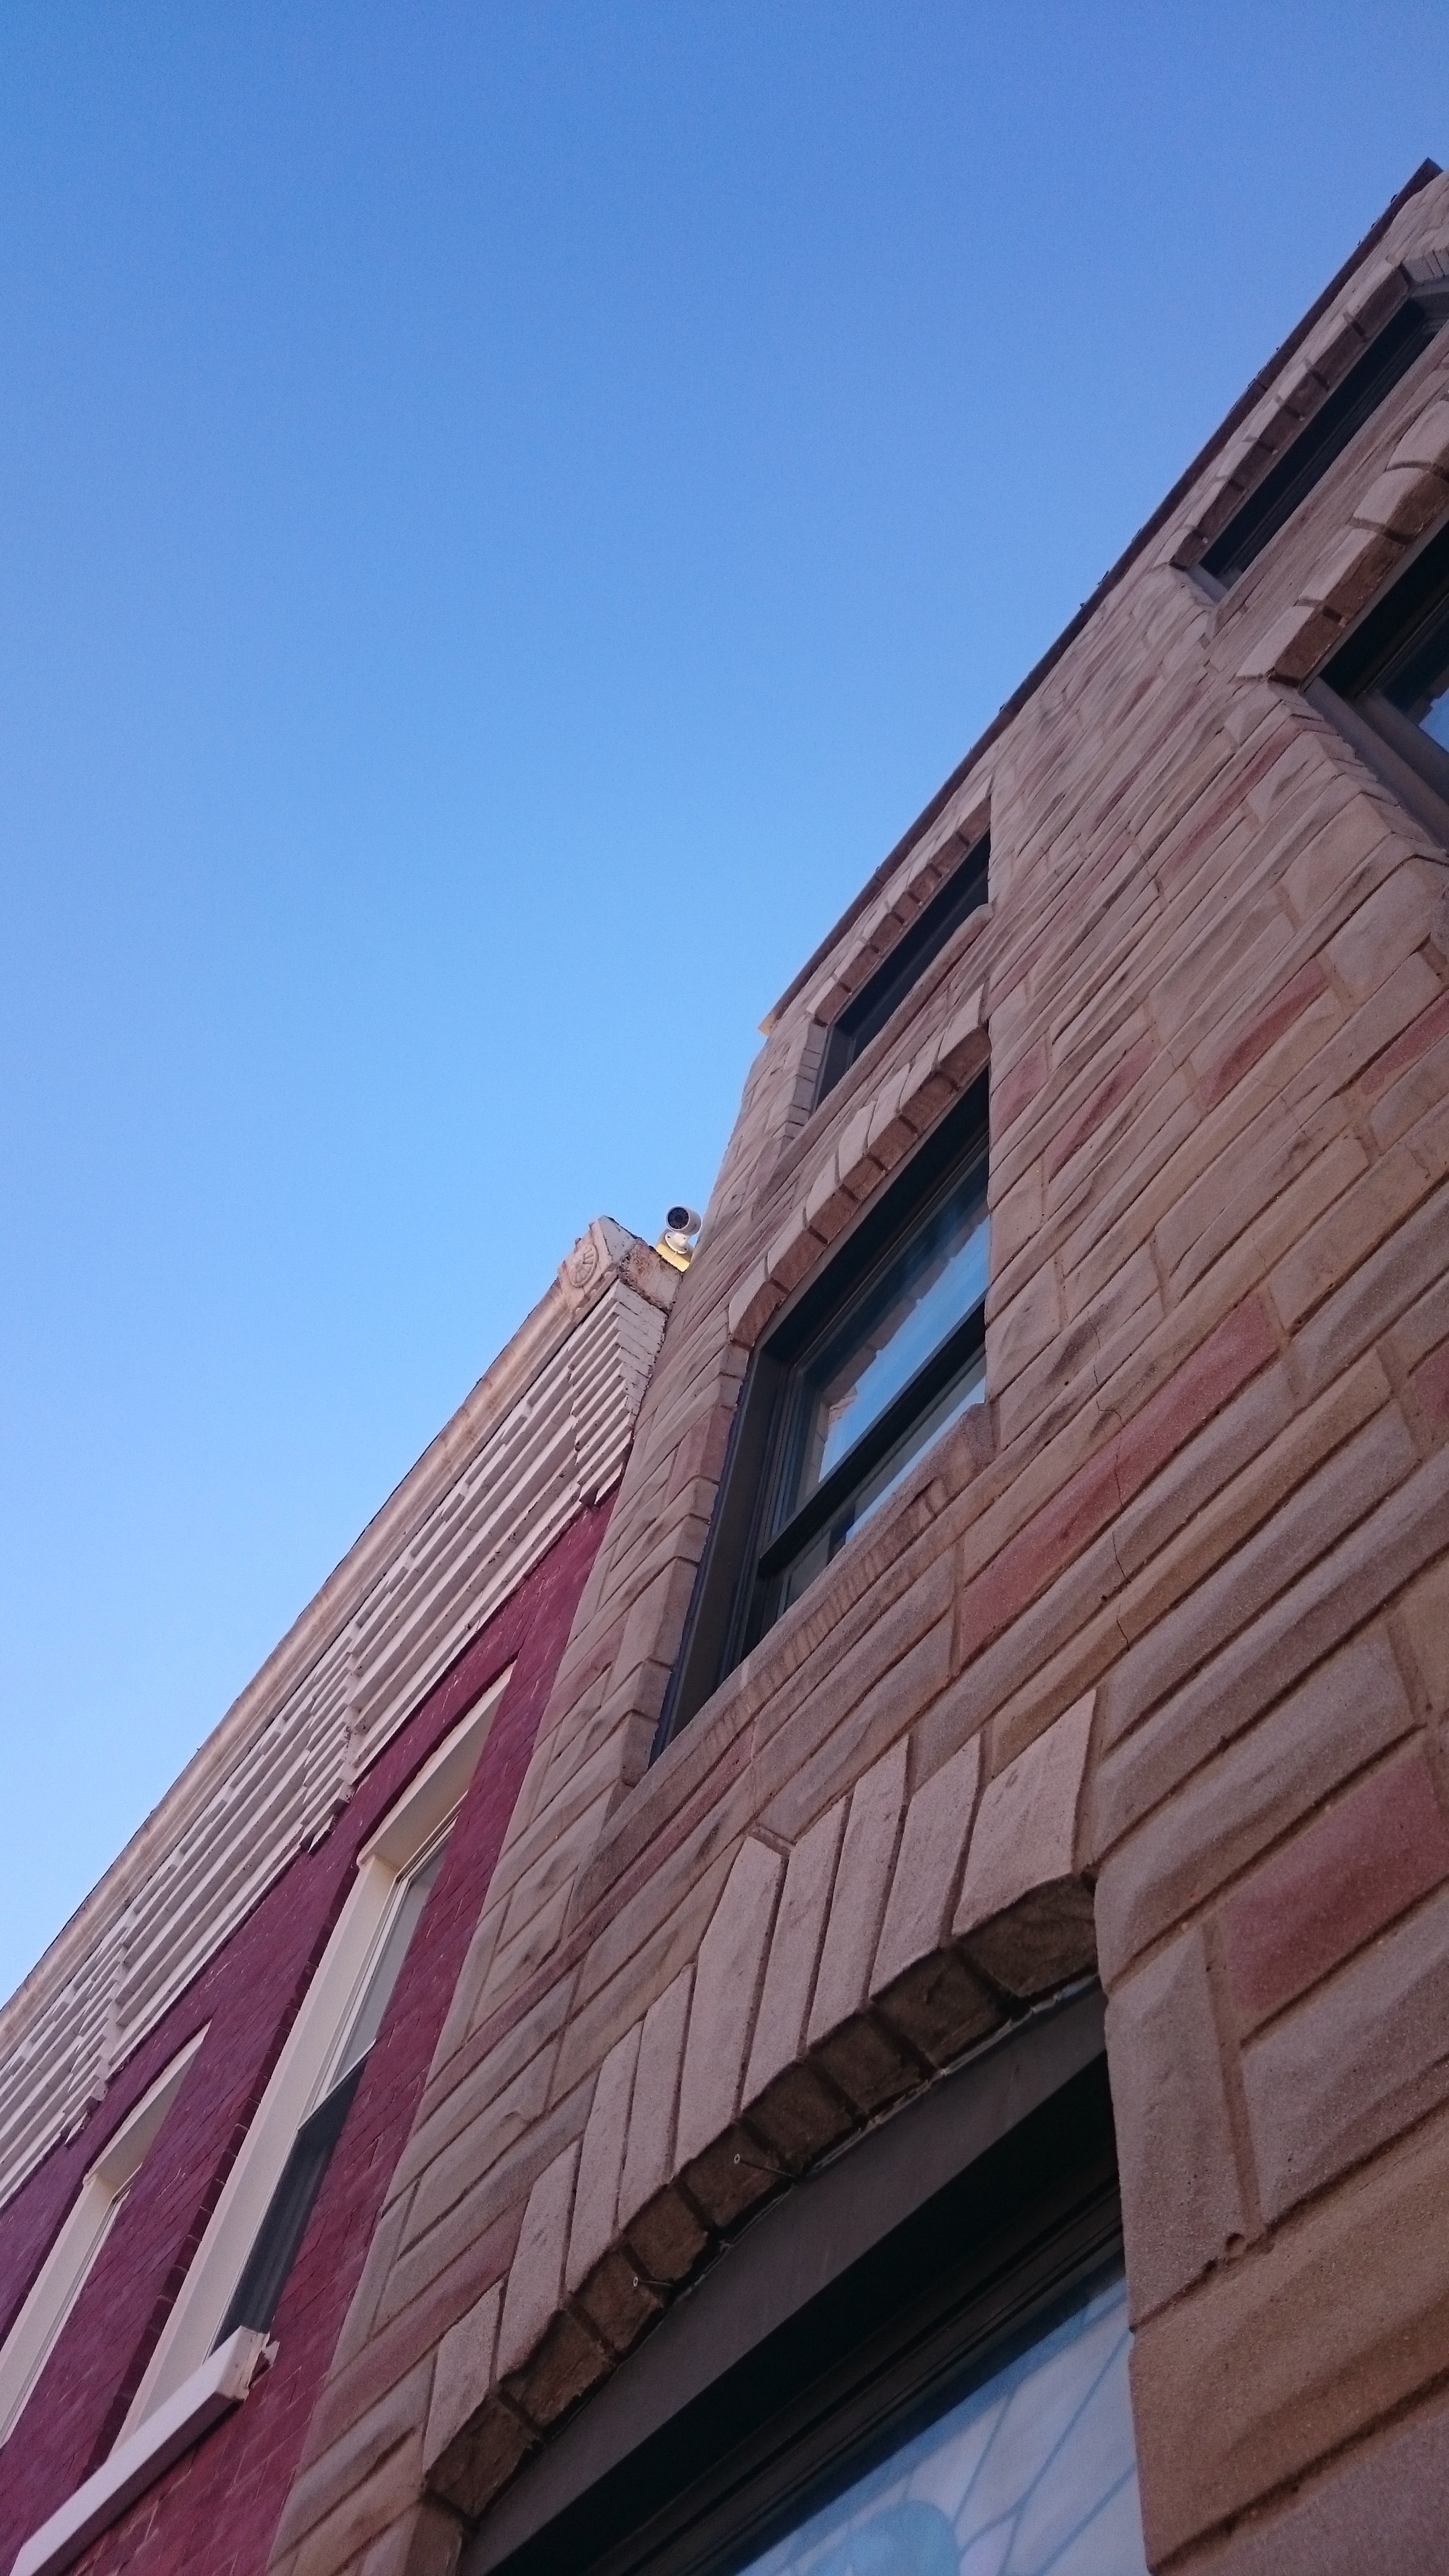
You can barely see it up there.
For the front detail camera, I decided to do some camera surgery. Inside that huge can was a 1.5″ x 1.5″ x 1.5″ camera. I drilled a hole in the front door and installed the whole circuit board and camera inside the door. To finish it off, I caulked on the 3″ glass lens from t he camera for a seemless and sealed look. The end result is pretty good. I get a good detailed view across the street and of every person that walks by and especially those that come up to the door with only a little cutoff on the corners that I may be able to adjust away.
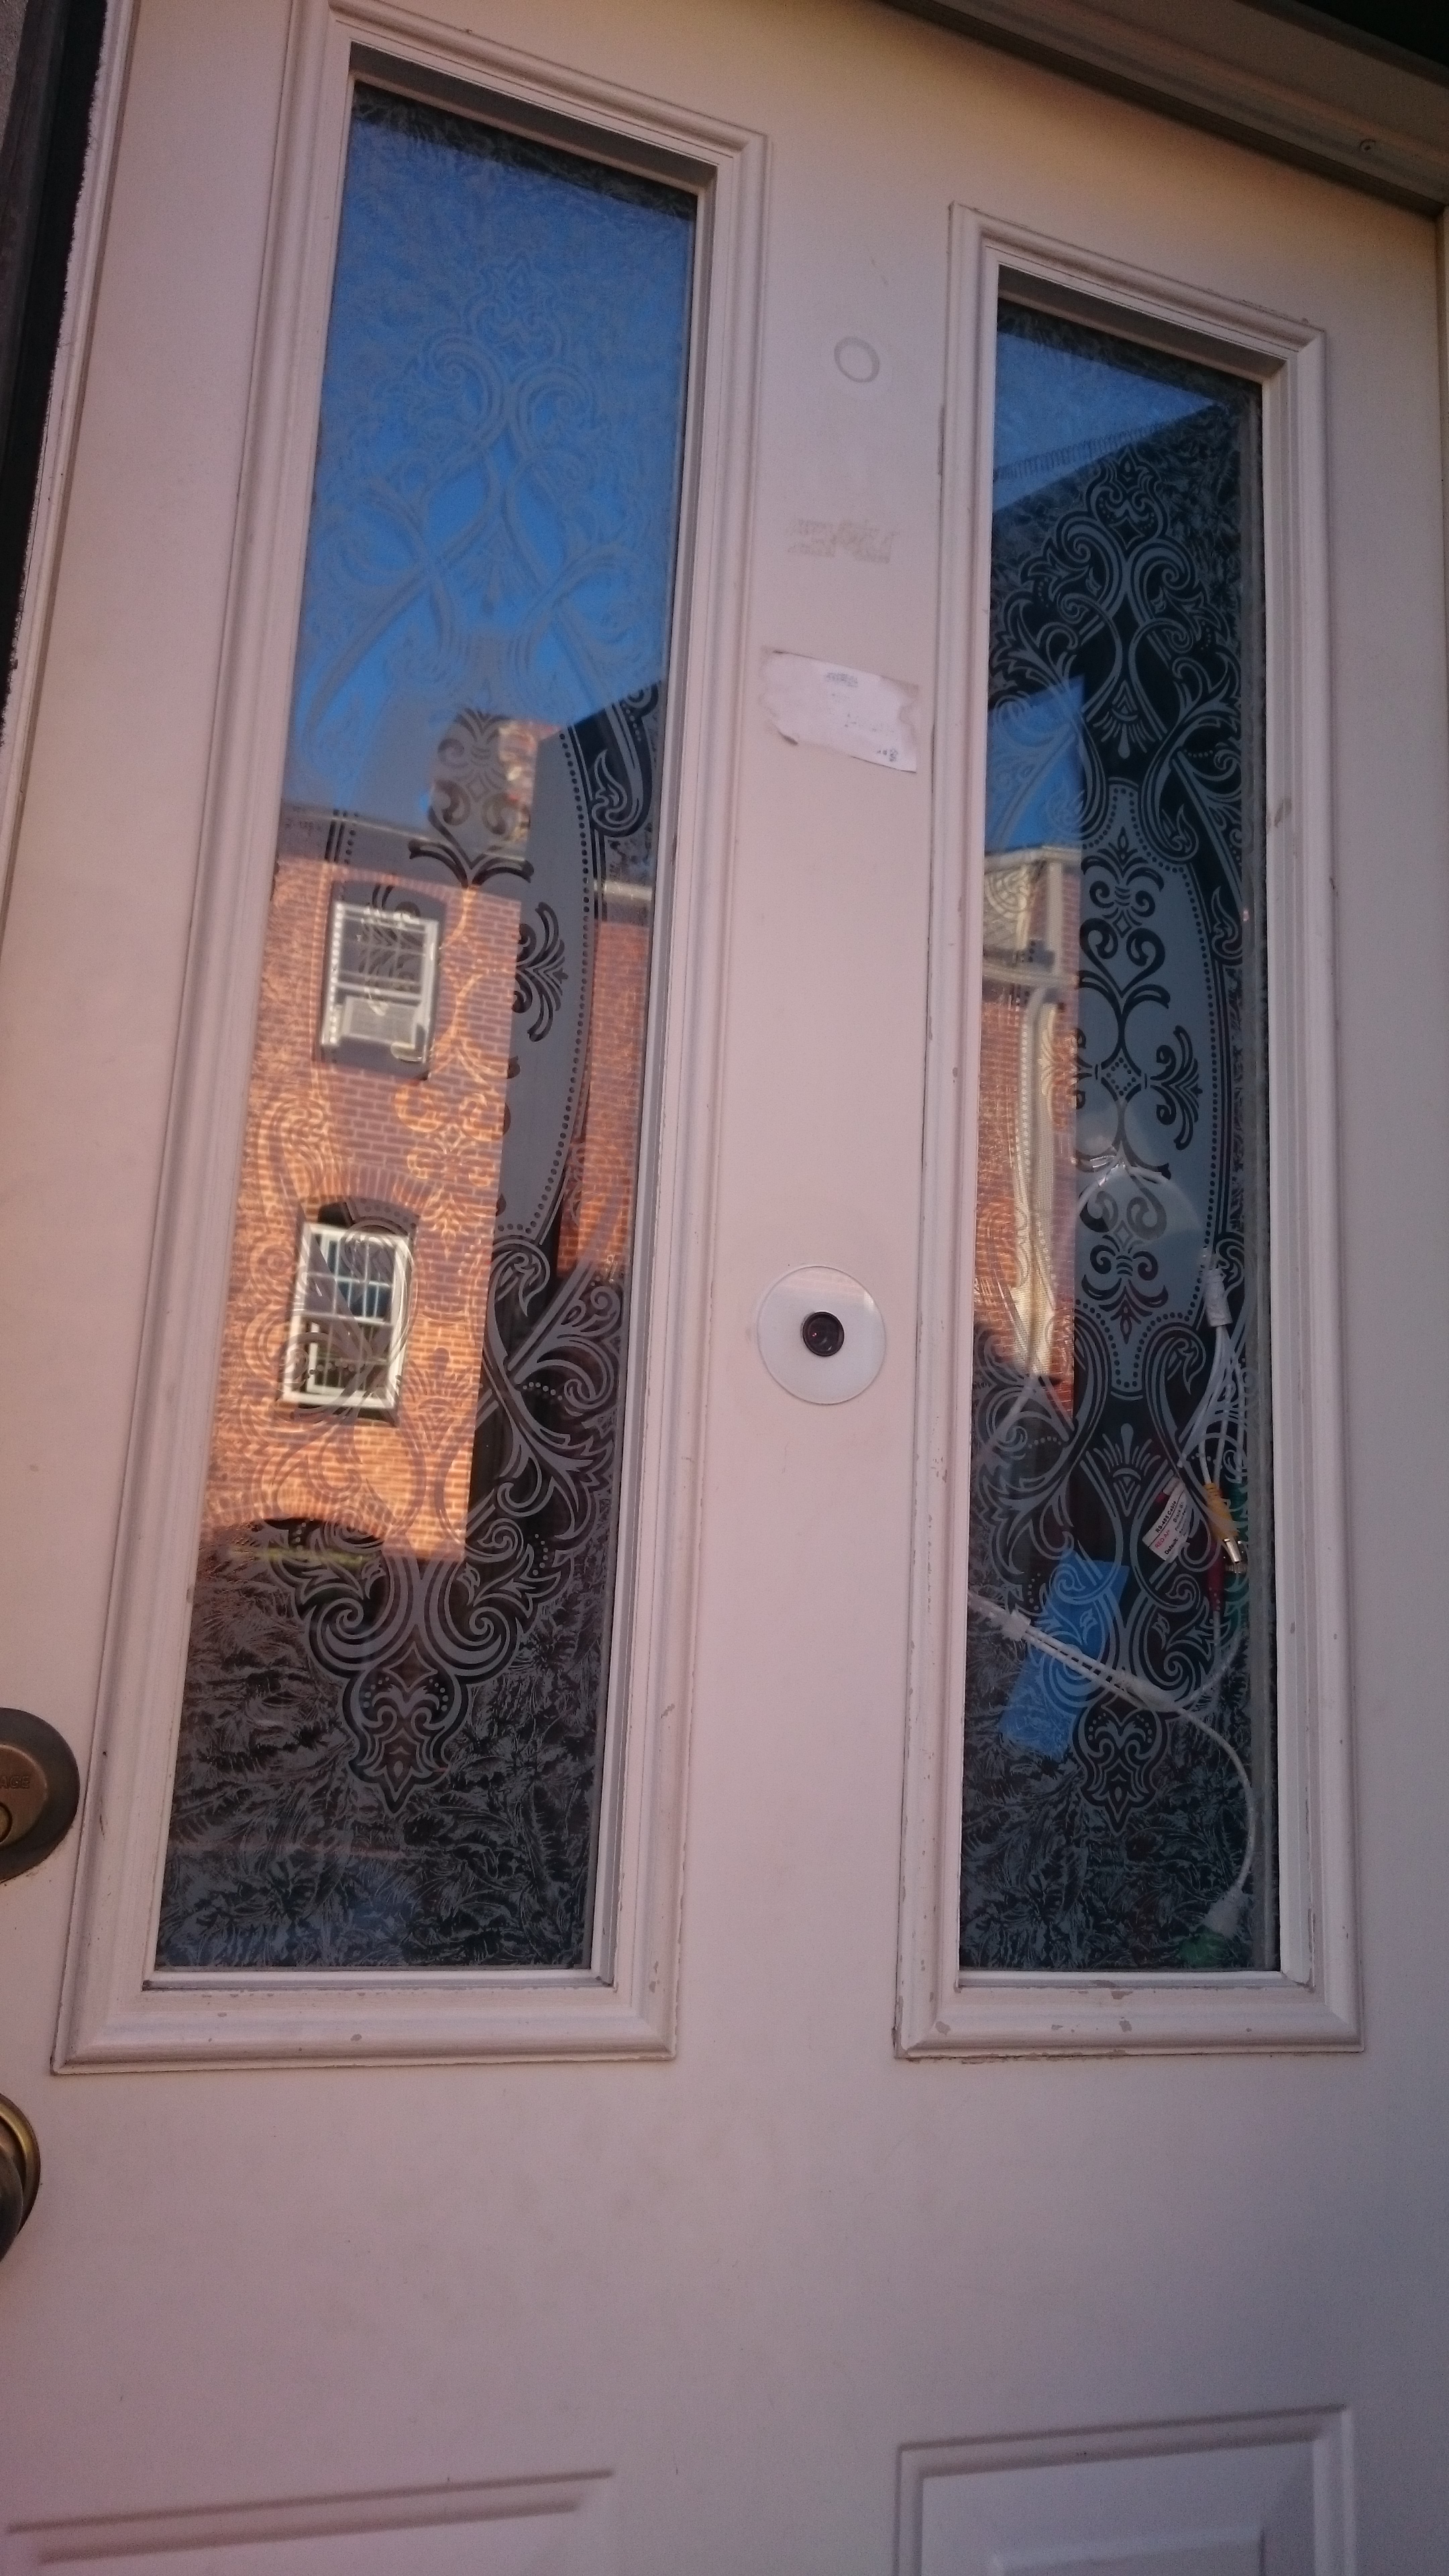
Peep Hole Camera!
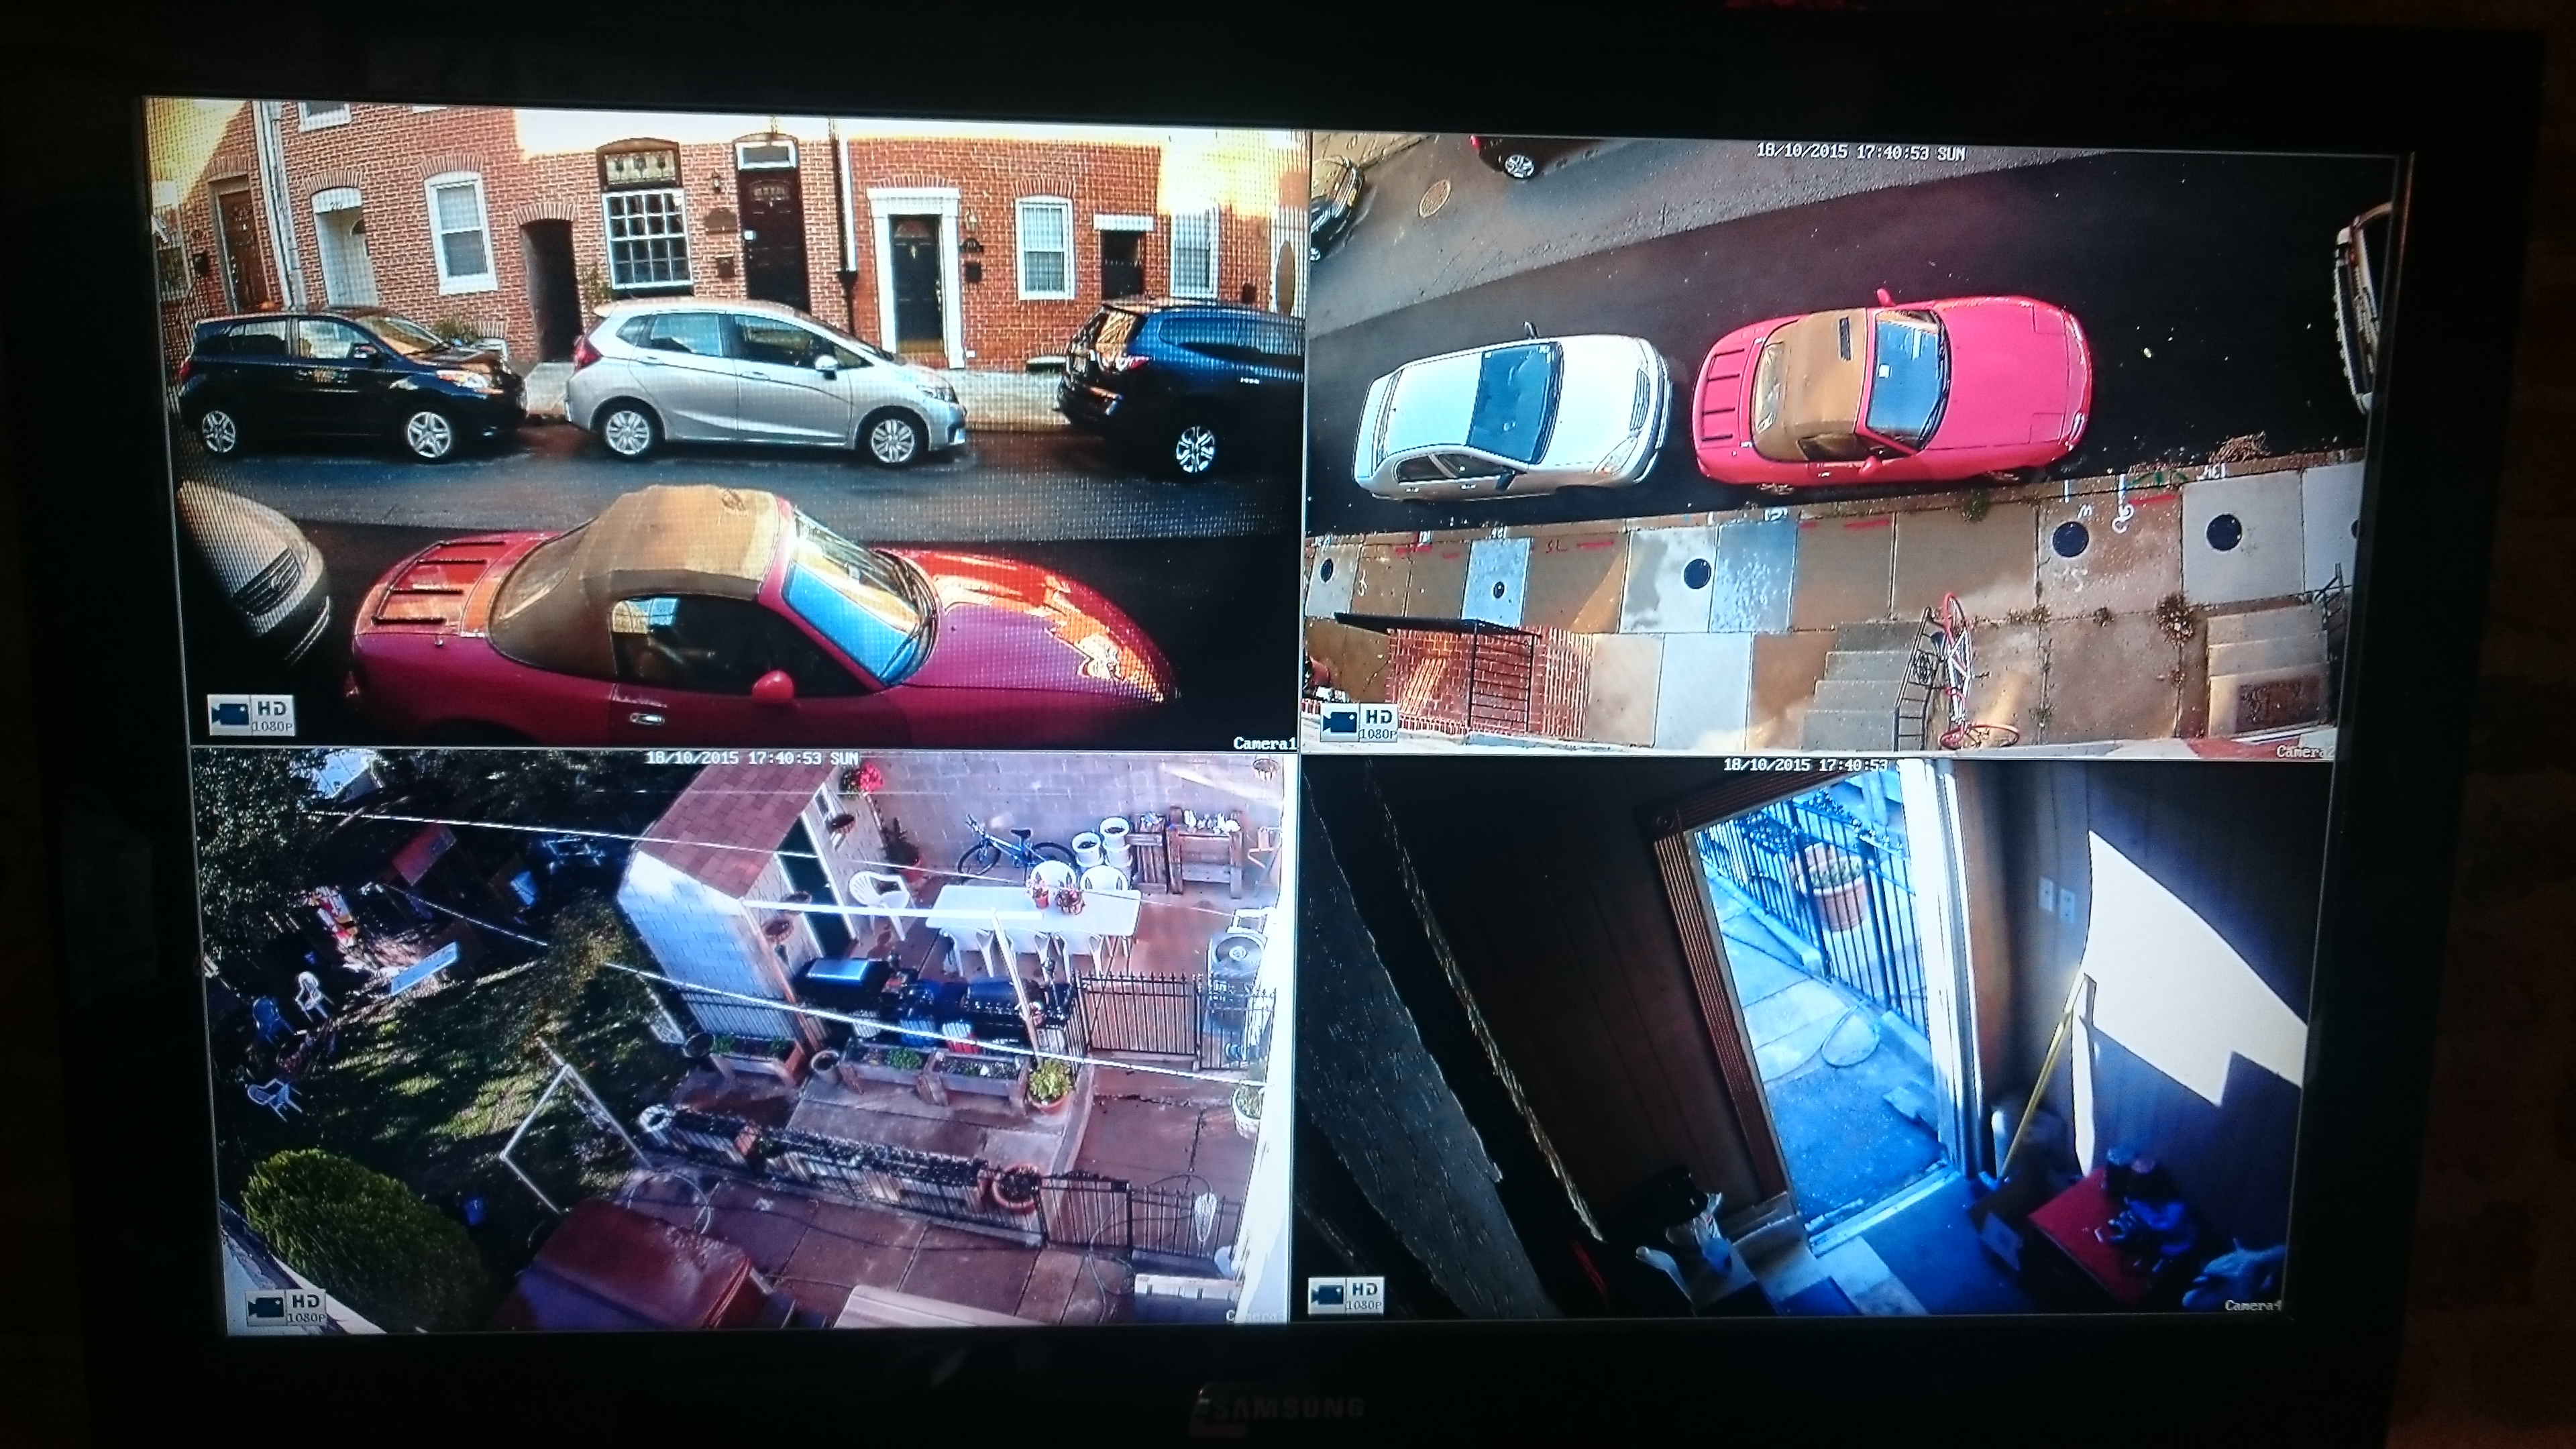
Our views
I can view all of this on the HDTV. So far we’ve sat and watched the cat go out back and have yelled at the TV a few times as cars sped down the street. When not at home we can stream the video to our phones or computers. It does seem to lock up one or two camera channels on the DVR every now and then. That was discovered last year and was one of the main reasons we took so long installing it. Guess we’ll just deal with it?