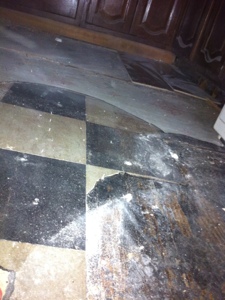
Pretty awful cell phone video.
Spray Foam
16 Friday Nov 2012
Posted in Home Improvement

16 Friday Nov 2012
Posted in Home Improvement
Pretty awful cell phone video.
16 Friday Nov 2012
Posted in Home Improvement
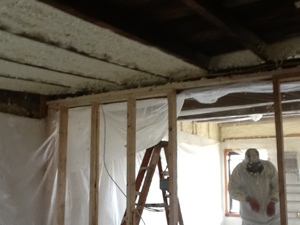
Today marks a major milestone in our timeline–getting the roof/3rd floor ceiling insulated with closed cell spray foam. No longer will we be able to see the Baltimore skyline through the holes in the back wall corner where it “joins” the roof! 4 inches of spray foam plus 2 inches of rigid foam insulation should keep things toasty in winter and cool(er) in the summer, as well as add some significant structural strength to the roof itself.
With drywalling the 2nd and 3rd floor planned for this weekend, it feels like we are actually getting this house done!
08 Thursday Nov 2012
Posted in Arduino
31 Wednesday Oct 2012
Posted in Home Improvement
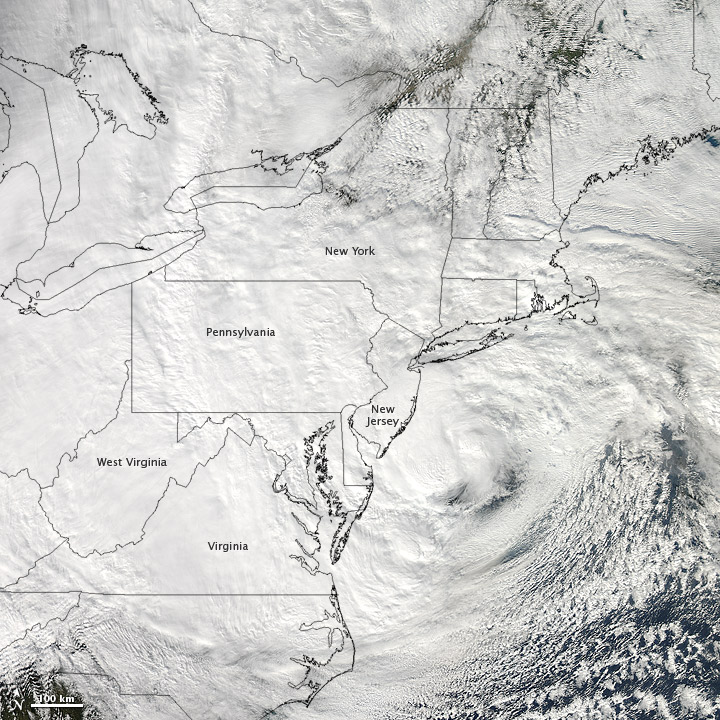
“Super Storm Sandy”
Rain was already starting to fall as we patched the last of the holes in the roof Sunday afternoon. The day before, dad helped us to add the missing flashing (where we had removed the chimney), tar suspected leaks, and install the 3rd floor window. All of this needed to get done, but we didn’t think we’d be doing it in preparation for a massive tropical storm. The massive storm was Sandy and it was due to make landfall only 100 miles east of us on Monday.
Having done what we could to prepare, we spent the rest of the weekend with dad, who helped us to install aluminum heat reflector paper and insulation above the bathroom, finish up the bathroom vent and wiring, get the bathroom ceiling drywall up, and plane the 1″ floor boards down to match the missing floor board on the 3rd floor. Around 9 I got a text saying work was closed Monday so at least I could be around to keep an eye on things.
When I arrived Monday, we already had an inch or two of water in the basement. We don’t have a sump pump so we used the shop vac to bail out the water. After taking a few bucket loads up the stairs, I decided it was time to finally hook up the drain on the utility tub. Throughout the day we needed to vacuum up about 30 gallons of water every hour or so.
Between vacuuming we were able to get a wall of drywall up in the bathroom. Siri worked on the thin-set and backer board on the other half of the room. With no insulation on the roof, the sounds of blowing wind, banging flashing and hard rain seemed even worse.
Tuesday morning we were pretty nervous coming to the house. The news had said that the worst winds would be in the middle of the night. Luckily the tree had not blown down, we still had power and the basement was dry; winds had changed direction in the night and stopped forcing water in the back of the house. I was able to finish up the drywall in the bathroom, cut the floorboards to size, do a little wiring, and help Siri get more backerboard up. We got really lucky when we cut a section of floorboards out. I had set the depth on the saw and cut the boards and then Siri reminded me that there was PEX under that board. Upon inspection we had missed the pex by maybe a millimeter. Close call!
In the end we were lucky all weekend. We had power the whole time, no downed limbs, no excessive flooding, no massive leaks; Hurricane Sandy gave me two paid days off work and we used those every hour of them.
24 Wednesday Oct 2012
Posted in Arduino, Home Improvement
Tags
Arduino, Furnace, Heating, Noritz, PEX, Radiant Floor, Radiantec, renovations, Water Heater
Core Plumbing
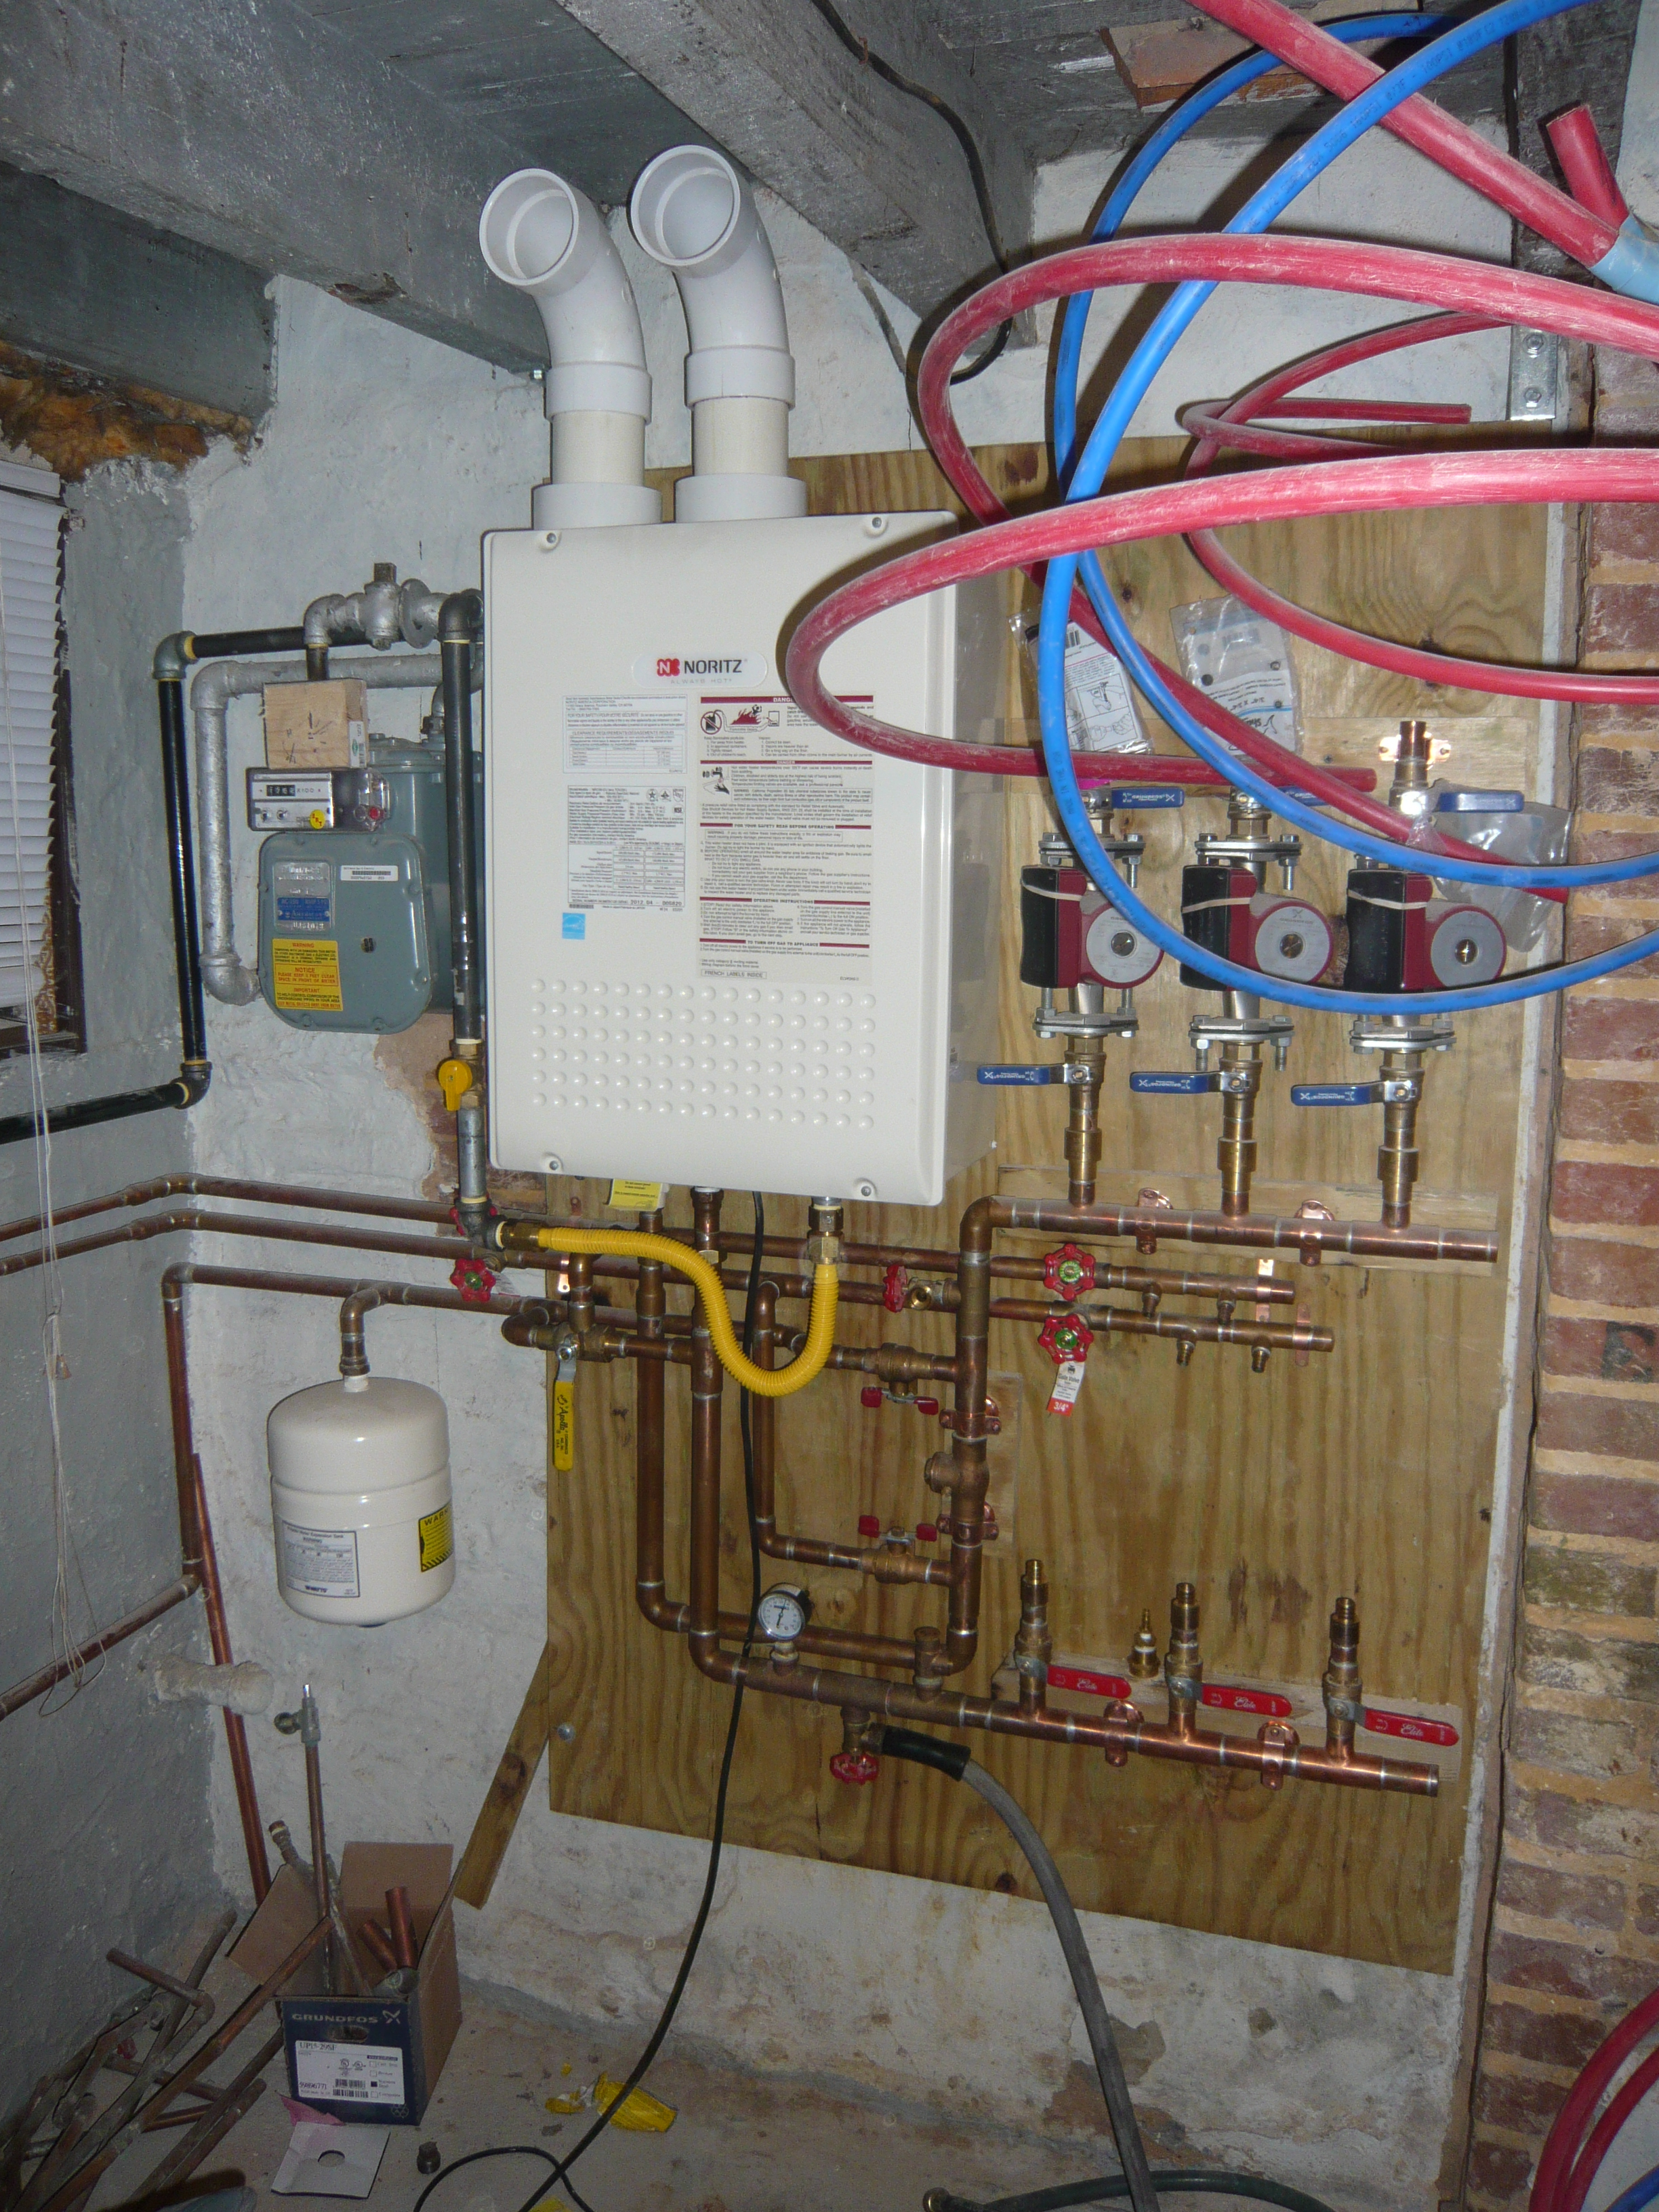
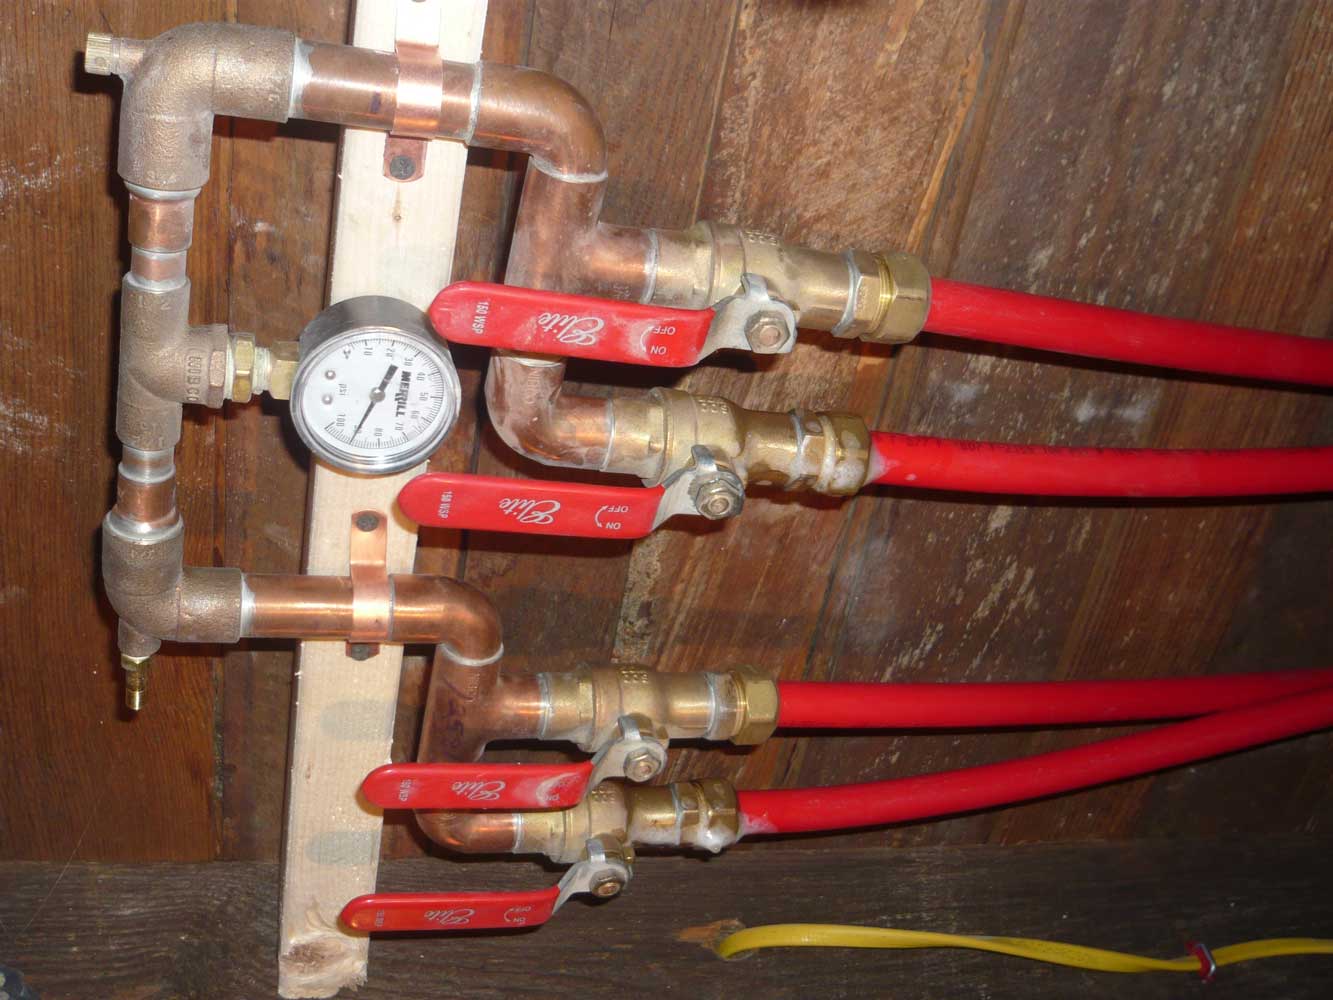
I’ve finally gotten enough done on our core plumbing that I’m willing to post a photo. This has been my baby for a few months and I’m obsessed with every detail. As with most of the other projects, we’re aiming to save as much space as possible. We have reduced our entire heating, hot water, gas and water distribution systems from a furnace, water heater, ducting, and associated plumbing into a 4′ wide x 5′ tall x 1′ deep corner. This transforms a basement only fit for storage into one fit for a workshop. We’ve gained a full floor on our house.
Here is how the system works:
Water enters from the city via a 3/4″ copper pipe (lower left) through a code required back-flow preventer and expansion tank into our 1″ radiant floor manifold. From there 3 pumps send water to each of our 3 floors (once we hook up the PEX you see in the top right), back to the lower manifold, through the tankless [high-efficiency condensing] water heater, through a 1 way valve and back around again.
This design uses manifolds made by Radiantec and is laid out based on their reference design. I’ve made a few slight changes to save space, but keep everything oriented as they suggest. They key was layering everything in planes. I planned this out in Sketchup which really helped to visualize different layouts before I even had the parts in hand.
We get hot water out of the system for the house from just after the water heater and before the heating circuit’s one way valve. Hot water that is removed is replaced by water from the water main. Cold water for the house comes from different parts of the system depending on the position of a manual diverter valve. When we are heating the floors, the valve pulls cold water from the main before it gets to the heating circuit. When we are not heating the floors, cold water has to go through all of the floors before being taken out before the water heater. In addition to preventing stagnation during the summer, this is supposed to supplement our cooling by removing a few BTUs of heat via the floors as we use water. Summer heat literally goes down the drain. The downside of this is that our “cold” water will now be room temperature. Since I dont like drinking warm water, we’re going to tap into the main just after the back-flow preventer for nice cold drinking water which we will run through filter to remove the city water taste.
Due to the efficiency of the water heater and its low exhaust gas temperatures we are able to use PVC pipe for the intake and exhaust (top). This is going to be run across the ceiling and out the side wall into the alley. The run is short enough and has so few bends that we can get away with running 3″ PVC.
The electricity has not yet been run around the basement. We will need around 1 amp for each pump and an amp for the water heater itself. We’ve decided to try and build our own thermostat based on an Arduino microcontroller. Input will be temperature sensors in the floors of each room (Dallas DS18B20) and output will be solid state relays which can supply up to 2 amps per circuit. I’ve come up with a simple algorithm that turns the pumps on if the temperature is below a set point (and off when they reach the set point + hysteresis). The hard part is the interface. We have an Arduino Ethernet shield which allows us to connect to the controller via our network (and the Internet). I’m hoping to make apps for our phones that allow us to set the temperature and check the status of the house from anywhere with a wifi connection. Data logging is also a goal. This is going to take a little while to implement so for now we’ll set the temperature with a laptop via USB.
23 Tuesday Oct 2012
Posted in Home Improvement
90psi and holding…
We got a whole floor done, just the two of us, this past weekend. We learned a whole lot along the way too. Little things like exactly where to drill the holes in the joists, how to alternate the hoses so they don’t cross over, how to work keep the spool from binding up…. and a few others. It was a good education in handling PEX.
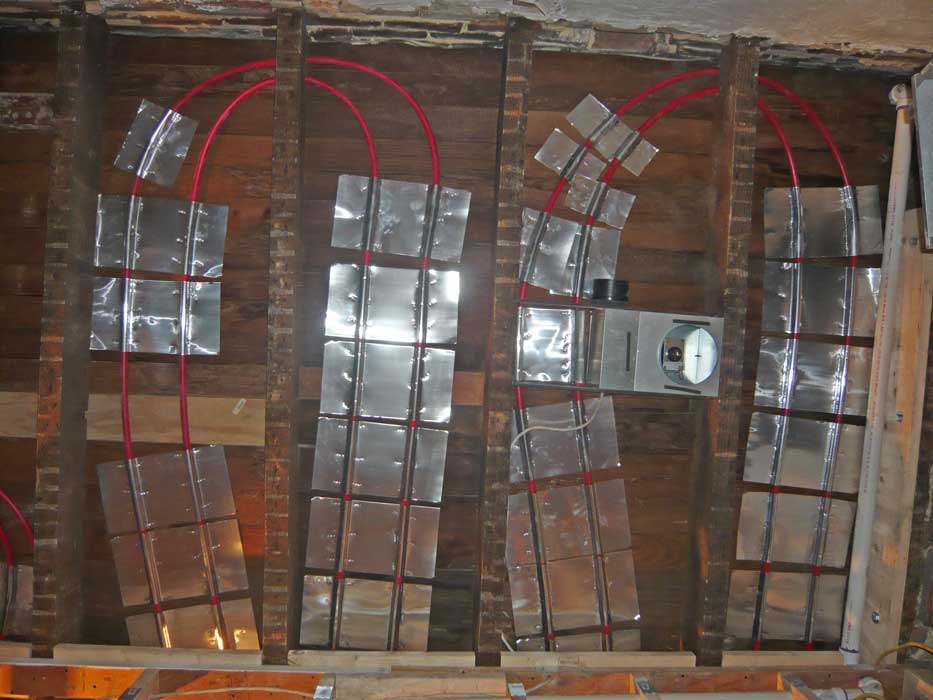
The PEX has a mind of its own.
We had to learn a new lesson every joist. The widths varying between 12″ and 24″ had us changing strategies every few feet. The first circuit, we drilled holes on top of each other at the end of the joists. This was not the best way. On the 2nd circuit, we drilled them as high up as we dared next to each other. This allowed us to alternate inside and outside hoses so we would not have any cross overs. This resulted in a flatter layout with more parallel hoses which allowed us to use more heat transfer plates. (We got 400 plates and have 14 gaps for 3 floors (42 gaps) so…. 9.5 plates / gap).
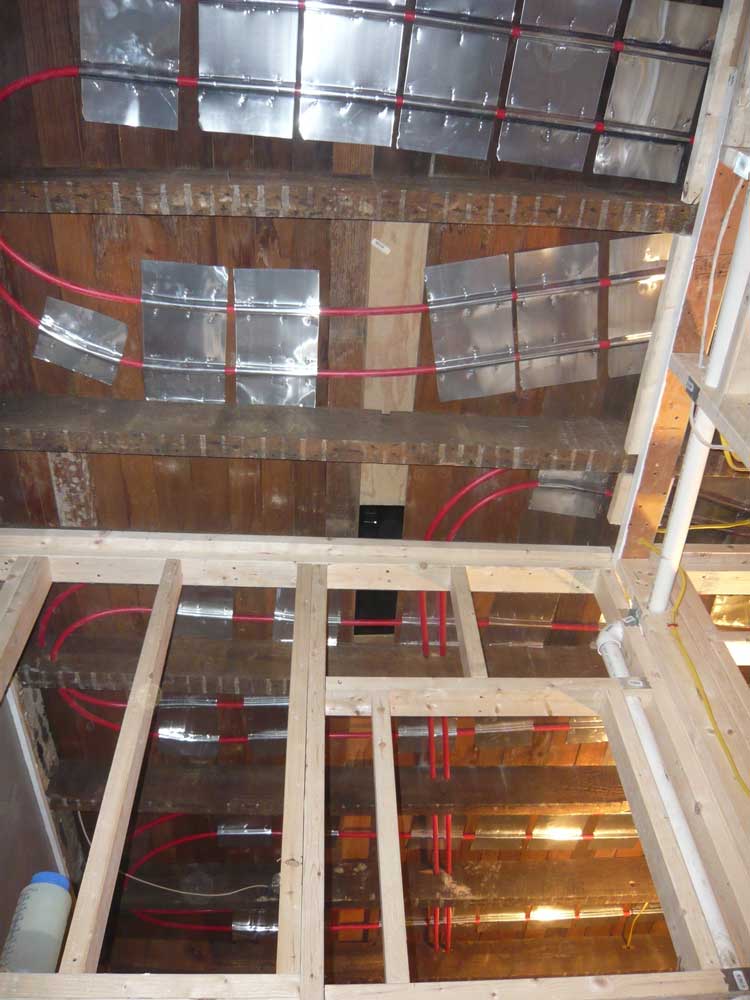
We’ll find a board to fill that last spot. I swear!
We’ve still got two floors to go. By the time we get to the basement we should be pretty good at this.
23 Tuesday Oct 2012
Posted in Home Improvement

The sky is the limit… Miata as a truck.
This week we had a few days of uncertainty with our transportation. Its not much, but this old not-the-best-repainted-Miata, is all we’ve got. I’ve long said that in a Miata you can carry as much as you like: the sky is the limit. In this photo I’m carrying a 10′ long 4×6. Siri has also used the car to carry 10′ lengths of black pipe, 2x6s and PVC pipe.
Last Thursday, on her way to pick up some supplies, Siri’s key broke off deep in the ignition. She managed to get it towed home for free with an auto club membership, but they wouldn’t cover a lock smith. We experimented with some Internet advice, but those techniques didn’t even begin to work. The first lock smith we called out on Saturday, even after bringing in more help, gave up after 4 hours. This is when we REALLY started to worry. After a few days of doubt, today we called a second lock smith. It only took him a few minutes. Although it cost us over $100, it was quite a relief to get transportation back.
23 Tuesday Oct 2012
Posted in Home Improvement

Sliding in a board to save the tongue and groove.
Decades ago, when the owners of the house retrofitted it with electric, rather than tear out the laths and plaster, they cut out the tongues of the floor boards and pulled them up. FUCKERS! Now we have to replace those boards, but with what?
A few weeks ago we replaced the bathroom floor with 3/4″ plywood. We saved the boards we pulled up. Most of them are in rough shape be it termites or water damage, but that’s all we had.
We started by replacing boards with matching width donors. They went in easy enough, but seemed to have huge gaps. It was really a let down as a first impression. What do we do next?
Once we cleaned all the dirt, plaster and paint from all the other gaps in the floor, we realized that these 1/8″ gaps were pretty standard. With the doubts behind us, we forged on. We managed to replace all the boards we had matches for.
To get down to a few final boards our friend Ian was kind enough to lend us his table saw so we could cut down some boards and add a groove so they would fit better. This gave us enough certainty that we could move along with installing the PEX under the floors.
We still have one more floor board to go. We’ve scoured Second Chance, a local architectural salvage company, but found no 7/8″ pine wide enough. Might need to make it from new wood.
10 Wednesday Oct 2012
Posted in Arduino

1st step towards our DIY Arduino thermostat has been taken. Currently reading 7 sensors over the 1-wire bus. Next step is to make some limits and have the software turn on LEDs (stand ins for our relay switched 120v 1A circulator pumps).
07 Sunday Oct 2012
Posted in Home Improvement