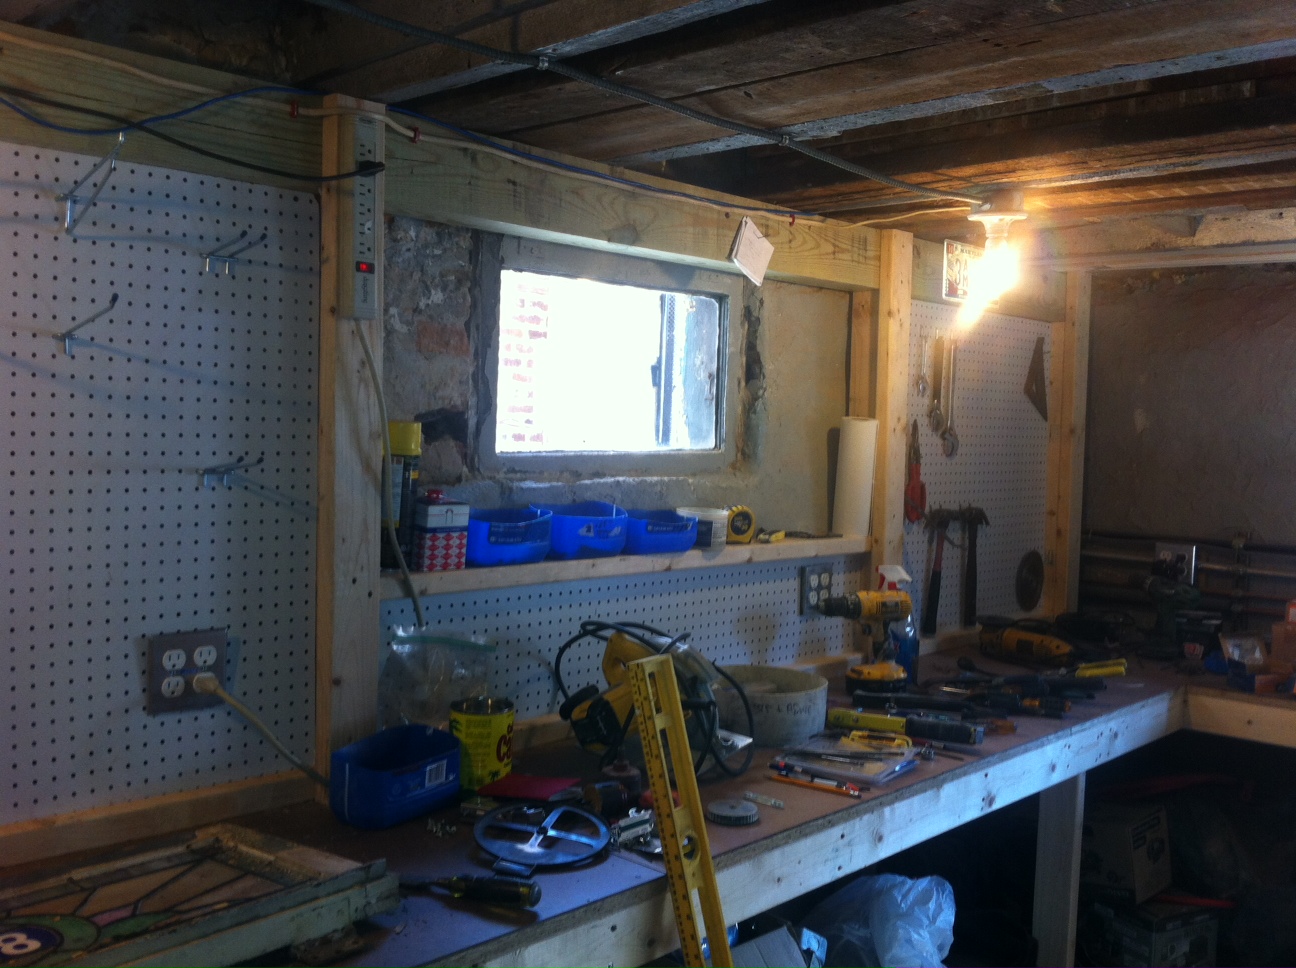
We call this spot The Dungeon. Under the stairs at the back of the house, this was the old coal pit based on the black walls. Since then it seems to have been used as storage. When we first saw it, there was insulation in the rafters growing the most bizarre white curtains of mold. It was terrifying. The floor appeared to be dirt and it always seemed to be moist.
I started cleaning this out a few months ago. The floor wasn’t dirt after all. The inch or so of soil on the ground was actually boards, boxes and other things stored in here so long ago that they had turned into dirt! Under it was a thin (1/4″ in places) layer of concrete on top of old bricks and sand.
My theory is that this is the mortar and brick leftovers from construction 150 years ago that had fallen to the ground during construction. I sifted each shovel of dirt with a 1/4″ mesh. This helped separate out the sand from the larger pieces. It also helped me to find a trove of old porcelain shards, glass, coal, oysters, even bones. Iris and I are cleaning these up and will make a shadow box for the front room.
I planned to dig down until I found the footers, but no further. It didn’t take long. Once the rubble was out I hit dirt. On the edges I tested a few spots to see how far down they went. On at least one side, not far. It looks like they just laid the bricks right on the dirt. No footer or anything. We were ready for new concrete.
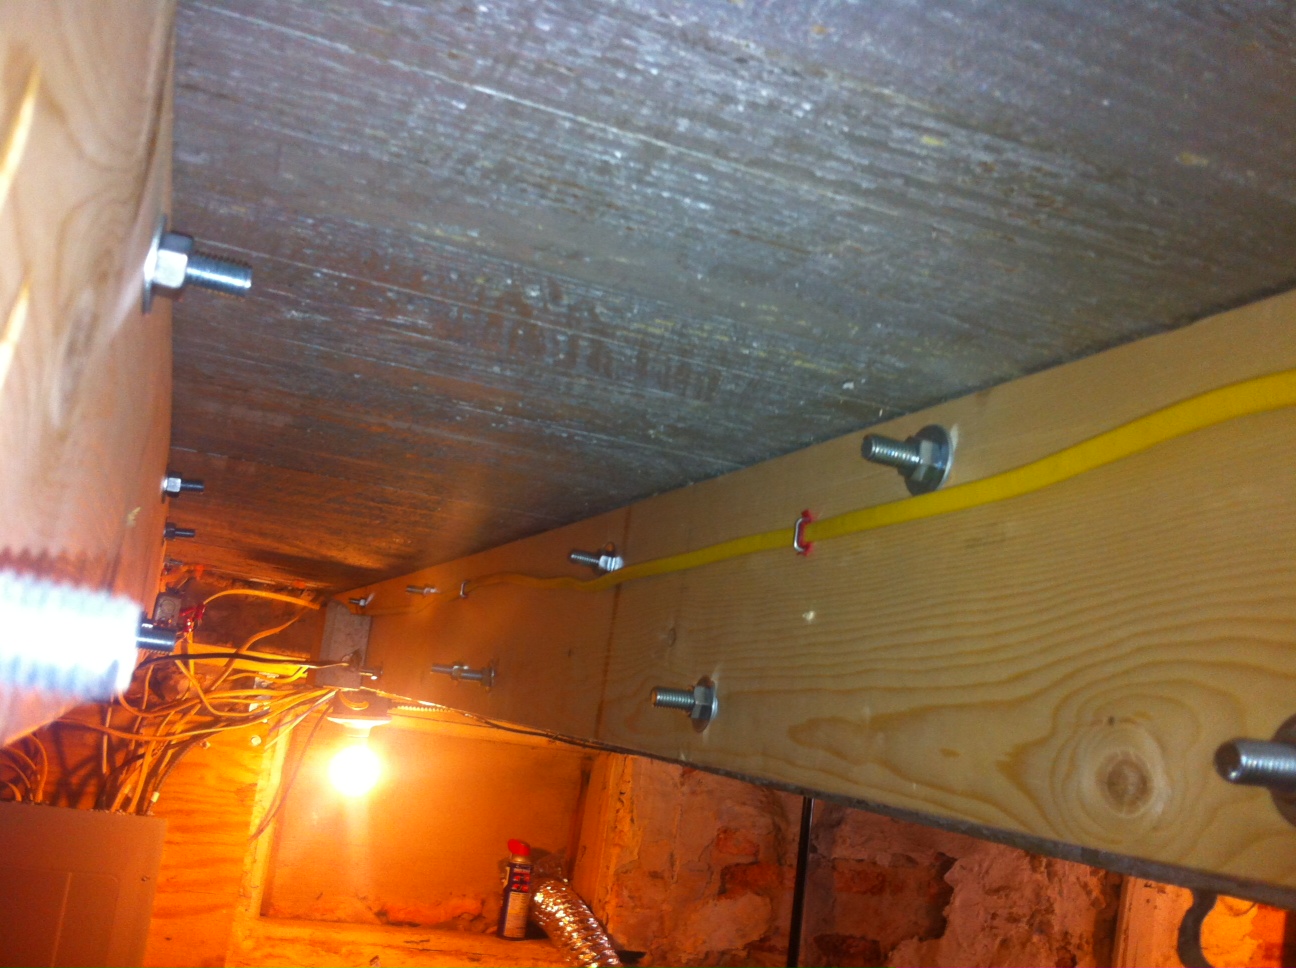
We next had to line up all the materials and tools. Pemixed concrete would have been like 20 bags. Luckily we found my grandfather had an old cement mixer which meant we’d have a much easier time. We had all the sand we needed and only had to pick up 2x 94lb bags of Portland cement and a half ton of #57 stone. Our friend Ian gave us the last materials: 3mil plastic and metal mesh.
I relaid some bricks at the mouth of The Dungeon to get it up to a level the concrete could come to. Next I threw in a few buckets of crushed up bricks from the rubble piles and stones on top of that. Next was plastic. Dad came down to help on Saturday and we cleaned up the remaining piles of rubble to have an area to work. He then started mixing. I started carrying.
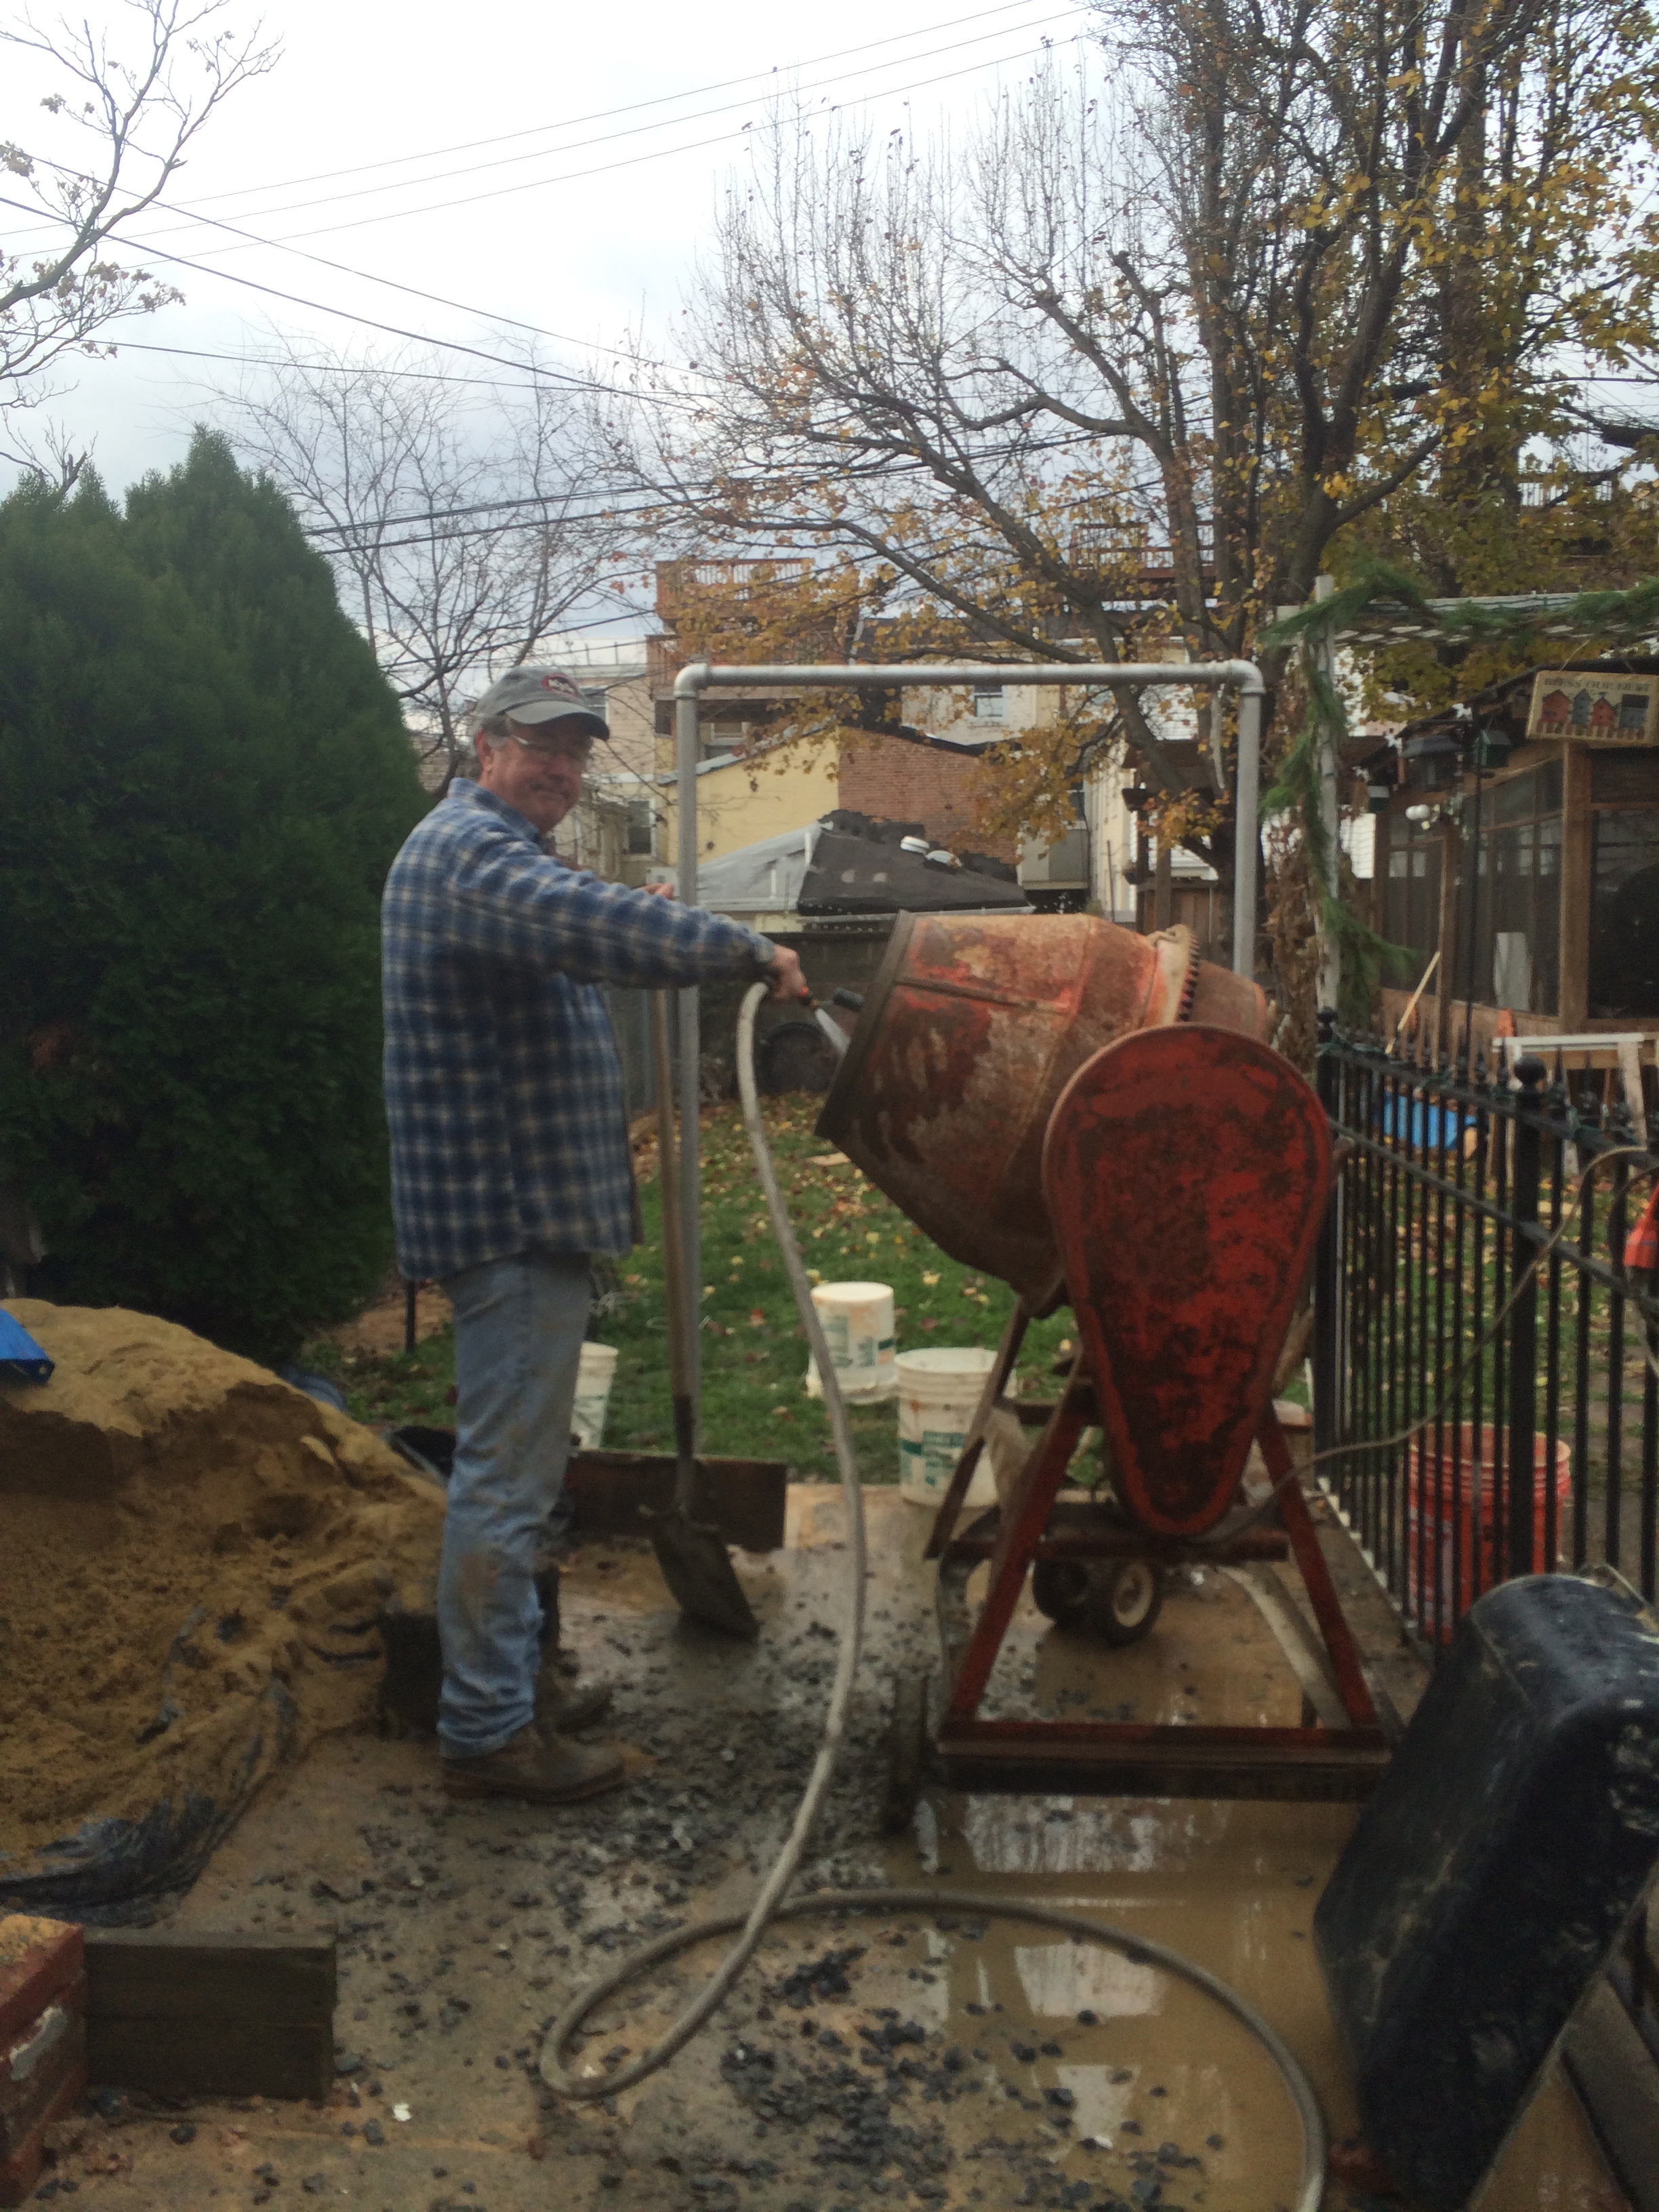
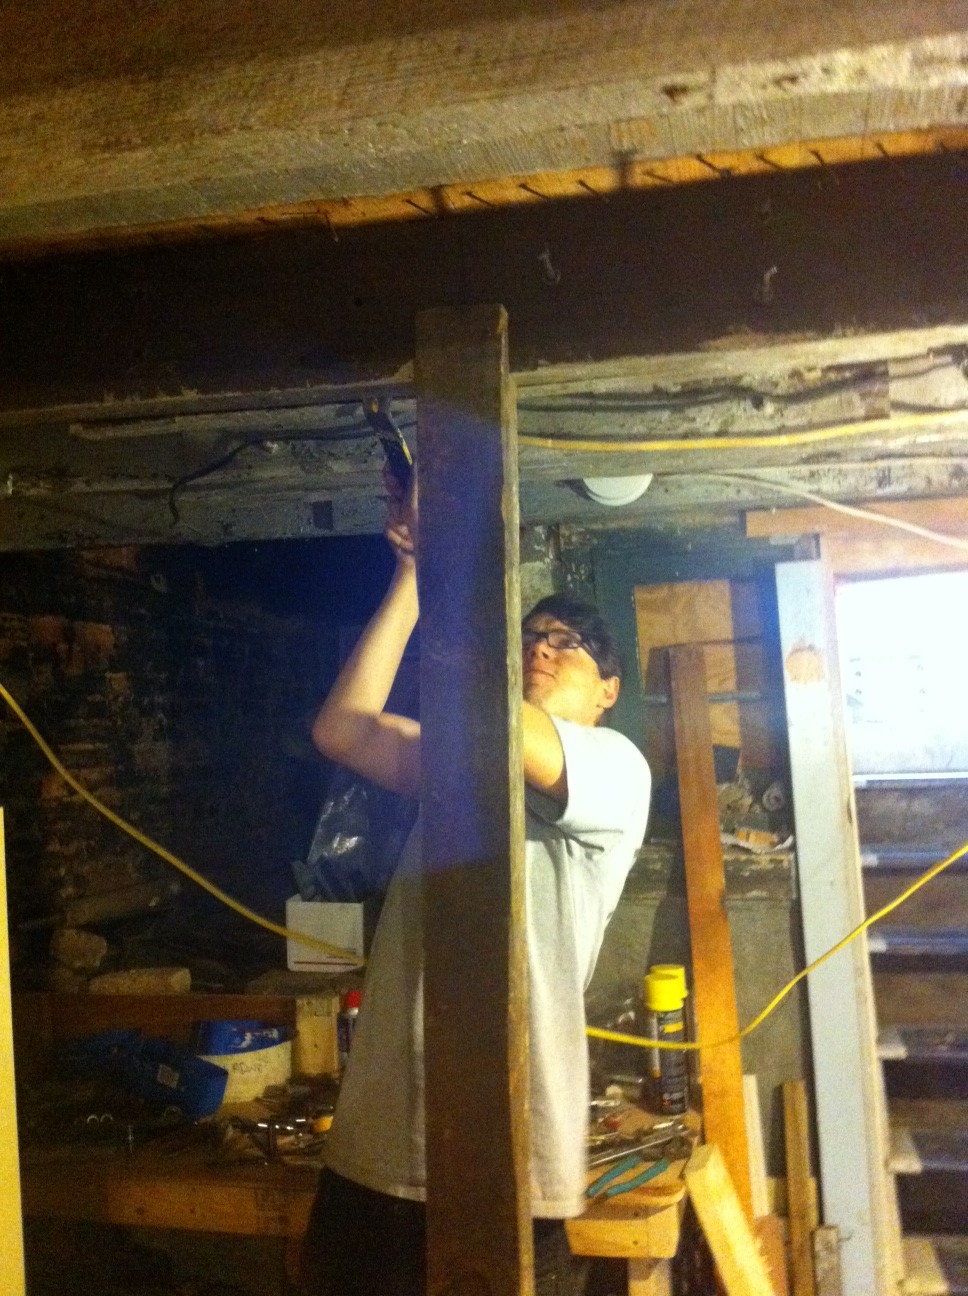
Dad at work
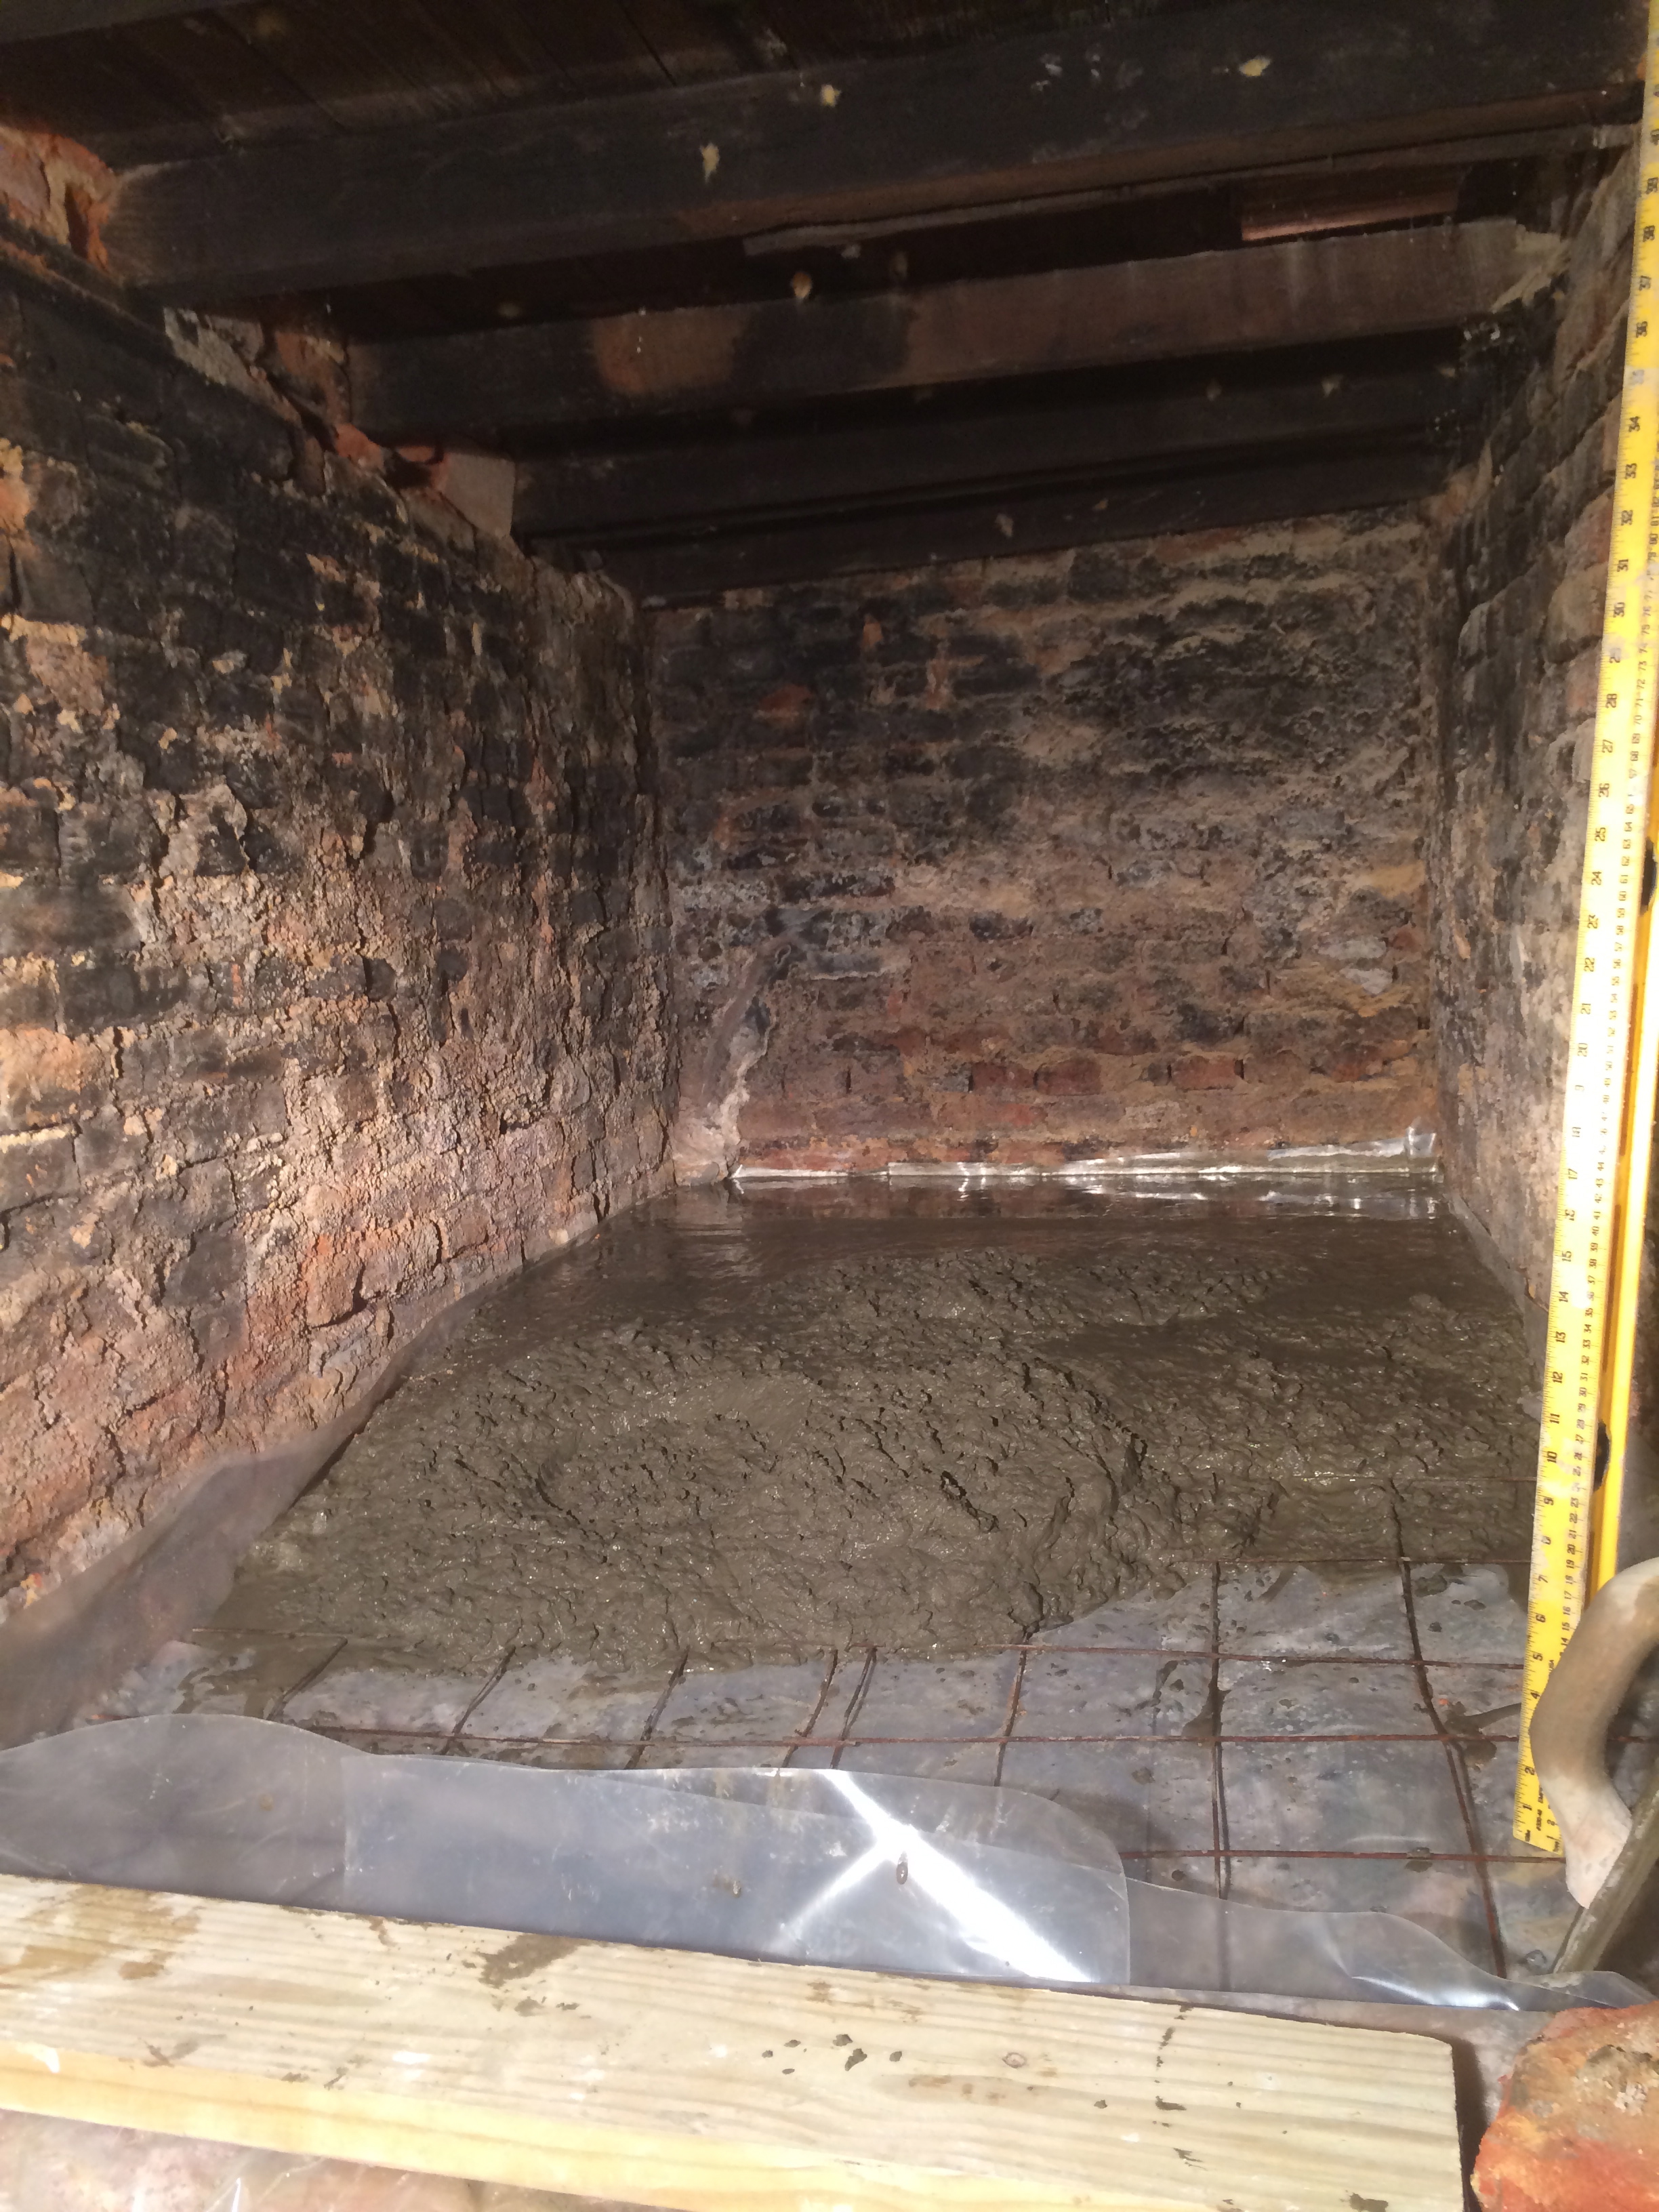
Pouring… half a bucket at a time (they’re heavy!)
Other than seeming really wet, it went smoothly. We checked it for level side to side and to have a 2 course drop from back to front. I floated it nice and flat and then took his advice and not mess with it too much. I did a round with the float around 8pm and another with the trowel at midnight, about 12 hours after we started. The next morning it was able to be walked on and I could knock down some ridges. Looks professional!
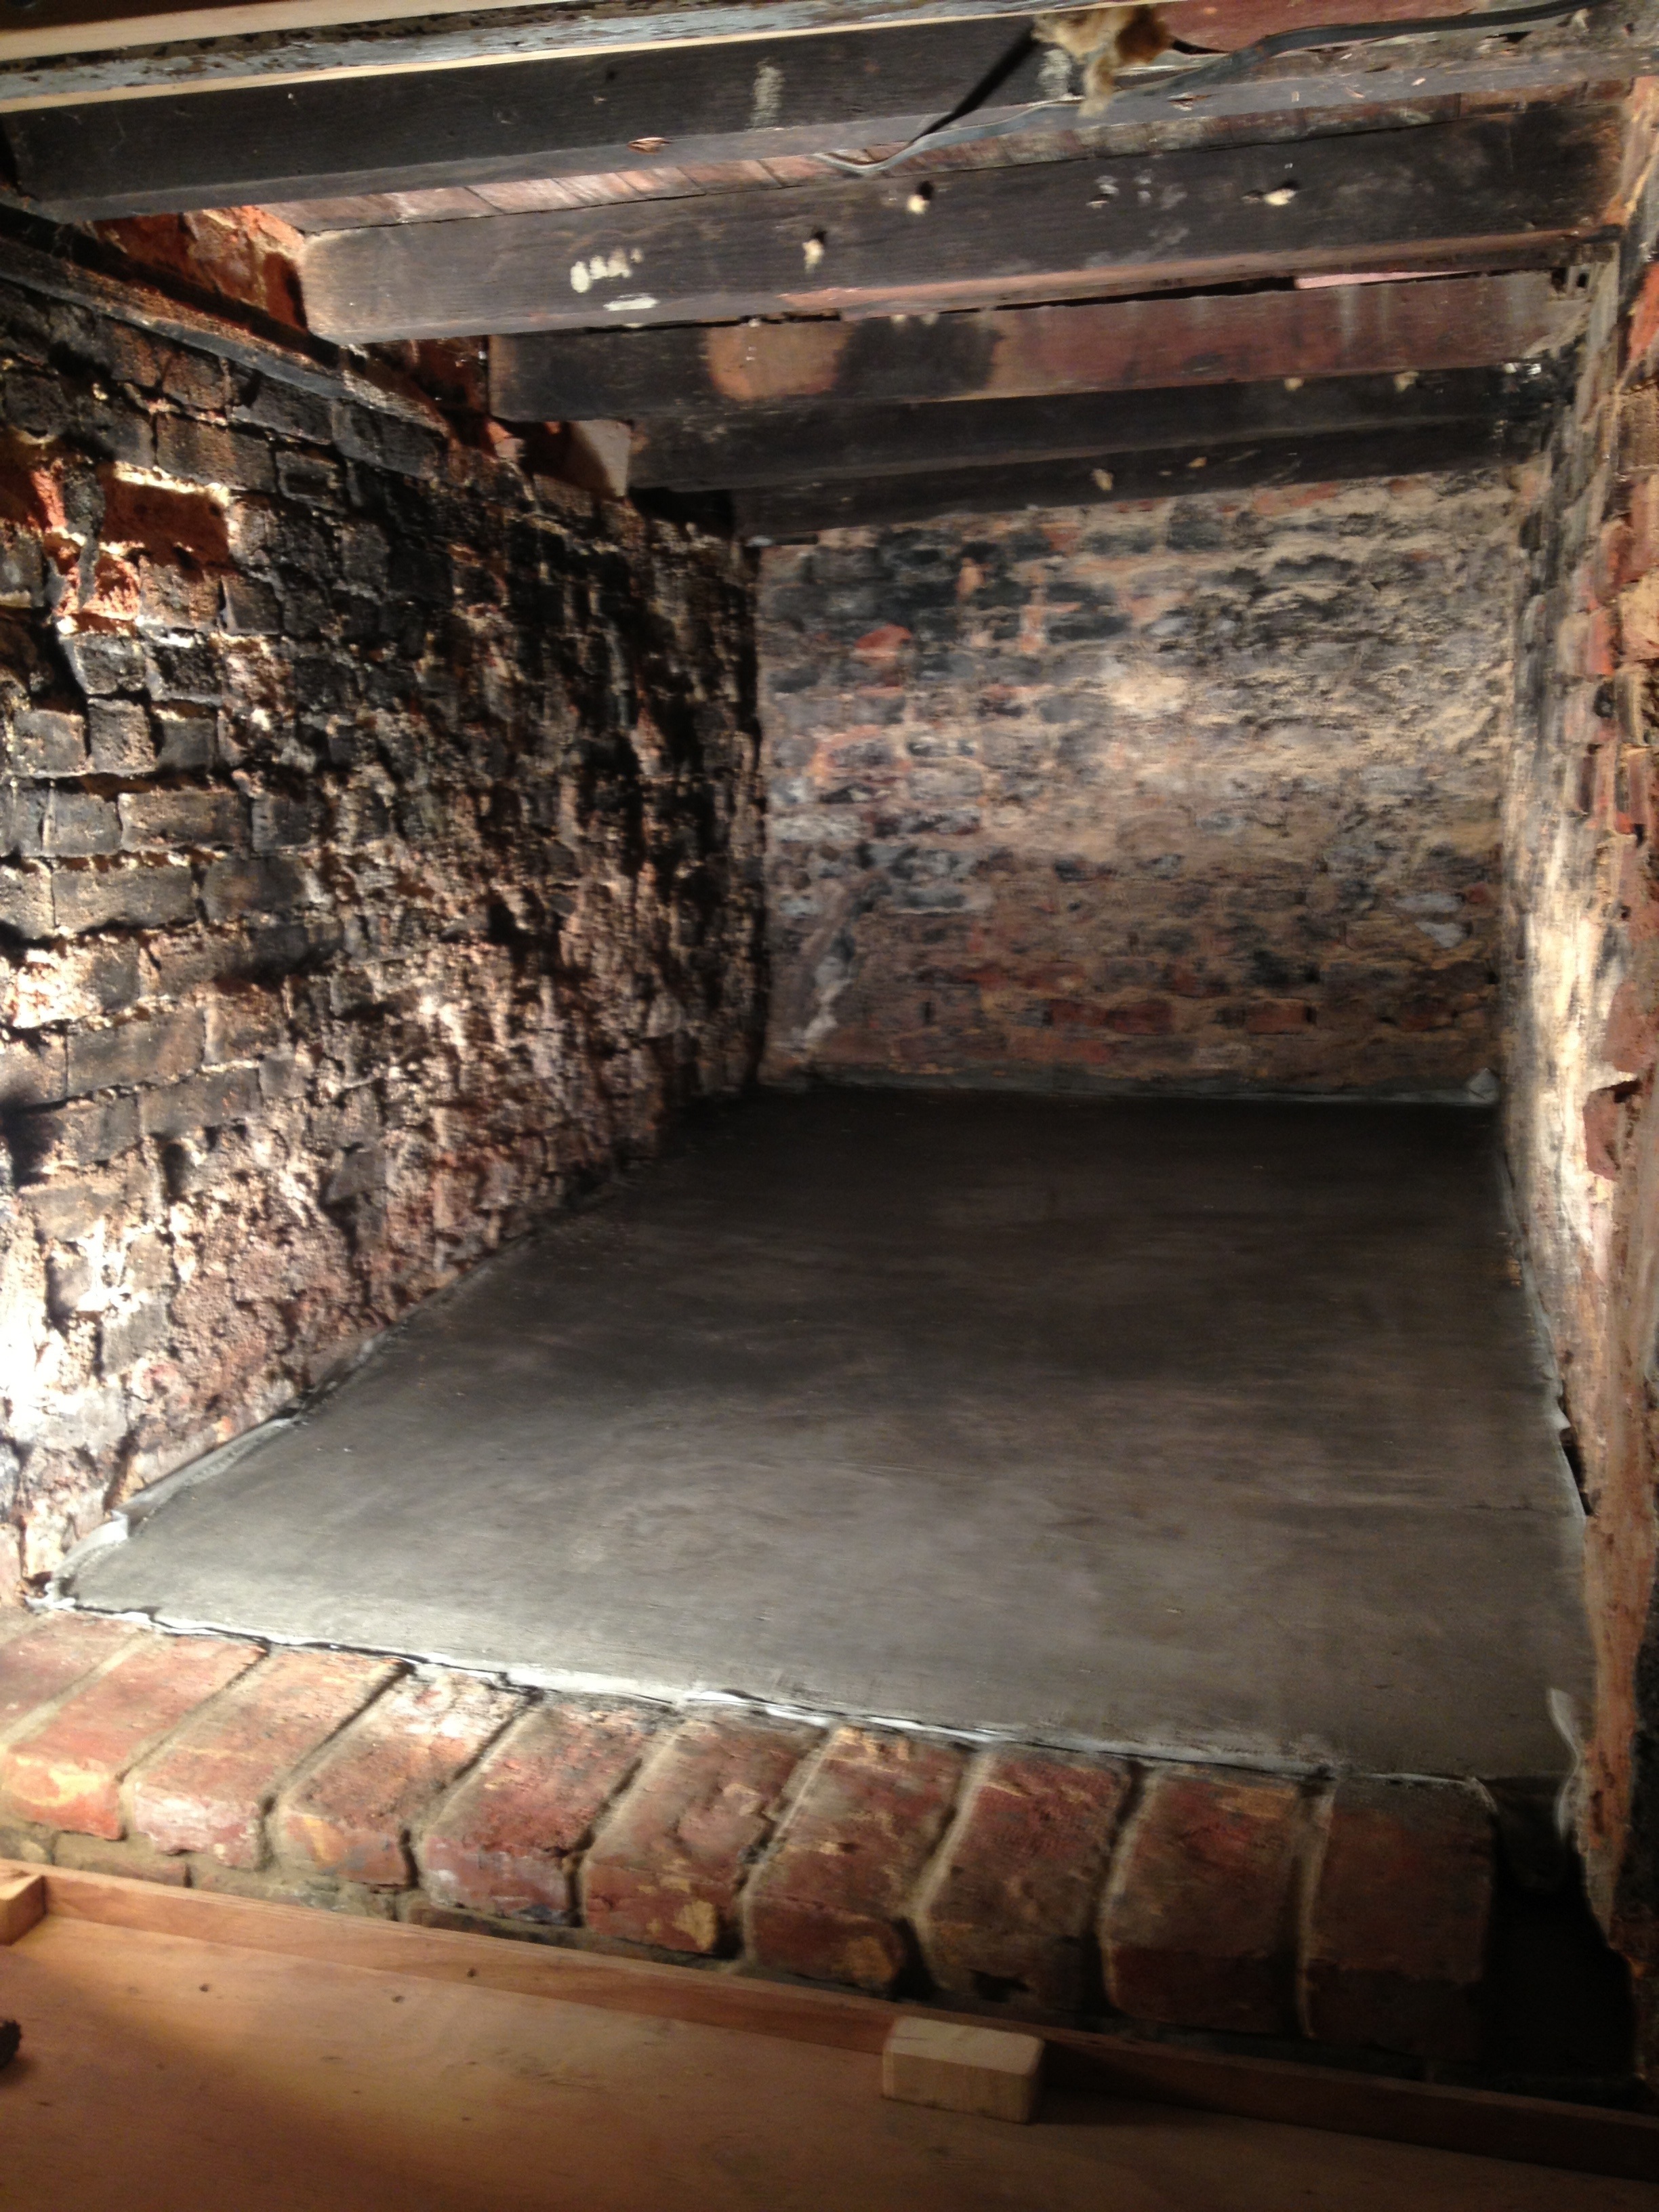
Finished! Going to store some light boxes on it and let it cure for a month before I get to work on those awful bricks.
I’ve already started to store boxes in there. I’ll let it cure for a month before I get to work on those awful coal dust coated bricks and joists.