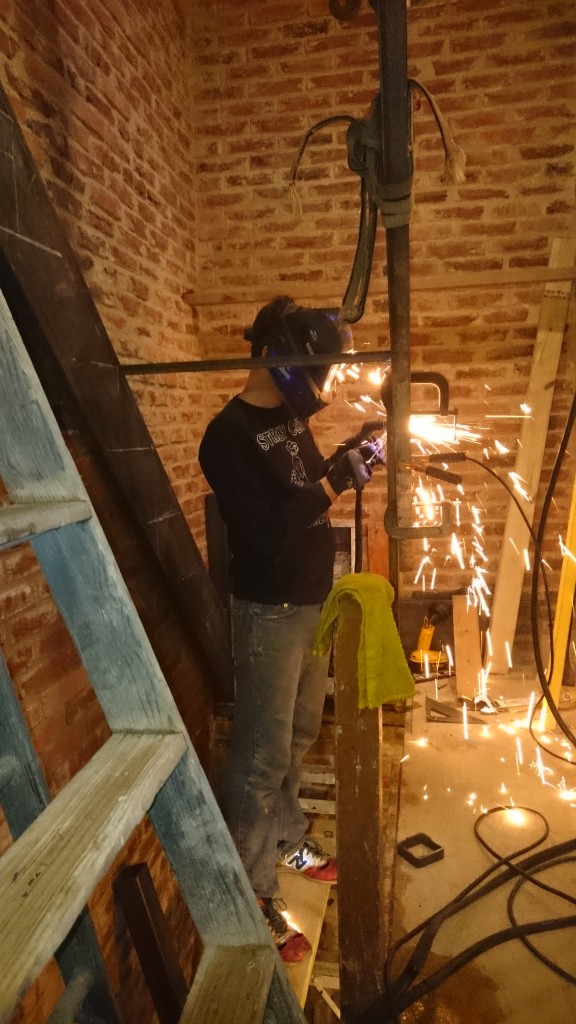
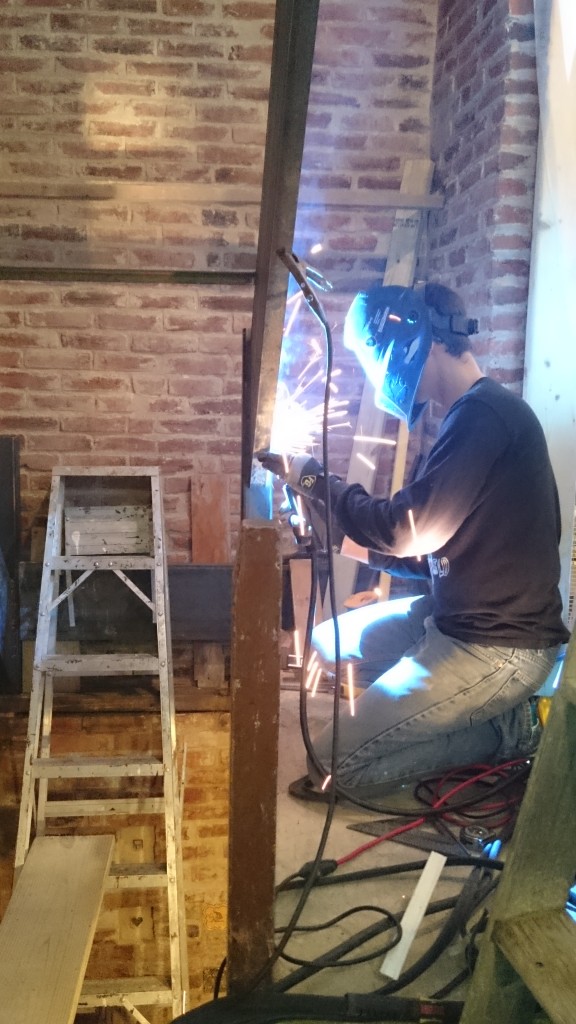
Finally, the weekend is here. Time to relax. Yeah right. Its time to build these stairs. We had previously done a test lift of the 12′ channel but it was far from being in place. We needed to a good bit of cutting and fitting before we were happy with the results. We had gotten a plasma cutter last week with the goal of saving us serious time. Rather than taking the parts down every time to cut with a dirty smelly torch, we could just pull them off the wall a few inches, put down some wet towels and cut the metal there. For most cuts and welds Siri served as the fire safety supervisor.

Turns out I can’t cut a straight line to save my life. Guides to the rescue.
We are aiming to change the geometry a little with the top stairs. Previously, the stairs were very steep, but with one long tread at the top. To fix this we tilted the stringer a little bit until finally we got an even 9″ of run to 8.5″ of rise all the way down to the turn with 1.5″ of overlap. That and a railing should make these stairs much less terrifying.
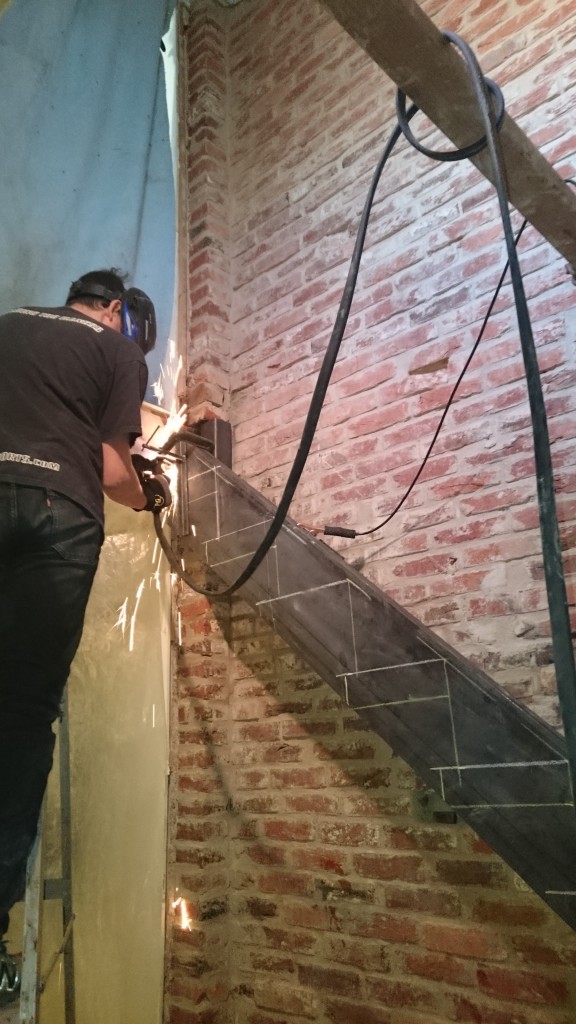
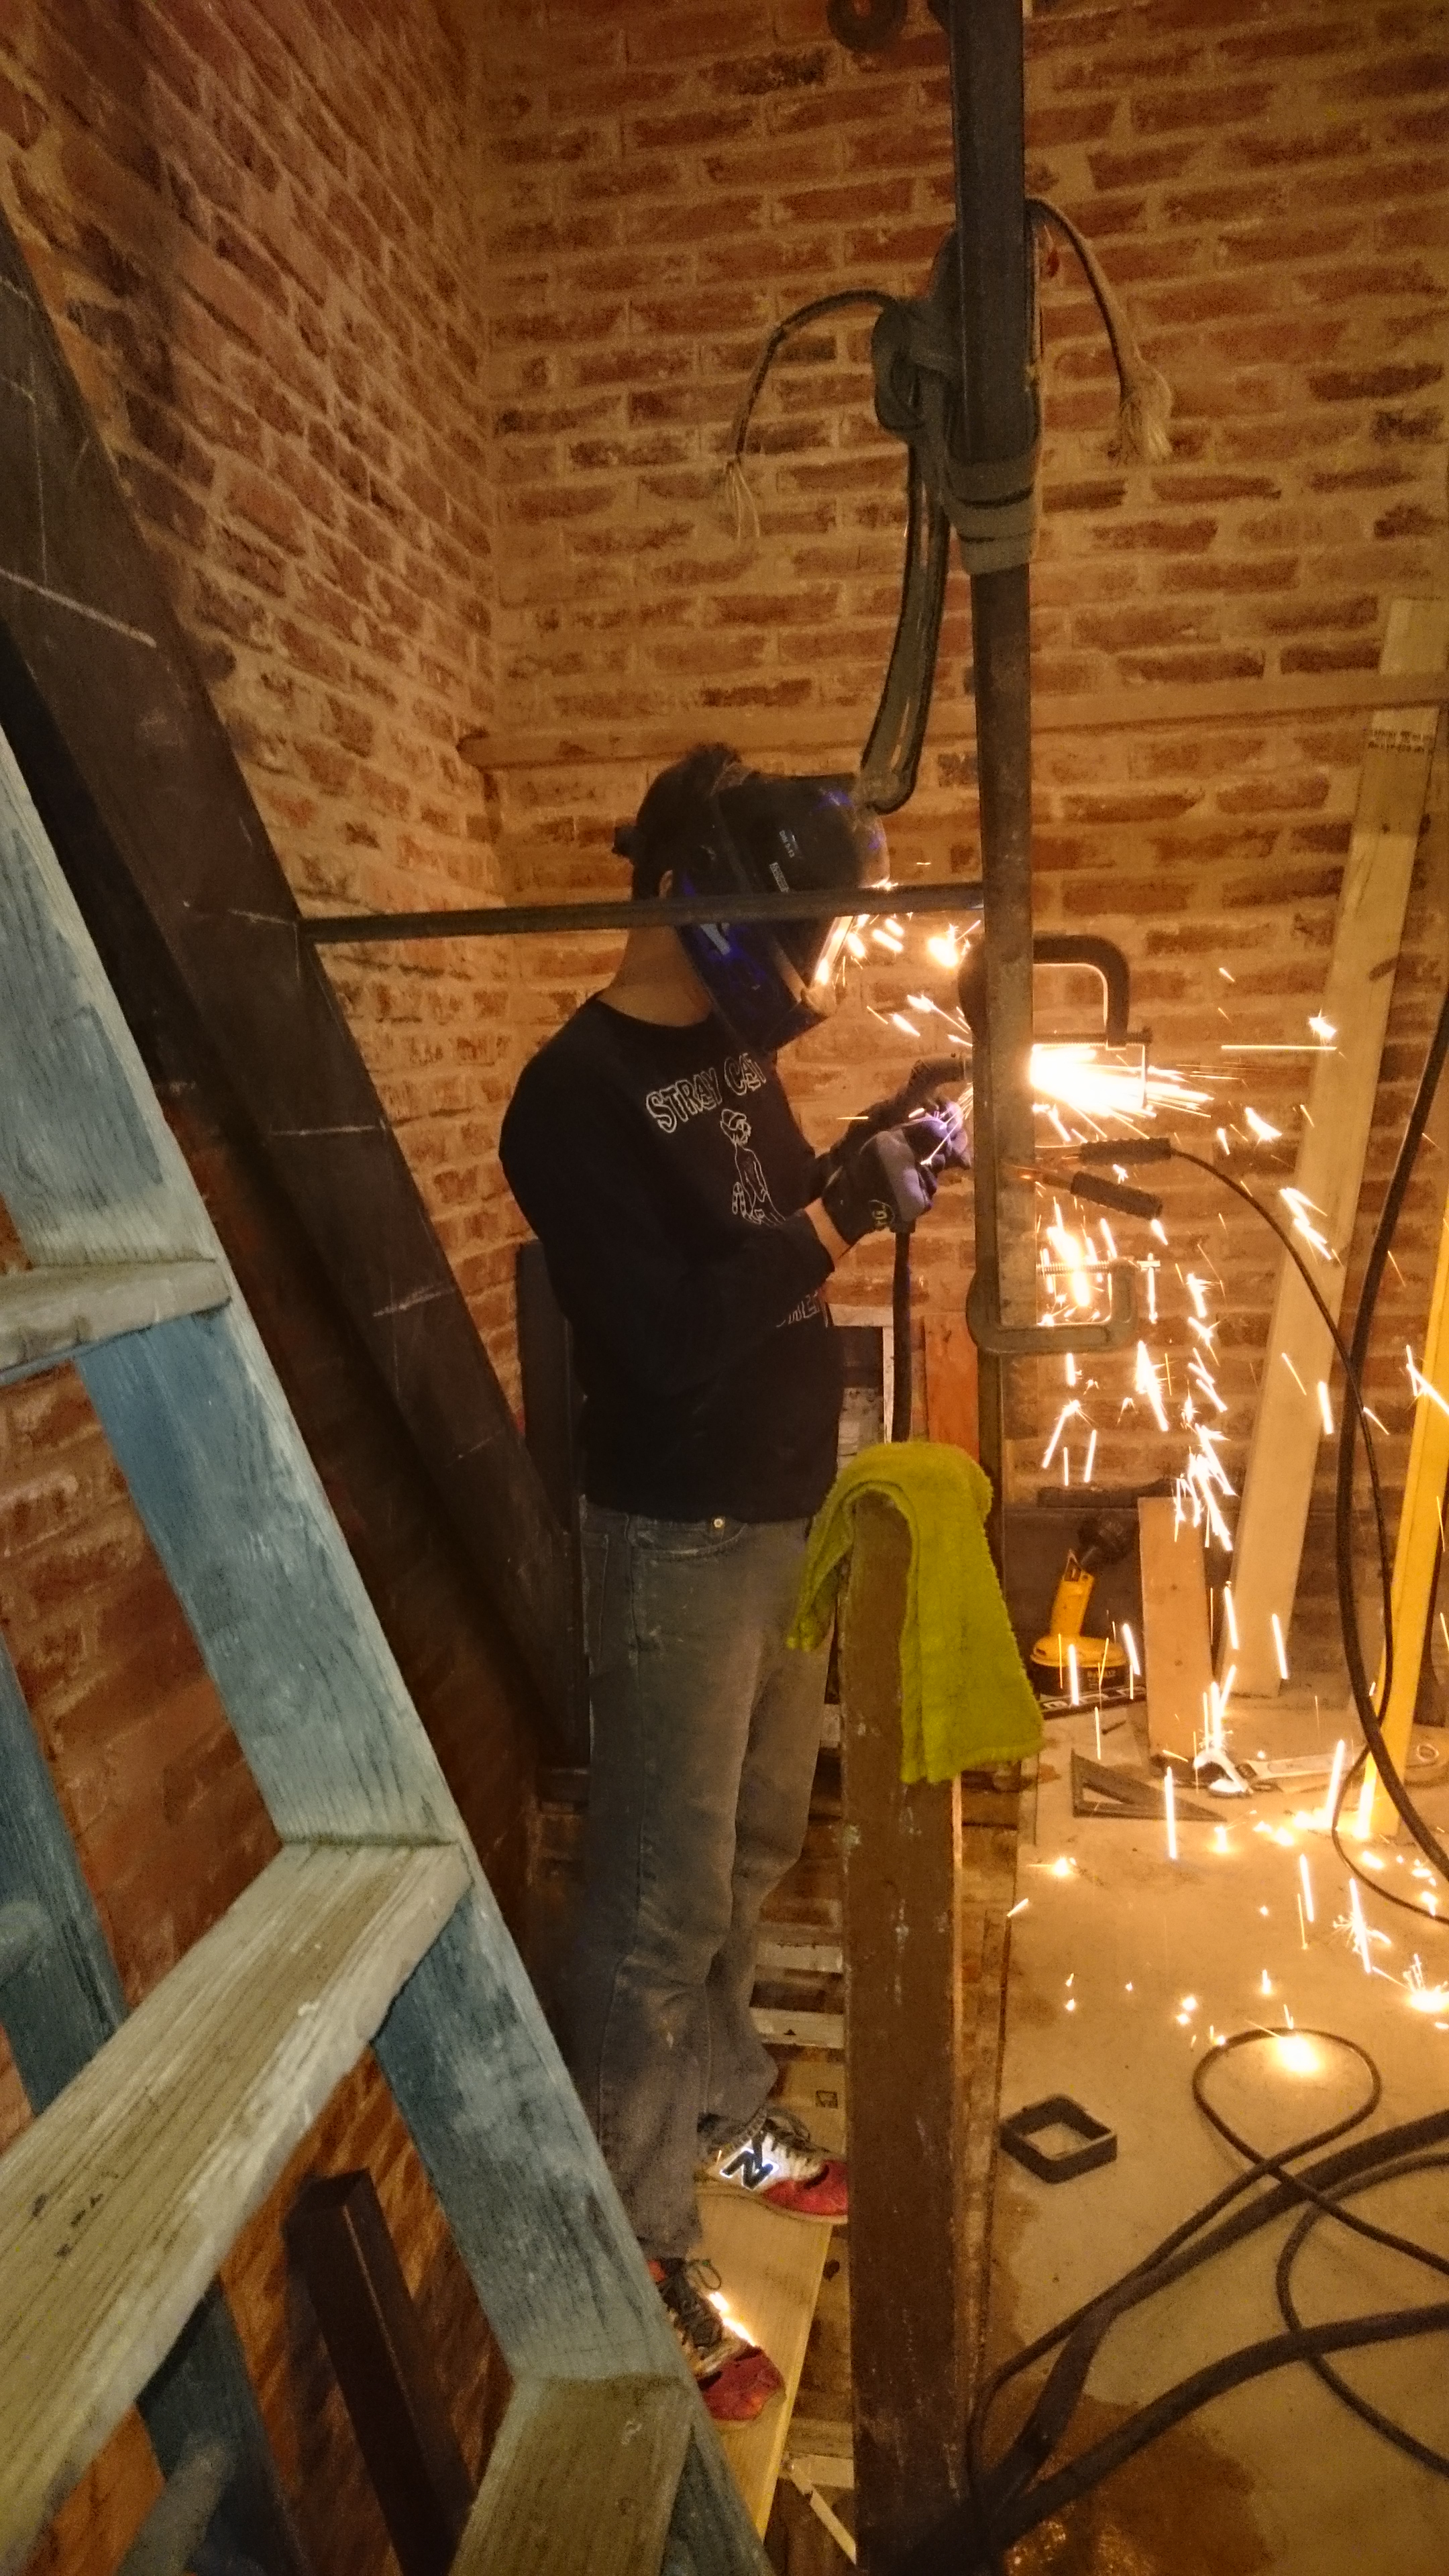
Sparks! Also chalk lines so we can have an idea where the stair treads will be.
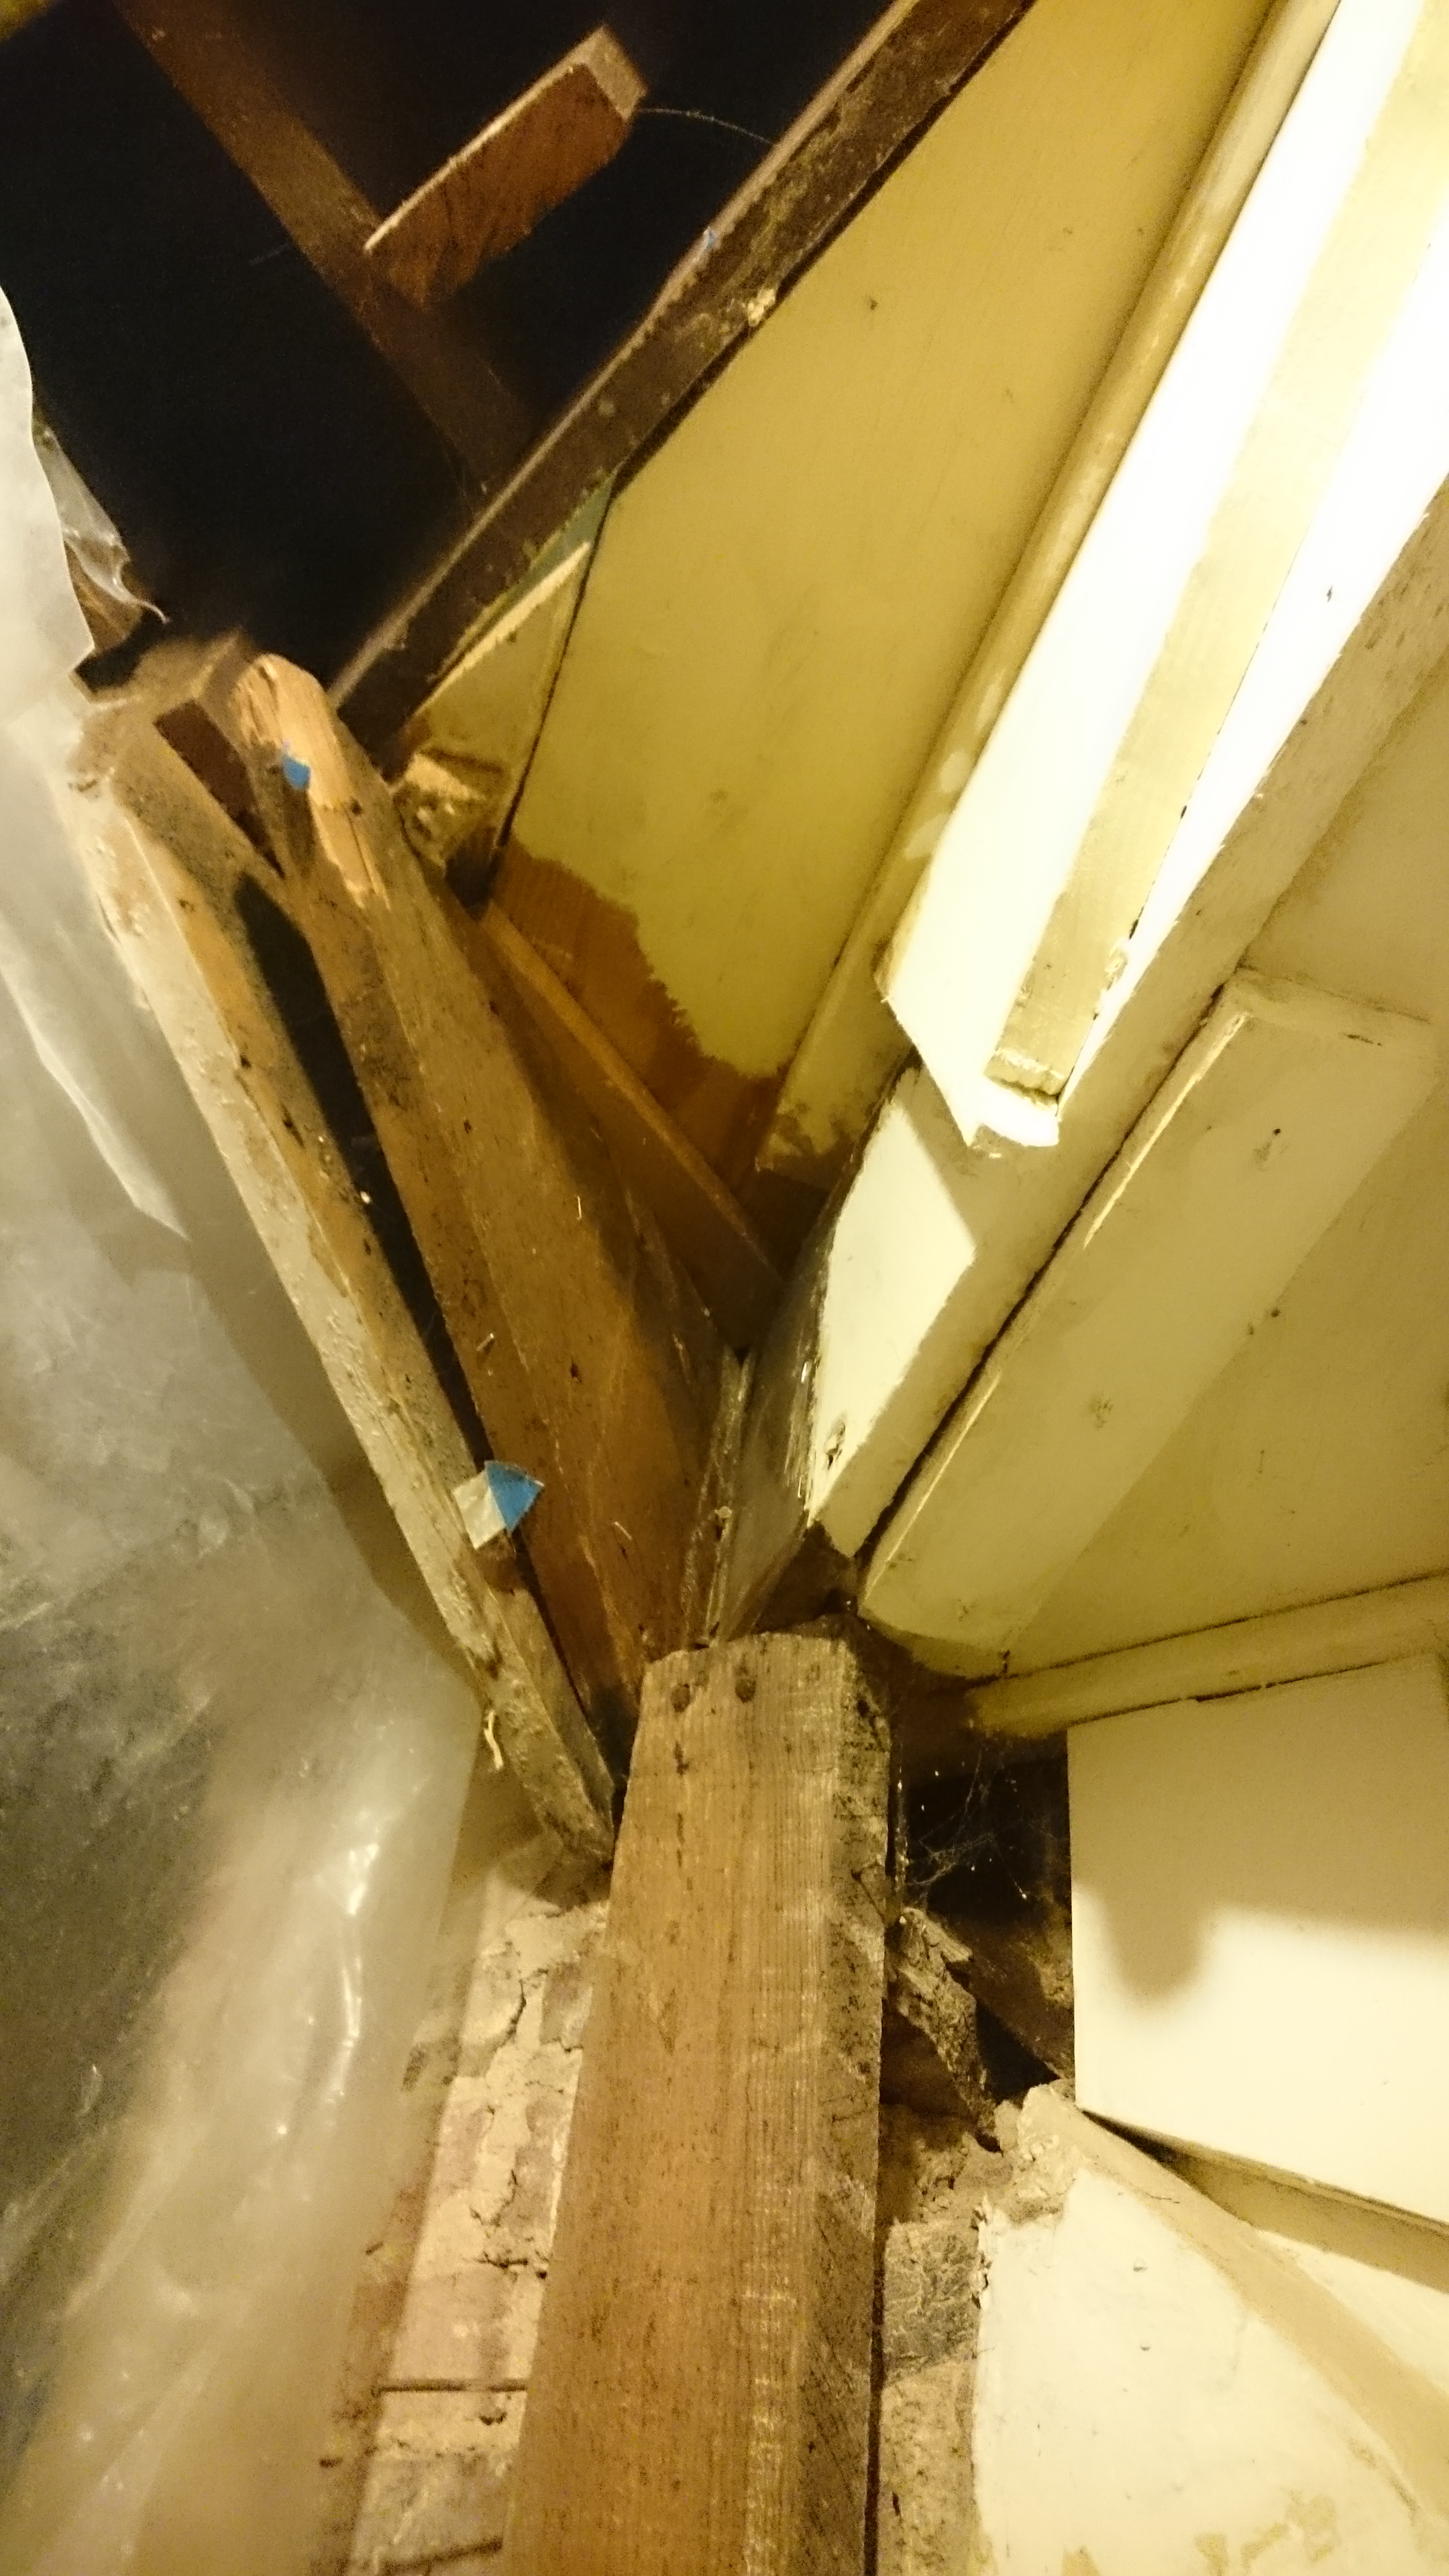
At the top we are attaching the stairs to a channel bulkhead bolted to the termite hole ridden joist. This help adds a little strength to the already reinforced joist, but mostly its just cosmetic. I cut the bolt holes with the plasma cutter which saved a bunch of time and probably a drill bit. The stringers attach to 3×3″ squares which will be used as pockets for newel posts.
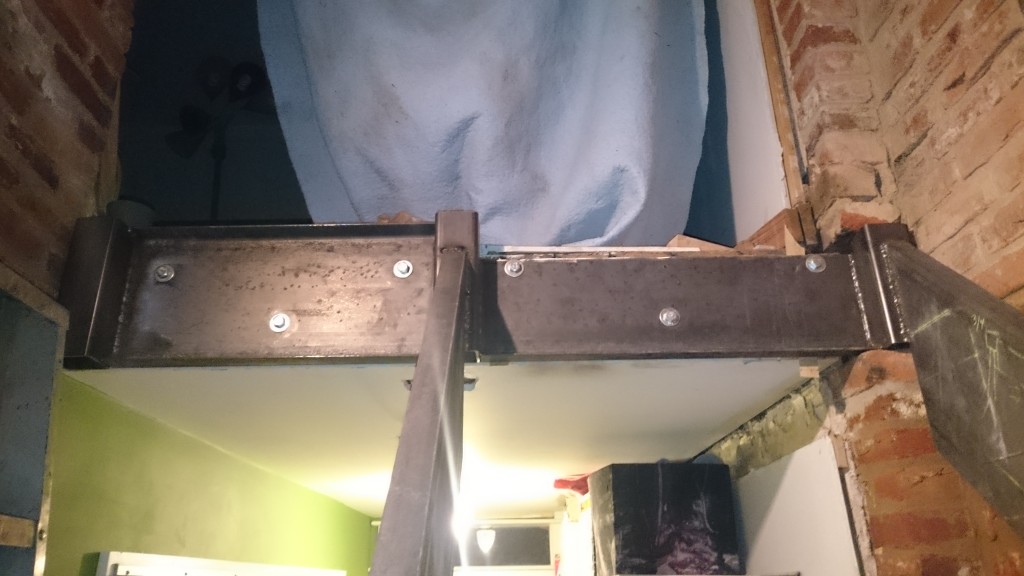
The stair tread width should be 36″ for code, but being as we only have a 60″ wide area to fit the stairs, the hallway next to it, 3″ total stringers and a 3/4″ gap to the wall (aesthetic reasons), we’ve got to narrow them down to 28″. This is about the same as we had before. The treads will keep the stringers pretty solid, but just in case we’re welding in some 28″ angles to keep them from spreading. Also work great for bracing as we build.
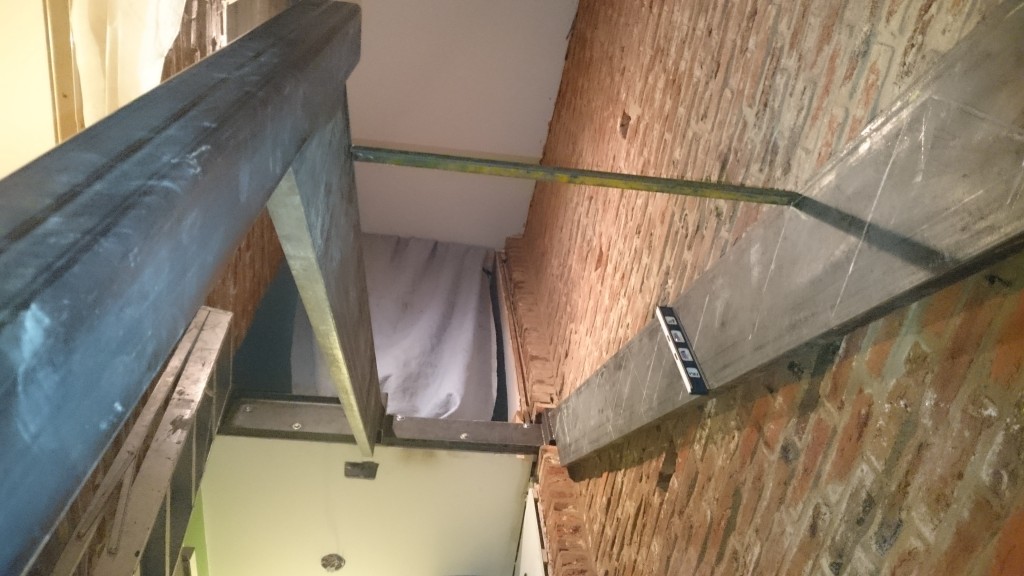
Magnetic level has been super handy. Thanks Siri!
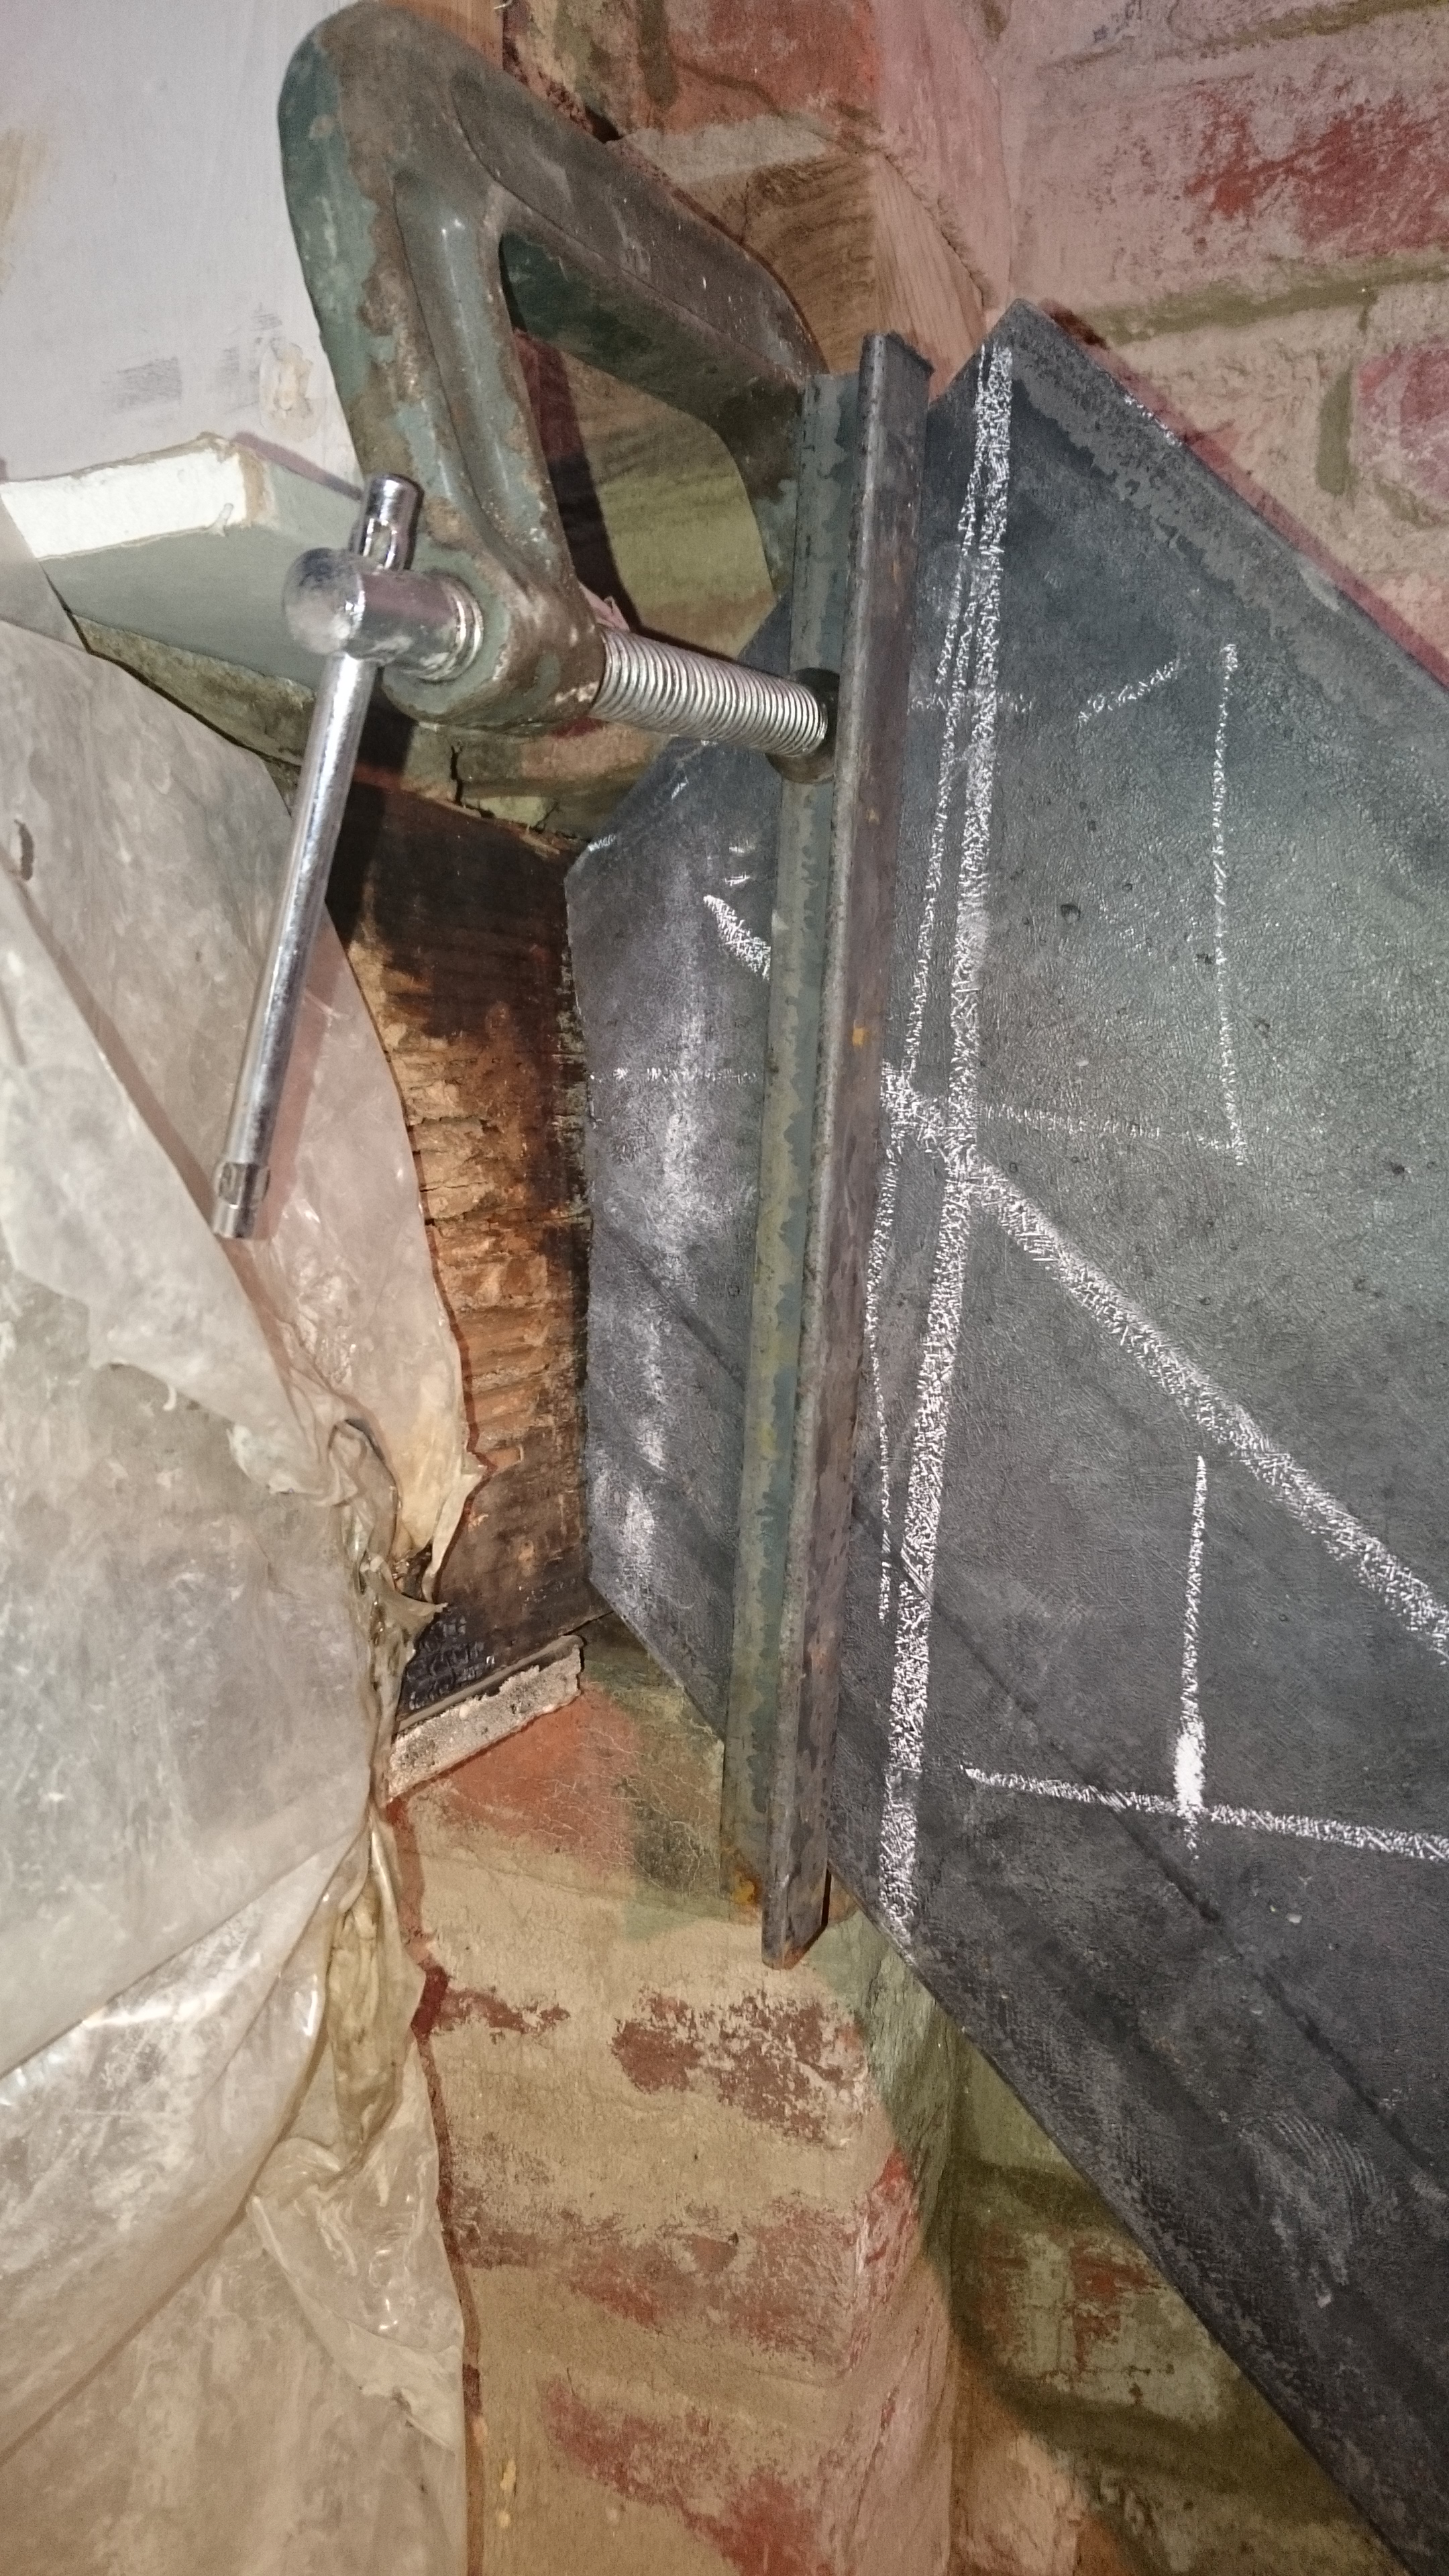
At the bottom of the stairs there is a 90 degree turn consisting of 3 stairs. Think of this as a mini spiral staircase. The center of this quarter of a spiral is a 3×3″ post. This also serves to hold up the left stringer. I wanted it in solid so I cut out all but 3/4″ from the post, through bolted it to the joist and lag bolted it from the top with a little bracket I cut from a scrap of channel. This is when the plasma cutter really started to shine. I have no idea how I’d have made this cut using other tools.
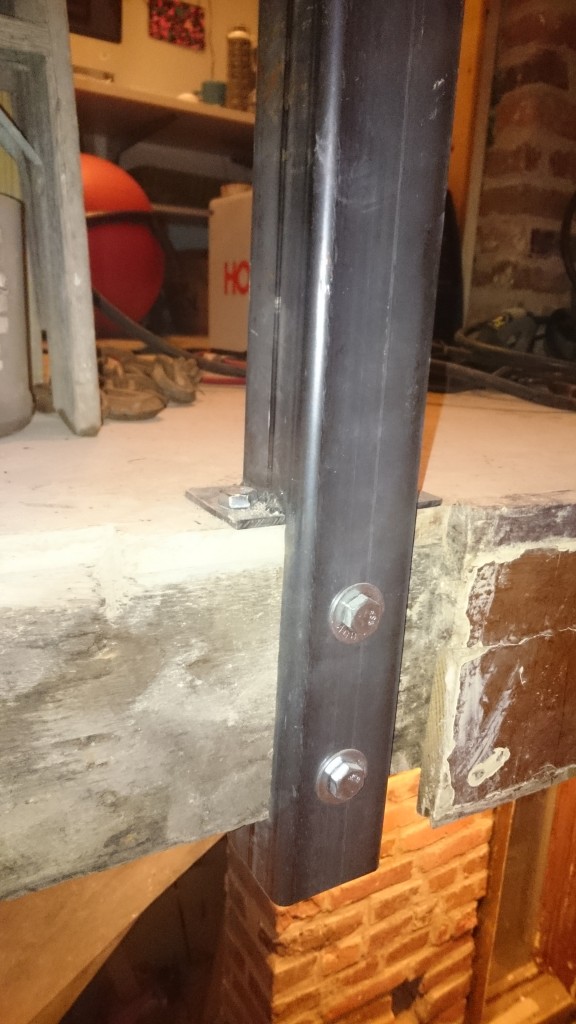
This post won’t be going anywhere.
For the left stringer, we could just copy the angle and placement of the right one. This let me pre cut the piece in the basement and lighten my load. We tacked it on up top and hinged it down until it’s angle lined up visually with the other. Made sure it was level and tacked it in to place. I wasn’t completely sure on the length though so I cut that in place once we figured out where the post needed to go.
Install post, level everything then weld.
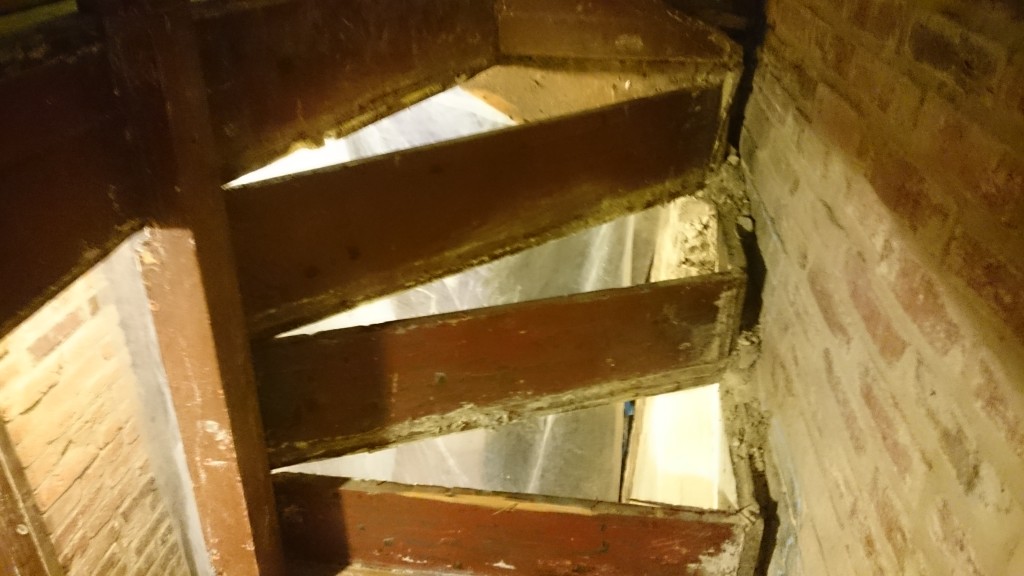
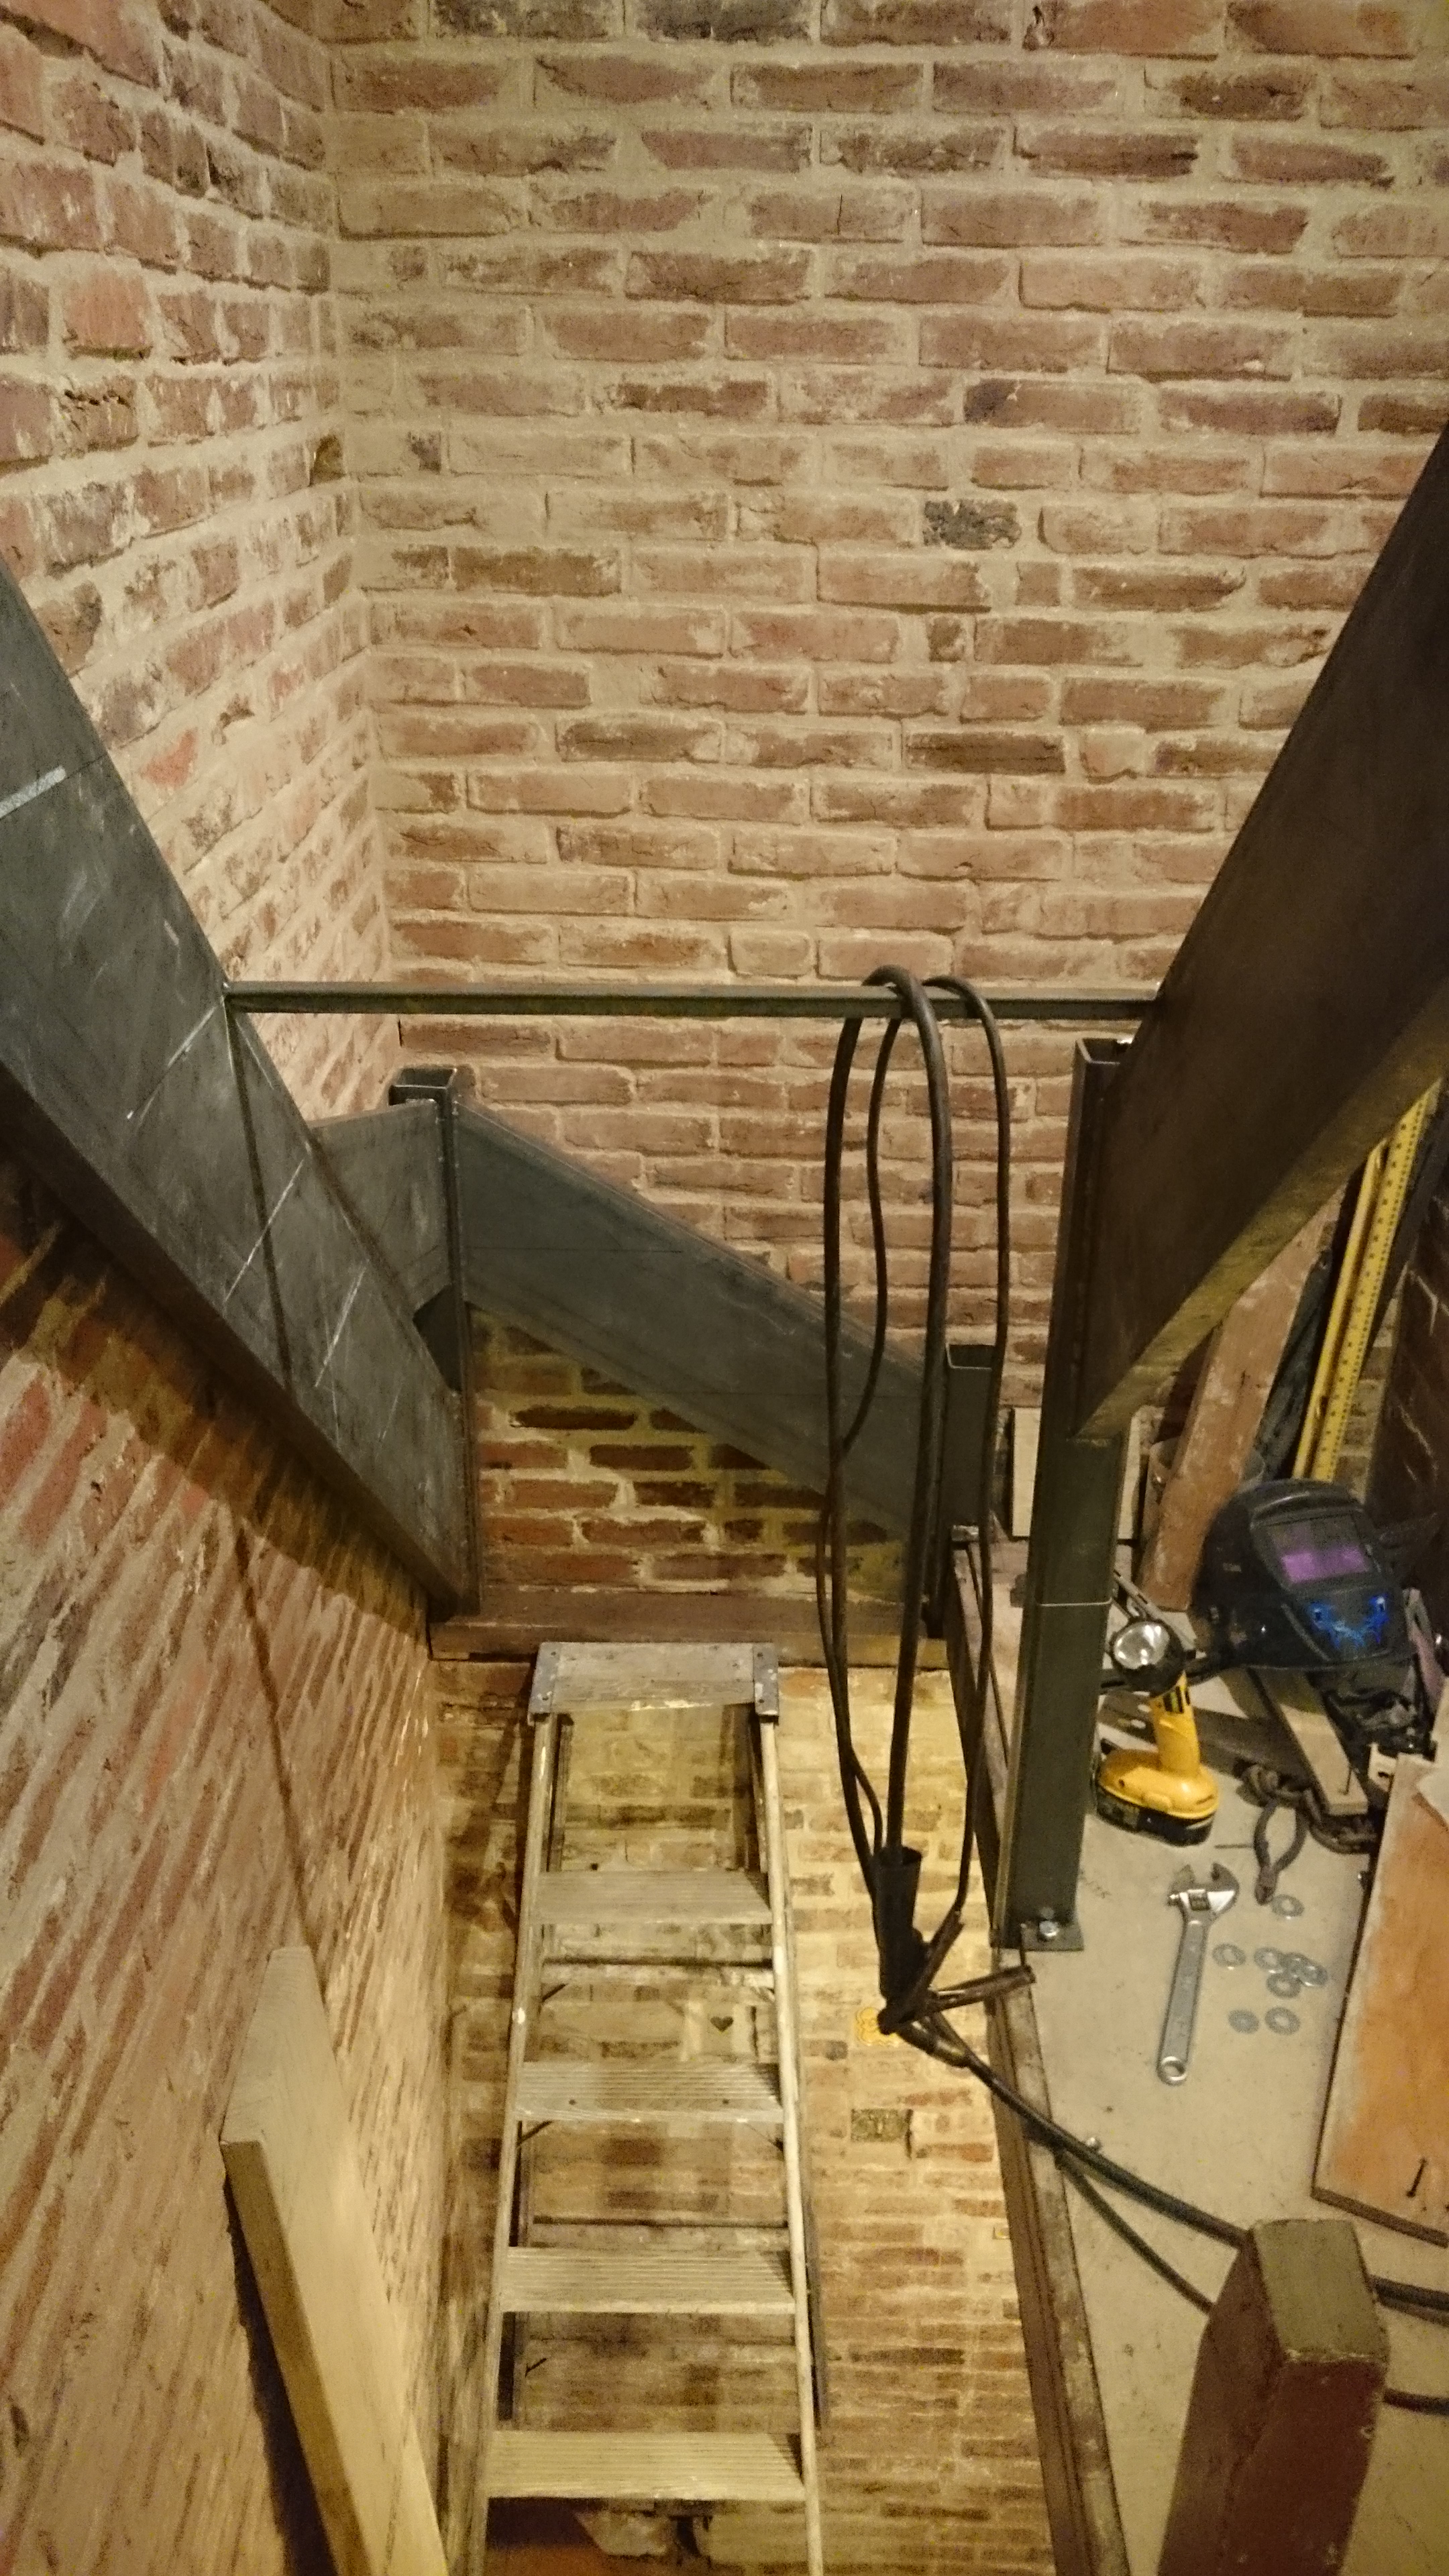
This is how far we got all weekend. Doesn’t seem like much, but there was a whole lot of problem solving and learning that went into this first of two sets of stairs. I still need to cut 2 small pieces for the outside of the “spiral”. This section is a different angle than the straight section.
 After that we’re at a standstill on the stairs. I will need to weld on angles to mount the treads to, but until I plane down the wood, I won’t know what that thickness will be. Can’t paint them until I have the brackets welded on.
Update:
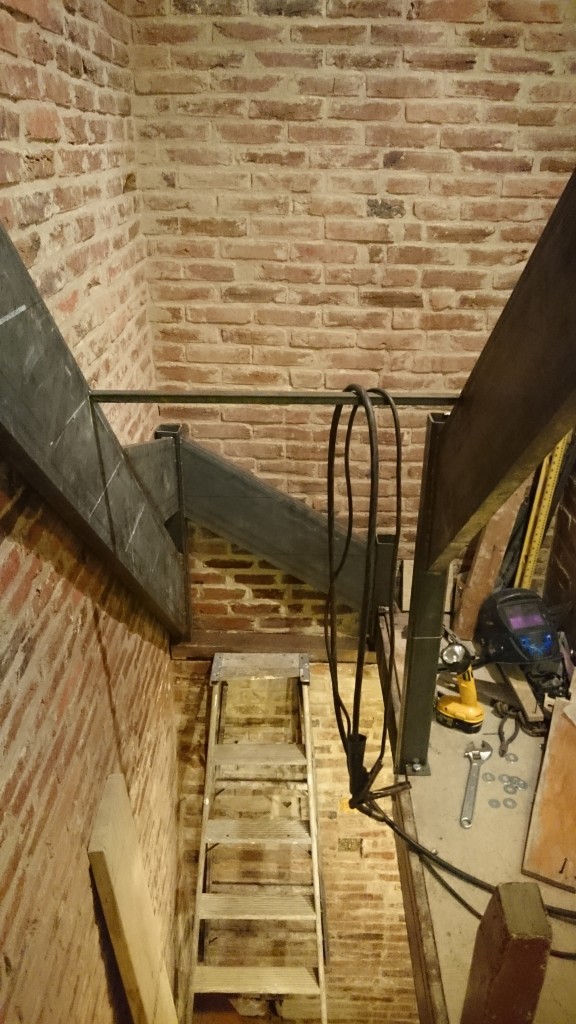
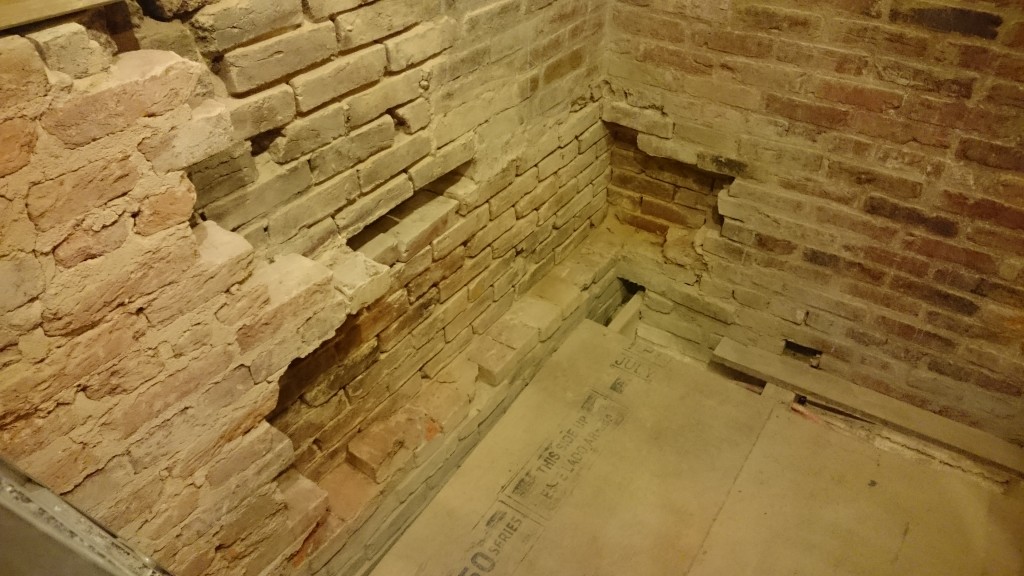
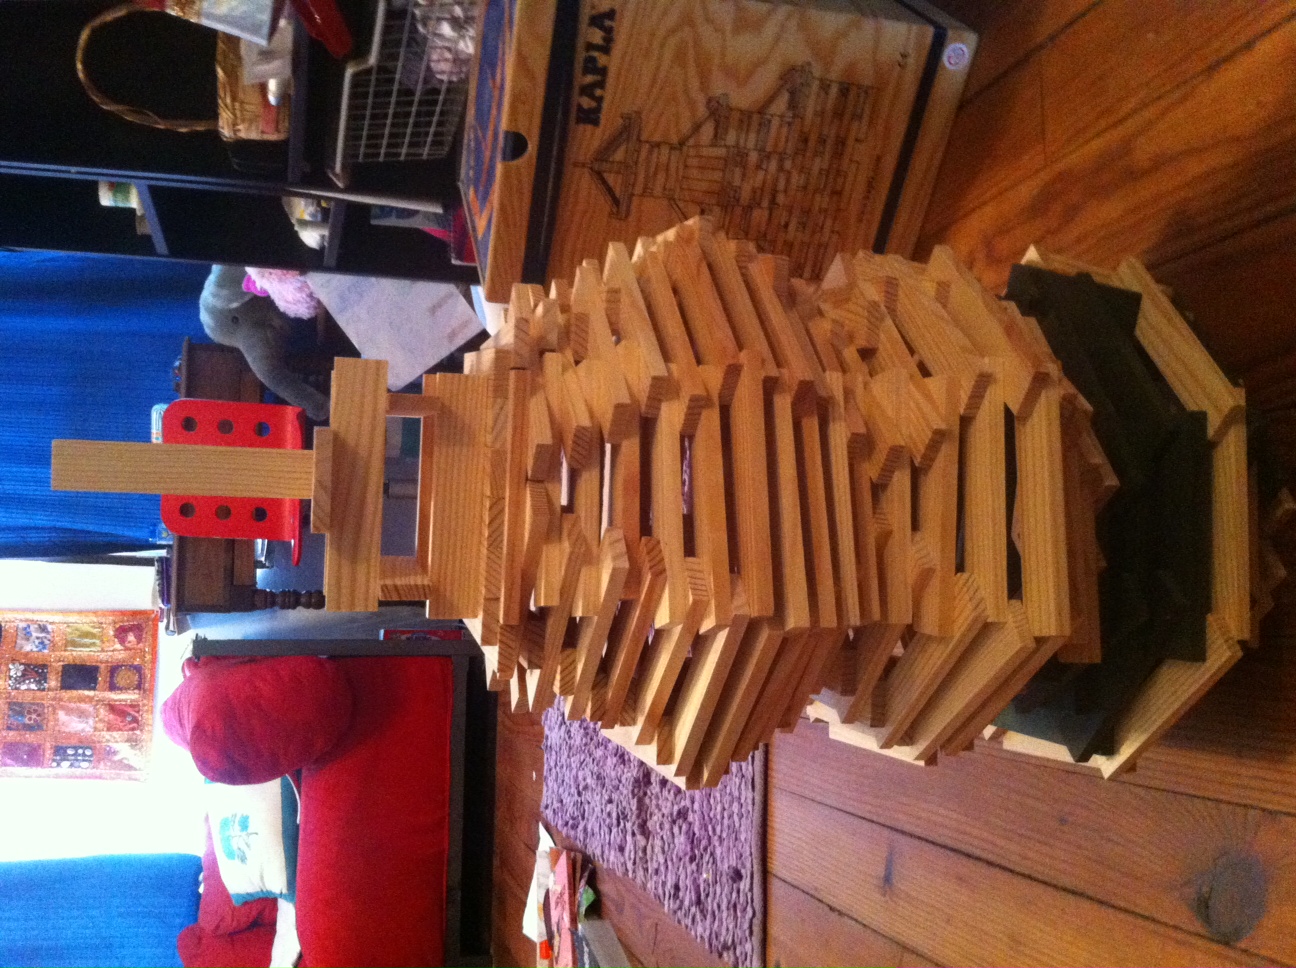
One last photo of the bottom which will support the outside of the quarter spiral (3 steps in 90 degrees).