• About Us

Formstone Castle

~ in Baltimore, Maryland

Formstone Castle

Category Archives: Arduino

Light City 2017 – Part II

01 Monday May 2017

Posted by Mike in Arduino, Art

≈ Leave a Comment

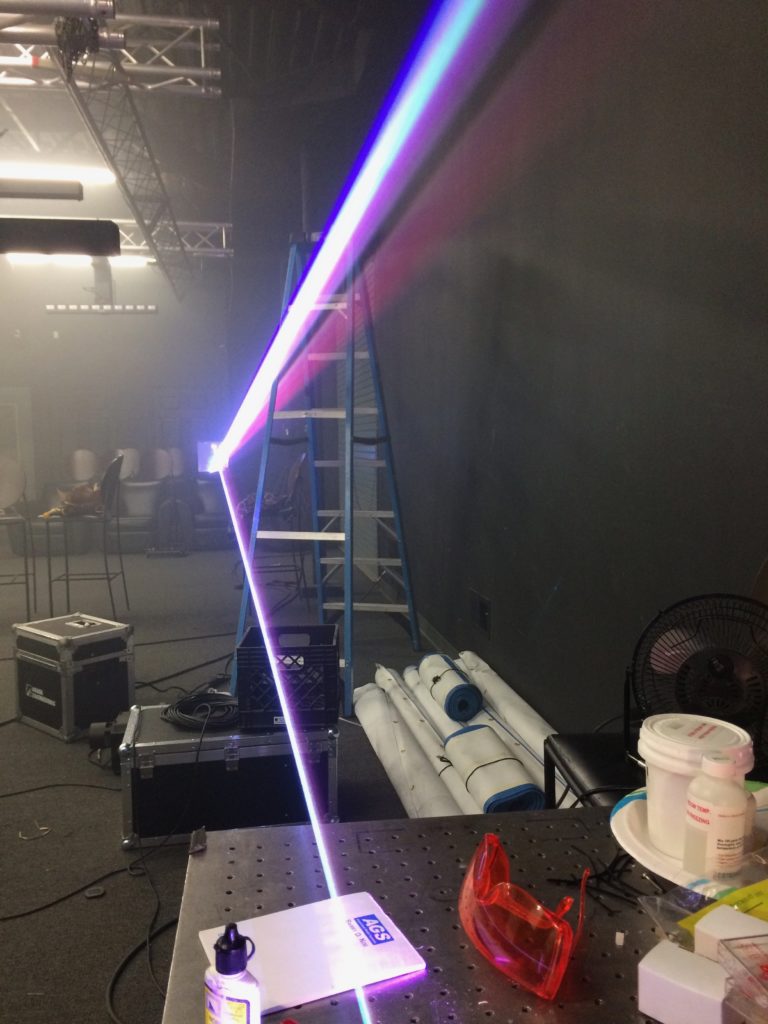
Following Puerto Rico, I was offered a gig building lasers for a company in Baltimore.  I had been out of work for a few months and needed the money so I took on several weeks to build 30 lasers for Paul McCartney’s world tour.  It would test my time management skills, but the practice in soldering and crimping would save my butt in the end.

The next few months was a balancing act.  Every hour not working on lasers was money lost, but an hour less to work on the couch.  We had a few things to figure out and build beyond the upgraded brakes and wheels.  A coffee table, side pods covering the wheels, back and front panels and chandeliers.

Luckily we had some collaborators all doing their part.  Adam had the music pretty much by January so we had music to listen to while working.

Charlotte was working on the creature outfit.  She had the ghillie suit but wasn’t sure where to go next.  We wanted to hang out anyway so we headed out on an expedition to find inspiration around the harbor itself.  This helped her get a idea of the way the trash and weeds and bay become intertwined.

An inspirational walk

And Katlyn worked on the mural for the back first drawing up a everything on the computer in order set up the layers and then being able to project it on to the wall.  The end result is pretty incredible and a piece of hangable art all by itself.

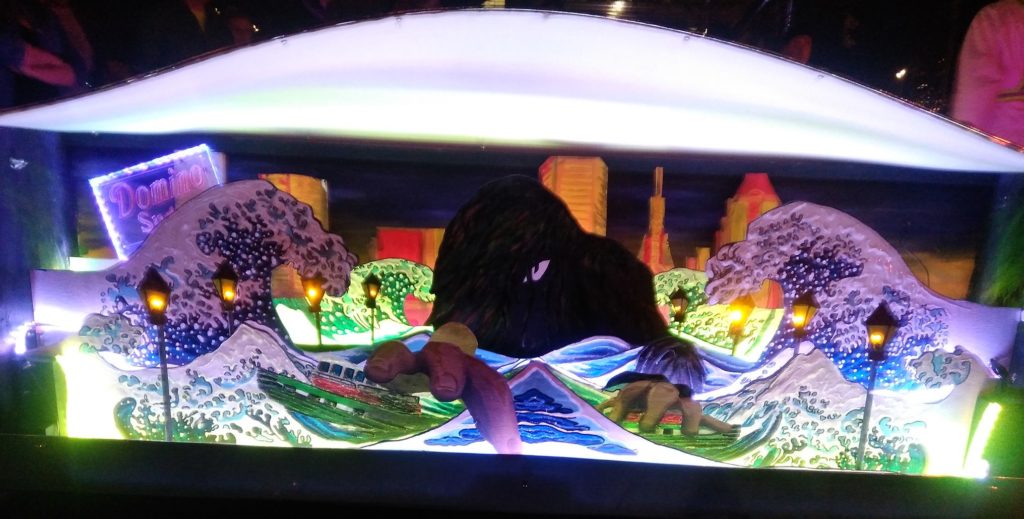
Katlyn’s amazing mural showing The Wave, a painting from Baltimore’s sister city Kawasaki Japan as it crashes over the Fells Point Pier

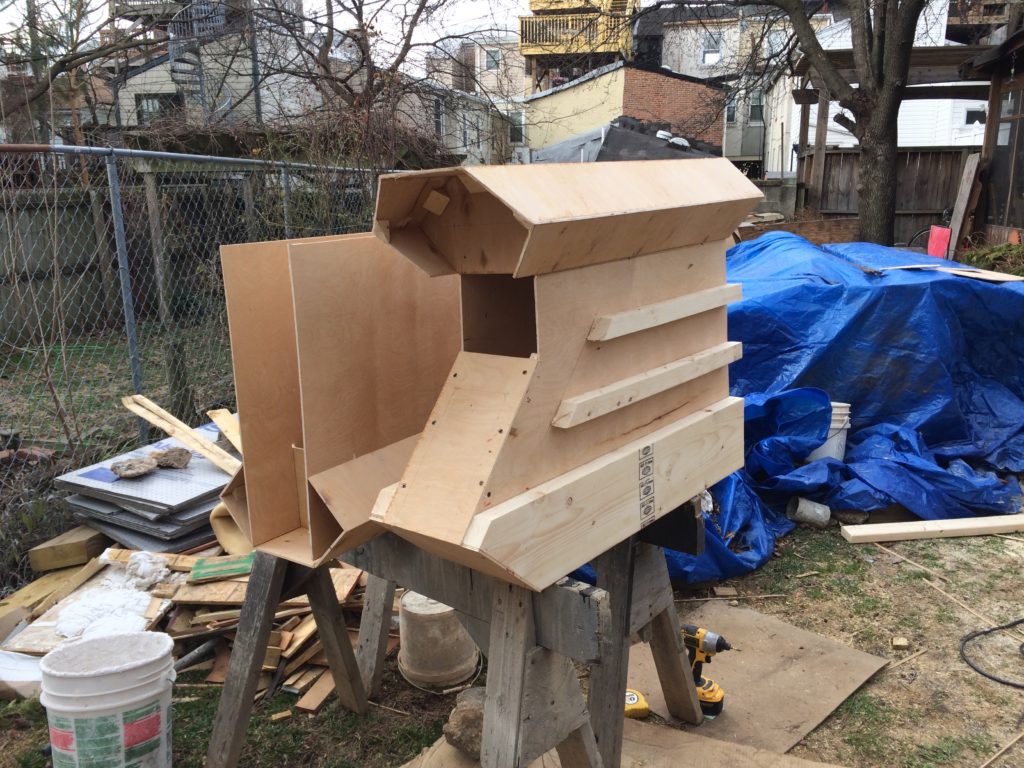
First I found time to build up the side pods.  We used thin plywood panels reinforced with bulkheads and mostly wood glued together.  This we covered with chrome vinyl.

It’s pretty amazing how close this turned out to the renderings considering I was just winging it the whole time.

From there we played around with our materials and found a cool way to put LED strips behind chrome covered acrylic.  When the lights were off it was just chrome, but when they were on the would since right through.

<iframe width=”854″ height=”480″ src=”https://www.youtube.com/embed/HR0nLiYf1GY” frameborder=”0″ allow=”autoplay; encrypted-media” allowfullscreen></iframe>

For the table we decided we wanted it to look thick, but not weigh or cost a ton so we drew it up on Sketchup to get the most out of a single 4×8 sheet of 3/8″ acrylic.  We doubled up the perimeter to 3/4″ by welding them together and added 4″ underneath to make it more rigid.  We sort of got it right, but with a ton of mini bubbles trapped inside.  Whatever!  Cleaned up the sides and lit it with a strip in the center.  It was amazing at night.  The acrylic carries the light from the led’s through to the edge where it GLOWS.


Once the table was done we needed to put some things on it.  A global positioning system and some disco snacks.

I had to wire up each piece of fruit.  4 male, 4 female pins on each.  Something like 80 pins to crimp total.  Can plug it into a regular 12v power brick though and is controlled by a remote so we can use it anywhere in the house.

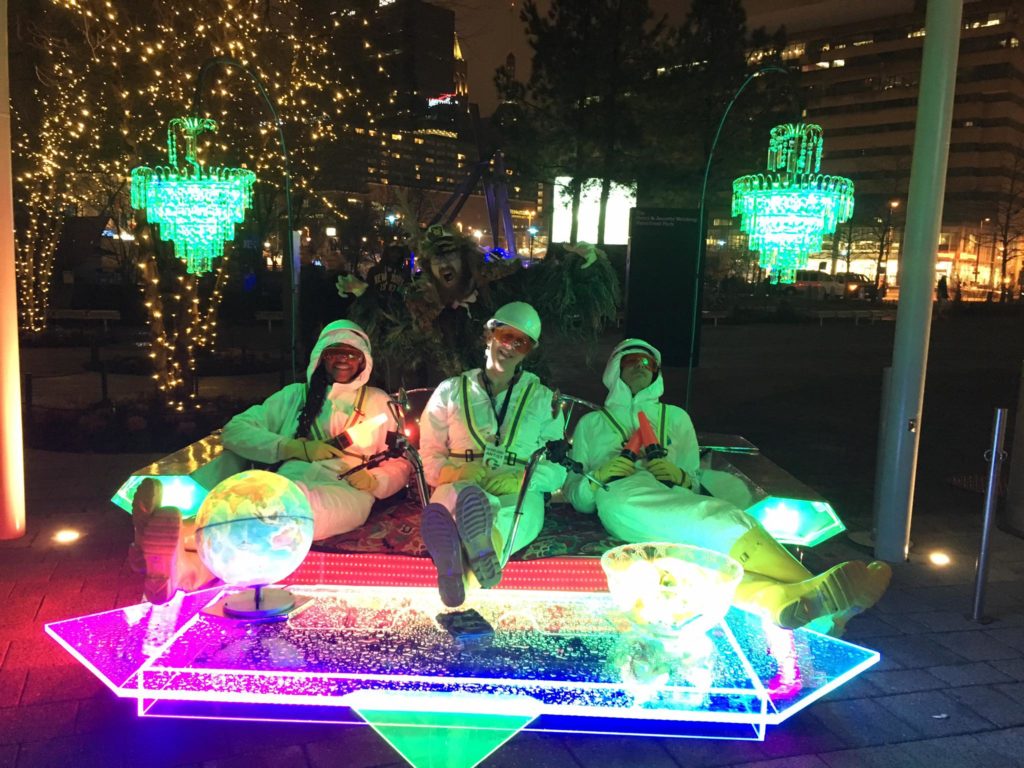
In the end we built a pretty sweet couch

Beyond the physical couch was the hours of work provided by our performance artists / spotters.  For six hours each night, our team of dedicated workers would suit up and escort the couch around little piece of the festival.

Here is how our home automation is going to work…

08 Thursday Nov 2012

Posted by Mike in Arduino

≈ Leave a Comment

Core Plumbing is Done!

24 Wednesday Oct 2012

Posted by Mike in Arduino, Home Improvement

≈ 1 Comment

Tags

Arduino, Furnace, Heating, Noritz, PEX, Radiant Floor, Radiantec, renovations, Water Heater

Core Plumbing

I’ve finally gotten enough done on our core plumbing that I’m willing to post a photo.  This has been my baby for a few months and I’m obsessed with every detail.  As with most of the other projects, we’re aiming to save as much space as possible. We have reduced our entire heating, hot water, gas and water distribution systems from a furnace, water heater, ducting, and associated plumbing into a 4′ wide x 5′ tall x 1′ deep corner.  This transforms a basement only fit for storage into one fit for a workshop.  We’ve gained a full floor on our house.

Here is how the system works:

Water enters from the city via a 3/4″ copper pipe (lower left) through a code required back-flow preventer and expansion tank into our 1″ radiant floor manifold.  From there 3 pumps send water to each of our 3 floors (once we hook up the PEX you see in the top right), back to the lower manifold, through the tankless [high-efficiency condensing] water heater, through a 1 way valve and back around again.

This design uses manifolds made by Radiantec and is laid out based on their reference design.  I’ve made a few slight changes to save space, but keep everything oriented as they suggest.  They key was layering everything in planes.  I planned this out in Sketchup which really helped to visualize different layouts before I even had the parts in hand.

We get hot water out of the system for the house from just after the water heater and before the heating circuit’s one way valve.  Hot water that is removed is replaced by water from the water main.  Cold water for the house comes from different parts of the system depending on the position of a manual diverter valve. When we are heating the floors, the valve pulls cold water from the main before it gets to the heating circuit.  When we are not heating the floors, cold water has to go through all of the floors before being taken out before the water heater.  In addition to preventing stagnation during the summer, this is supposed to supplement our cooling by removing a few BTUs of heat via the floors as we use water.  Summer heat literally goes down the drain.  The downside of this is that our “cold” water will now be room temperature.  Since I dont like drinking warm water, we’re going to tap into the main just after the back-flow preventer for nice cold drinking water which we will run through filter to remove the city water taste.

Due to the efficiency of the water heater and its low exhaust gas temperatures we are able to use PVC pipe for the intake and exhaust (top).  This is going to be run across the ceiling and out the side wall into the alley.  The run is short enough and has so few bends that we can get away with running 3″ PVC.

The electricity has not yet been run around the basement.  We will need around 1 amp for each pump and an amp for the water heater itself.  We’ve decided to try and build our own thermostat based on an Arduino microcontroller.  Input will be temperature sensors in the floors of each room (Dallas DS18B20) and output will be solid state relays which can supply up to 2 amps per circuit.  I’ve come up with a simple algorithm that turns the pumps on if the temperature is below a set point (and off when they reach the set point + hysteresis).   The hard part is the interface.  We have an Arduino Ethernet shield which allows us to connect to the controller via our network (and the Internet).  I’m hoping to make apps for our phones that allow us to set the temperature and check the status of the house from anywhere with a wifi connection.  Data logging is also a goal.  This is going to take a little while to implement so for now we’ll set the temperature with a laptop via USB.

Arduino Thermostat First Code

10 Wednesday Oct 2012

Posted by Mike in Arduino

≈ Leave a Comment

Prototype

1st step towards our DIY Arduino thermostat has been taken. Currently reading 7 sensors over the 1-wire bus. Next step is to make some limits and have the software turn on LEDs (stand ins for our relay switched 120v 1A circulator pumps).

♣ Recent Posts

  • After a Decade, the Bathroom Wall is Done!
  • Paid Off the Mortgage
  • Mesh Panels
  • The Giant Deck Update
  • Light City 2018 – What Lies Beneath

♣ Recent Comments

  • Iris on Security
  • Iris on The Kinetic Couch Awakens
  • Iris on The Kinetic Couch Awakens
  • Iris on The Kinetic Couch Awakens
  • Micah on Core Plumbing is Done!

♣ Archives

  • January 2023
  • June 2020
  • April 2020
  • March 2019
  • May 2018
  • March 2018
  • May 2017
  • April 2017
  • February 2016
  • January 2016
  • October 2015
  • September 2015
  • June 2015
  • April 2015
  • March 2015
  • February 2015
  • January 2015
  • December 2014
  • November 2014
  • August 2014
  • July 2014
  • June 2014
  • May 2014
  • February 2014
  • January 2014
  • December 2013
  • November 2013
  • September 2013
  • August 2013
  • July 2013
  • June 2013
  • May 2013
  • April 2013
  • March 2013
  • February 2013
  • December 2012
  • November 2012
  • October 2012
  • September 2012
  • August 2012
  • July 2012

♣ Categories

  • Alcohol
  • Arduino
  • Art
  • Building
  • Cats
  • History
  • Holidays
  • Home Improvement
  • Sketchup 3D
  • Space

♣ Meta

  • Log in
  • Entries feed
  • Comments feed
  • WordPress.org

Proudly powered by WordPress Theme: Chateau by Ignacio Ricci.