The Plan for Tonight
11 Tuesday Sep 2012
Posted in Sketchup 3D
11 Tuesday Sep 2012
Posted in Sketchup 3D
10 Monday Sep 2012
Posted in Home Improvement
With big plans to fly through the floor and get right to the walls, we hit a major set back once the floor was up. The two joists under the side window had been water damaged on the end and were no longer supporting the floor.
It took all day to fix these by cutting off 3 feet from the end, and sandwiching pressure treated wood between two 2x8s. We also leveled the other 4 joists with treated shims. The end result is a strong and level base for Siri’s bathroom tile to sit on.
Put up walls on Sunday? Nope. Dad suggested we do the drain plumbing while everything was easy to get to. We had to put a hole in the external brick wall for a 3″ drain and remove the 4″ cast iron stack. We also decided that while we were at Home Depot getting plumbing supplies, we should also get all of the dry wall for the 2nd and 3rd floors. Why now? It would be impossible to get large sheets up the stairway so its best we slide it up through the open floor while we still can. This took us into the afternoon.
Finally, late Sunday afternoon, with the joists repaired, the plumbing in and the drywall stacked in the corner, we got to cut and lay down the plywood floor. Although it took longer than I had hoped to get to this point, I believe this will save us time and hassle in the future by better support the bathrooms tile flooring.

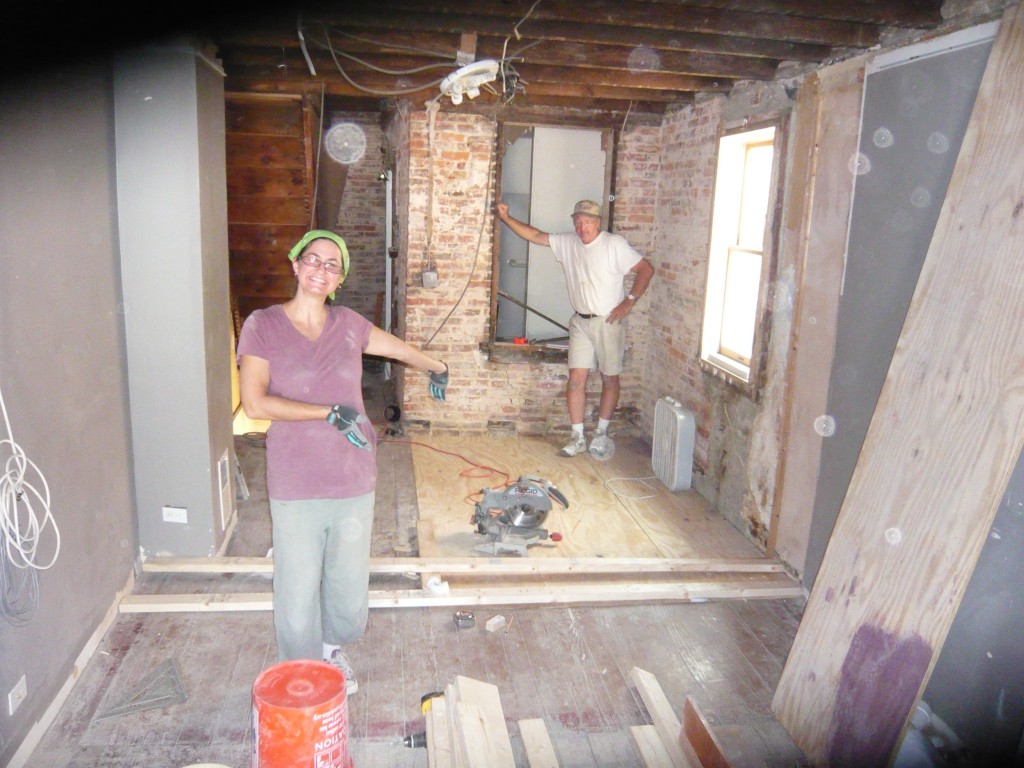
Siri and dad showing off the new bathroom subfloor! Thanks mom & dad for coming down and helping all weekened.
Next step is building our bathroom walls. Hopefully I learned enough this past weekend to do it right.
09 Sunday Sep 2012
Posted in Home Improvement
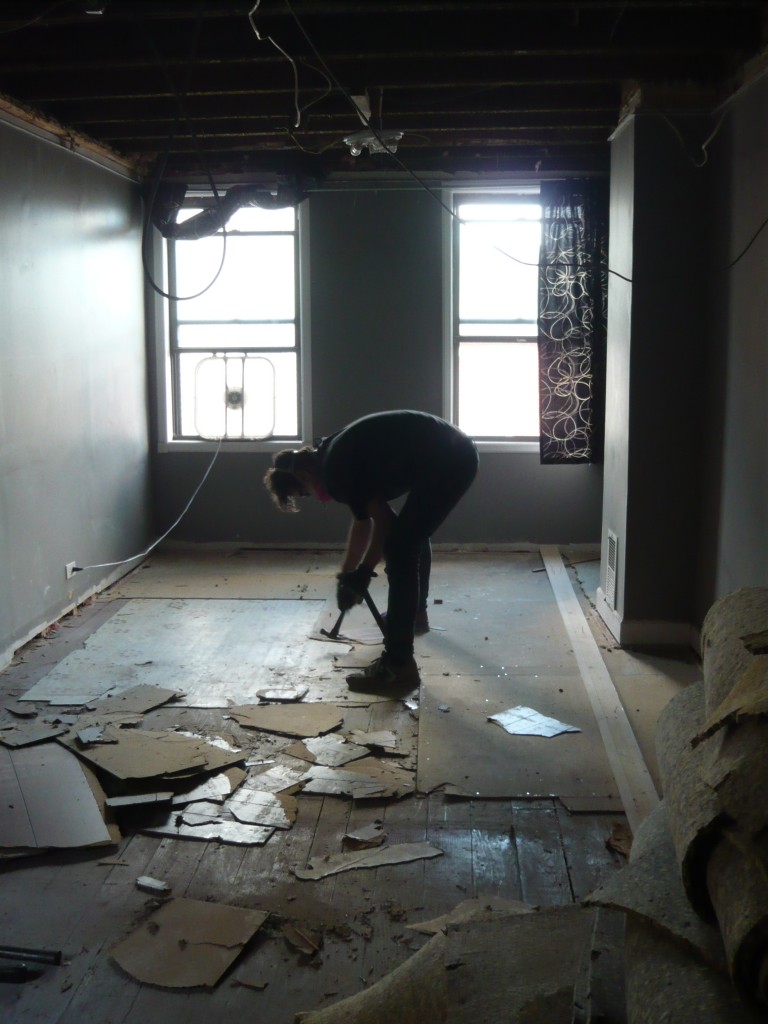
To prepare for our radiant floor heating, we had to remove all the layers of flooring down to the original 130 year old wood flooring. I thought this could wait until last until I realized the nails from the sub flooring could possibly puncture the radiant heat’s PEX tubing. The layers consisted of: carpet, foam, wood paneling subfloor, linoleum, amazingly preserved newspapers from 1953, paint, and finally the original wood flooring.

The layers coming up. It would have went faster had it not been for the thousands of nails holding down the sub floor.
The original wood flooring is in decent condition, but not perfect. When the house was retrofitted with electric, they simply tore up the floor boards above where they needed to run wires, breaking the tongue & groove. These should be replaced.
There was also some water damage where we are putting the new bathroom. After some thinking we decided to take up the floor boards and replace them with 3/4″ plywood in order to have a better base for the tile. Hopefully we will be able to save enough boards to replace the other damaged areas.
05 Wednesday Sep 2012
Posted in Home Improvement
Enough with the history posts, here is what we’ve been working on for what seems like forever: demolition. Probably 10 pickup truck loads to the dump by now. One of the earlier tasks was removing the wall between the kitchen and living room and plaster ceiling on the 1st floor:
We also decided to expose the brick on the party wall. A mountain of plaster was removed to do this. The mortar looks good enough that we’re considering not pointing it, but rather cleaning it up with a wire brush and sealing it. If you look closely, you can see we decided to keep some of the wall paper designs on the kitchen wall.
They’ve survived since maybe the 1940s; hopefully they will last through the rest of the renovation. The plan is to clean them up and place frames over them.
Final clean and sealing of the wall will need to wait though. We’ve got bigger fish to fry in the coming weeks. Stay tuned.