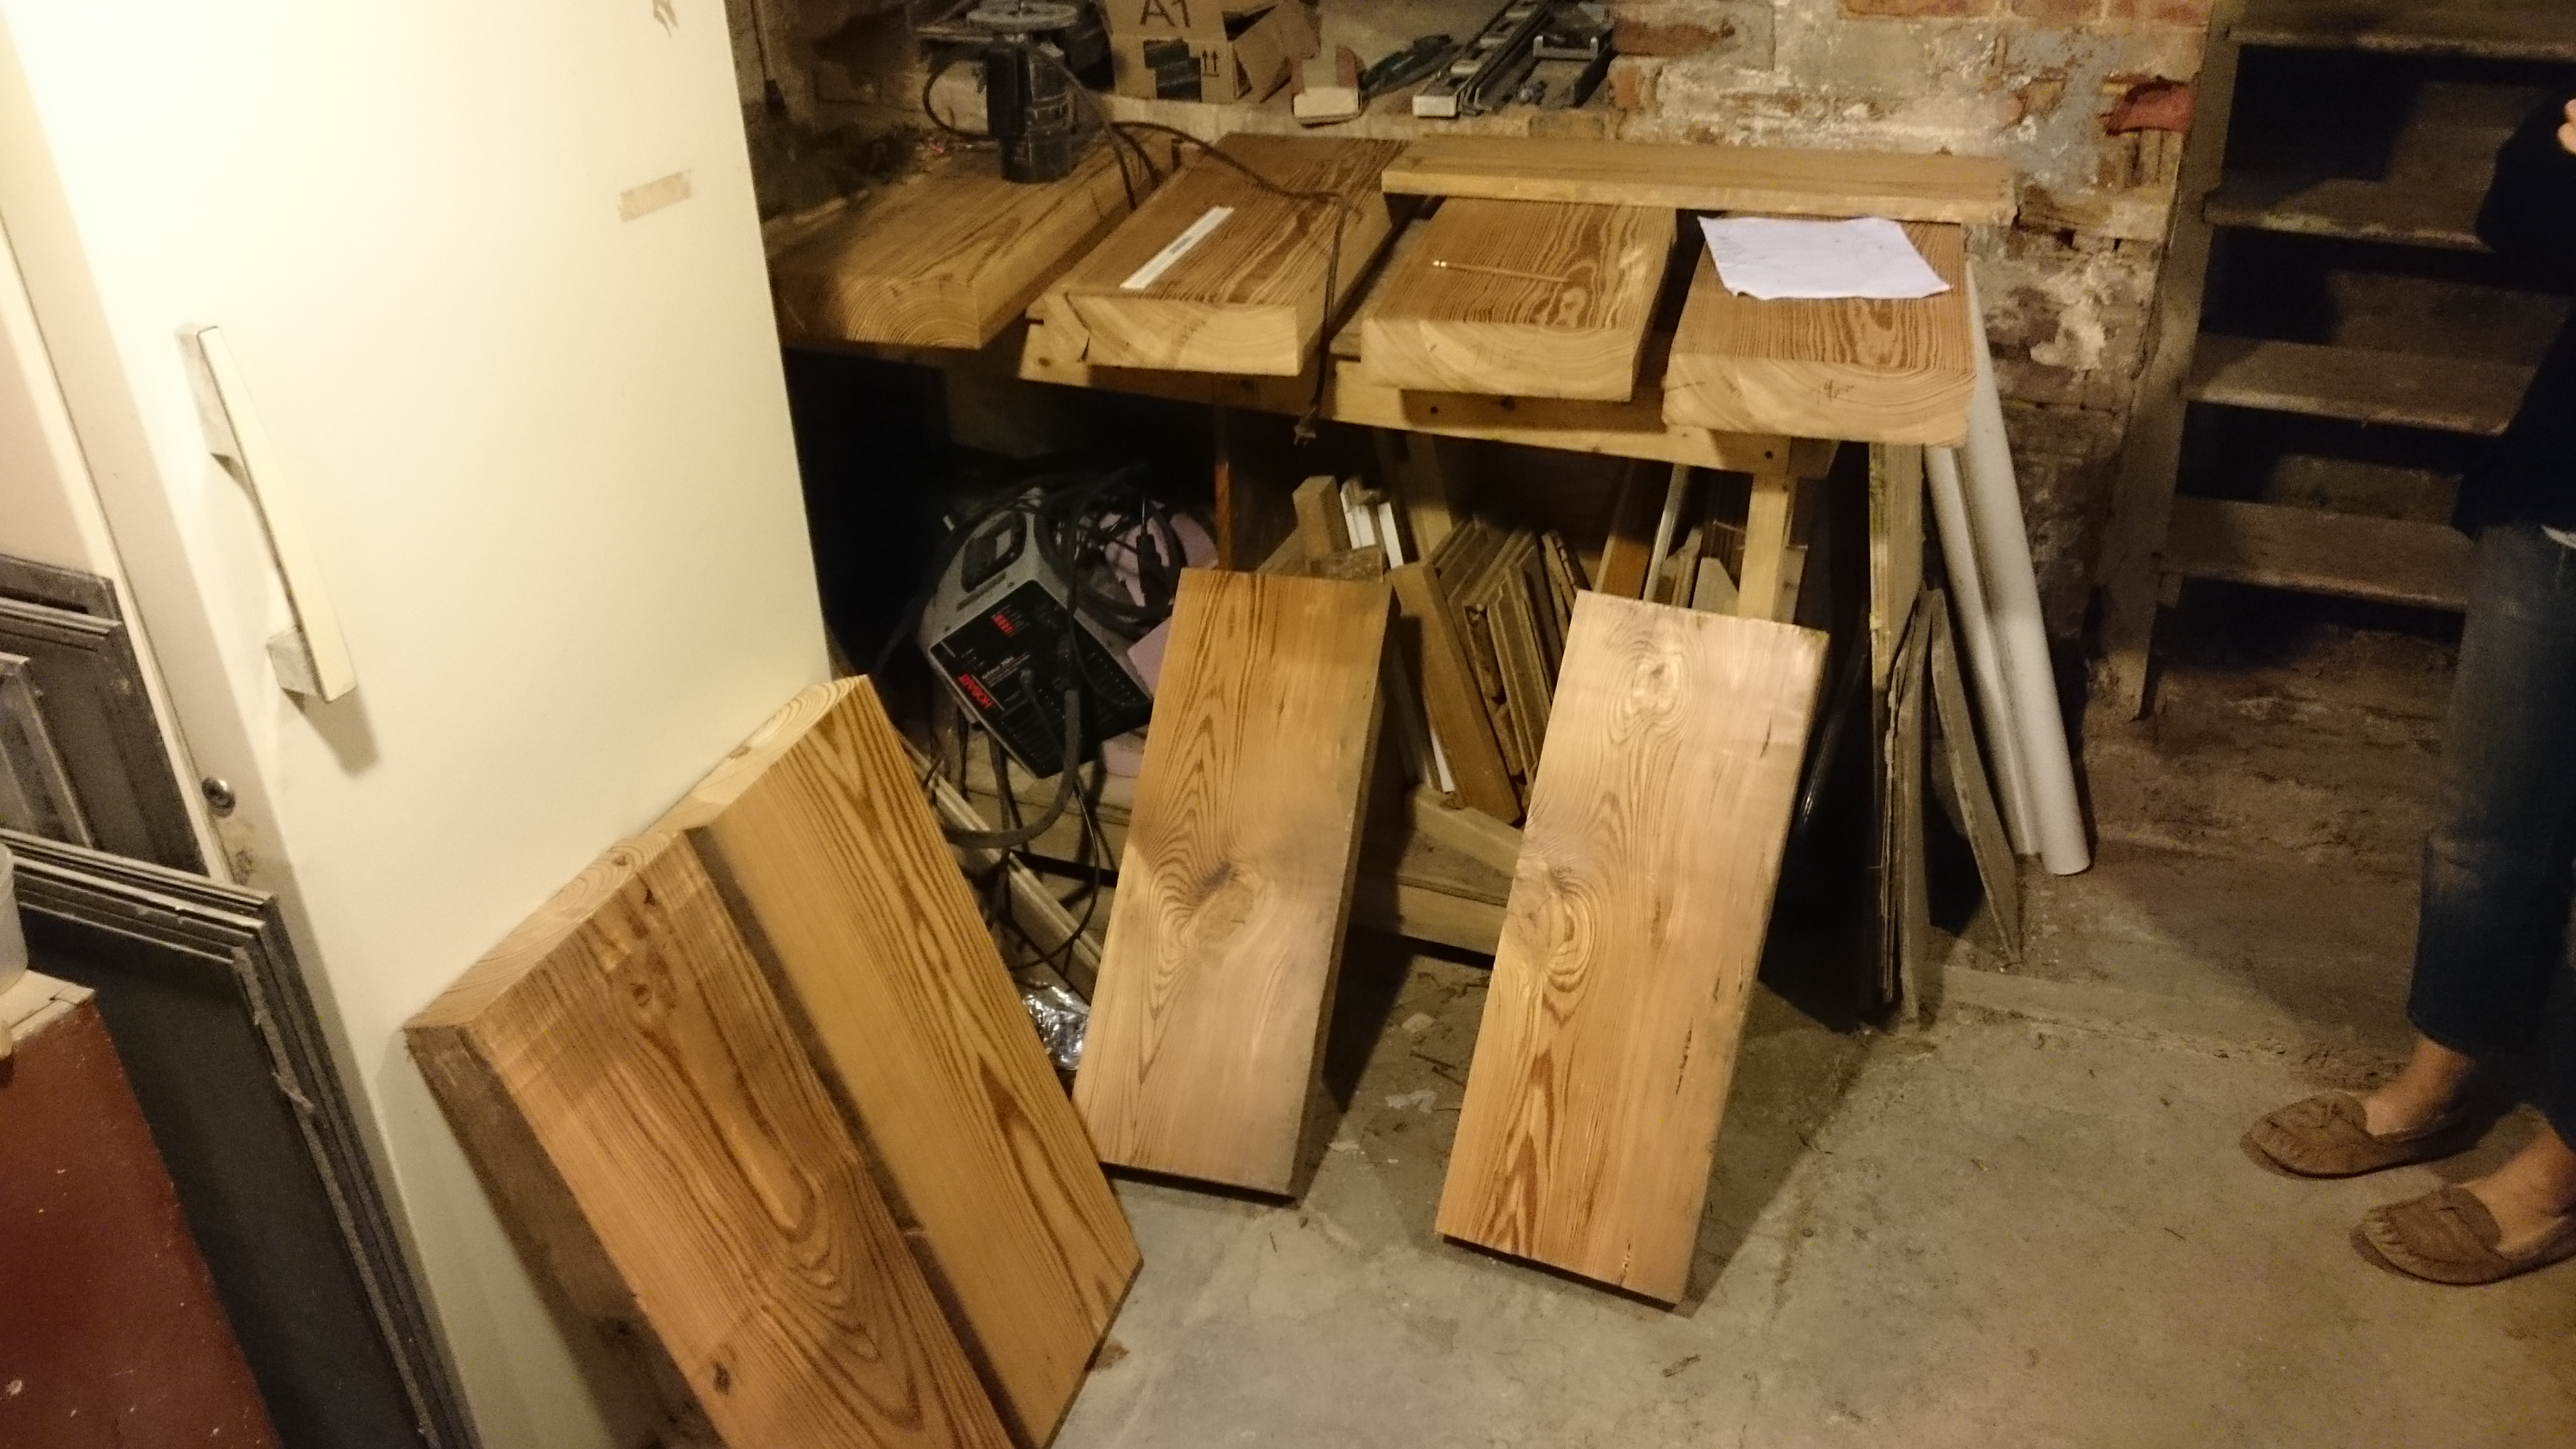
Once the steel was up, the focus shifted to the stair treads. For these we tracked down some giant joists that a friend was removing from an old warehouse. These things were precious (and cost a lot too). You can’t just buy 3×16″ old growth pine new, it needs to be salvaged from somewhere. We estimated we’d need about 60′ so we rounded up and got 70′ to be safe. We would need a total of 13 straight stairs (3″ x 10.5″ x 28″) as well as 11 corner stairs of varying sizes. I clean, measured and cataloged the wood. The wood was ripped down to <12″ to fit though the planer and then planed down (on one side) to 2 7/8″
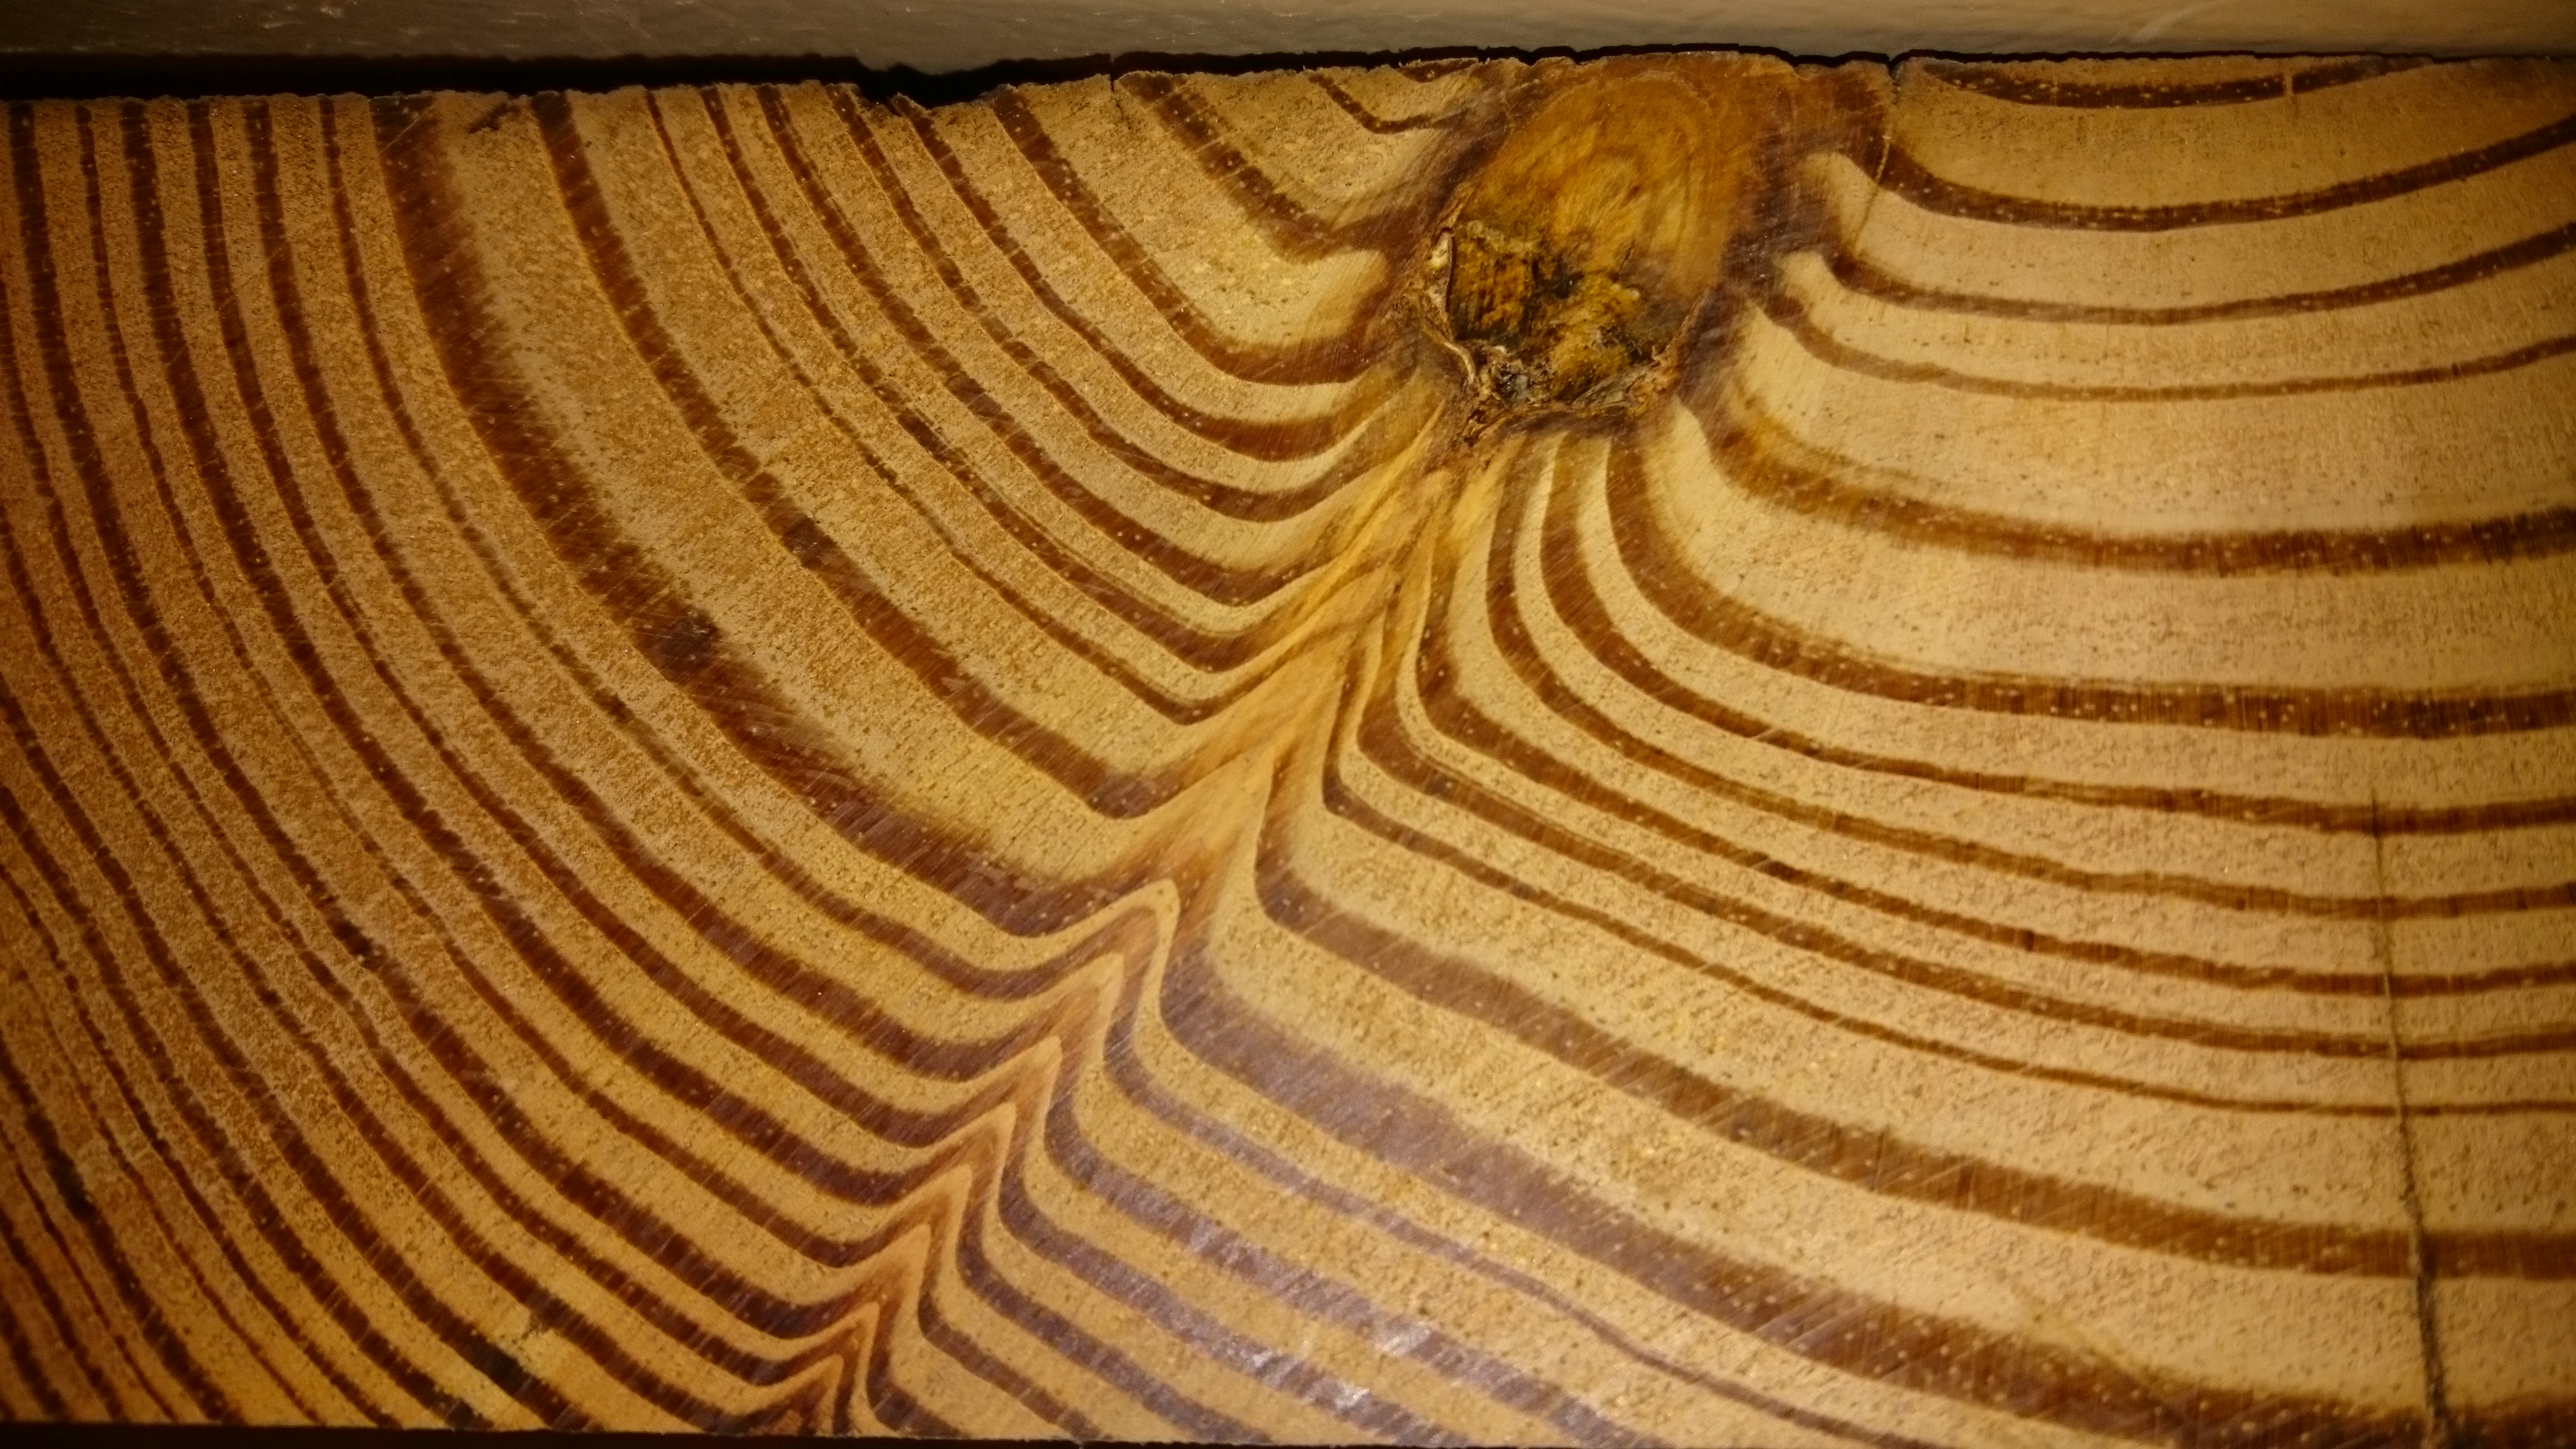
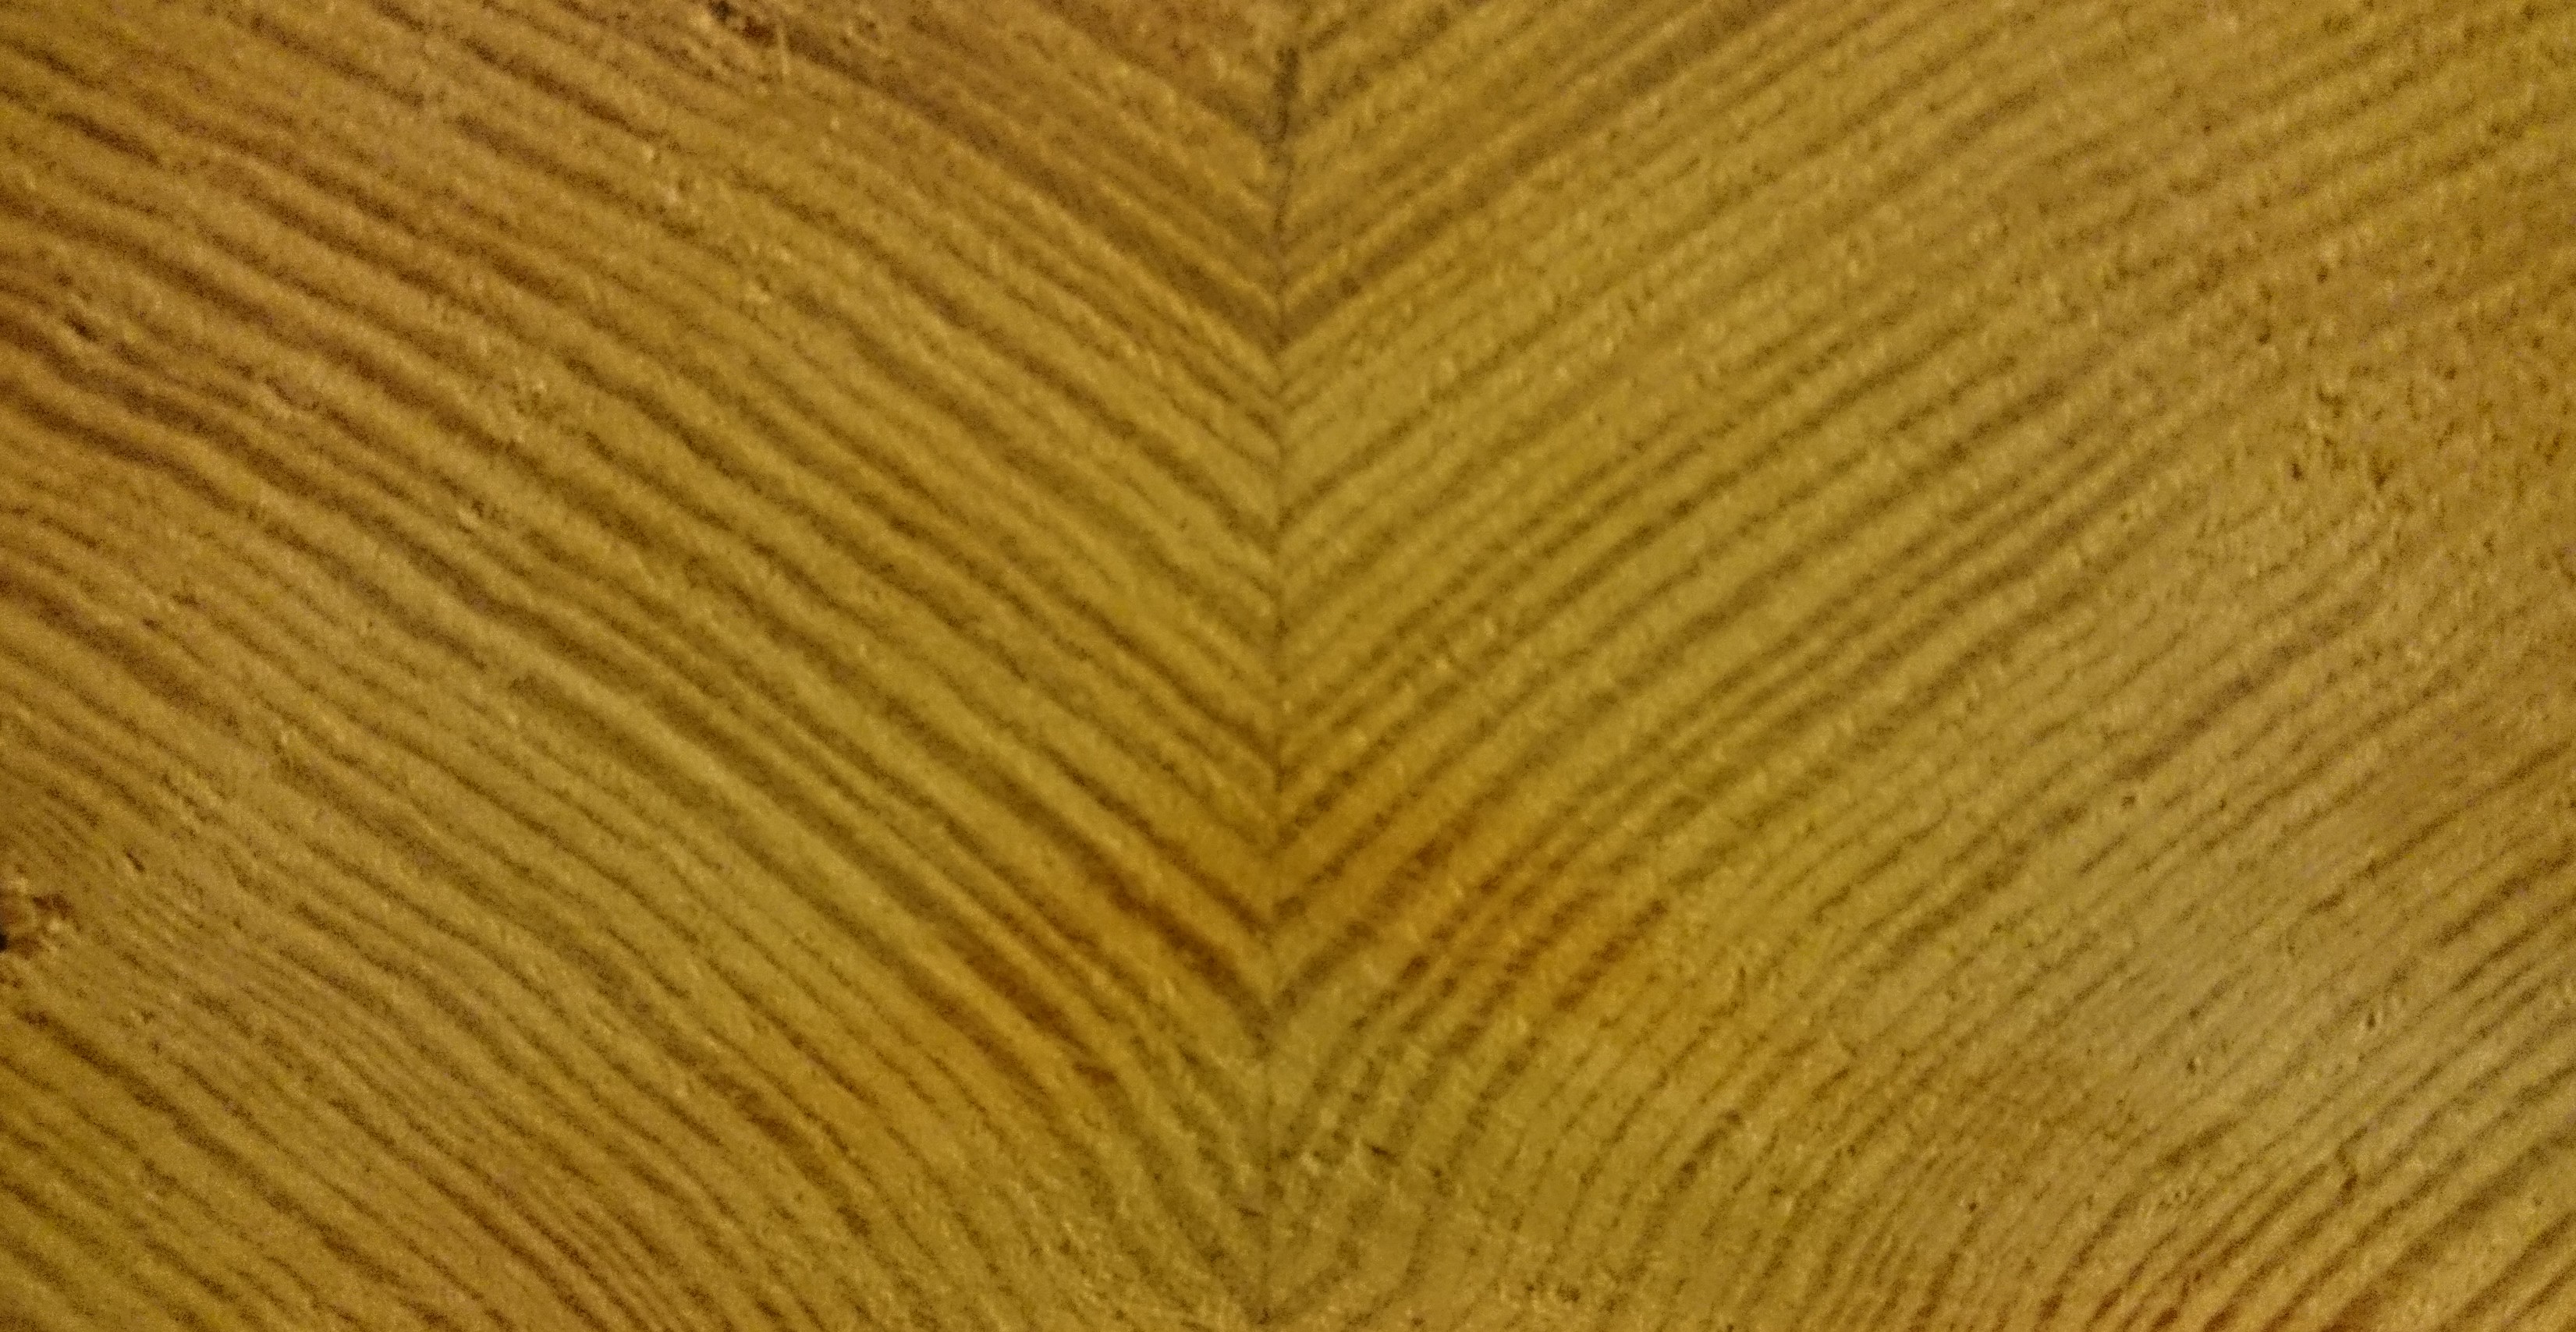
The wood grain of the treads is hypnotizing.
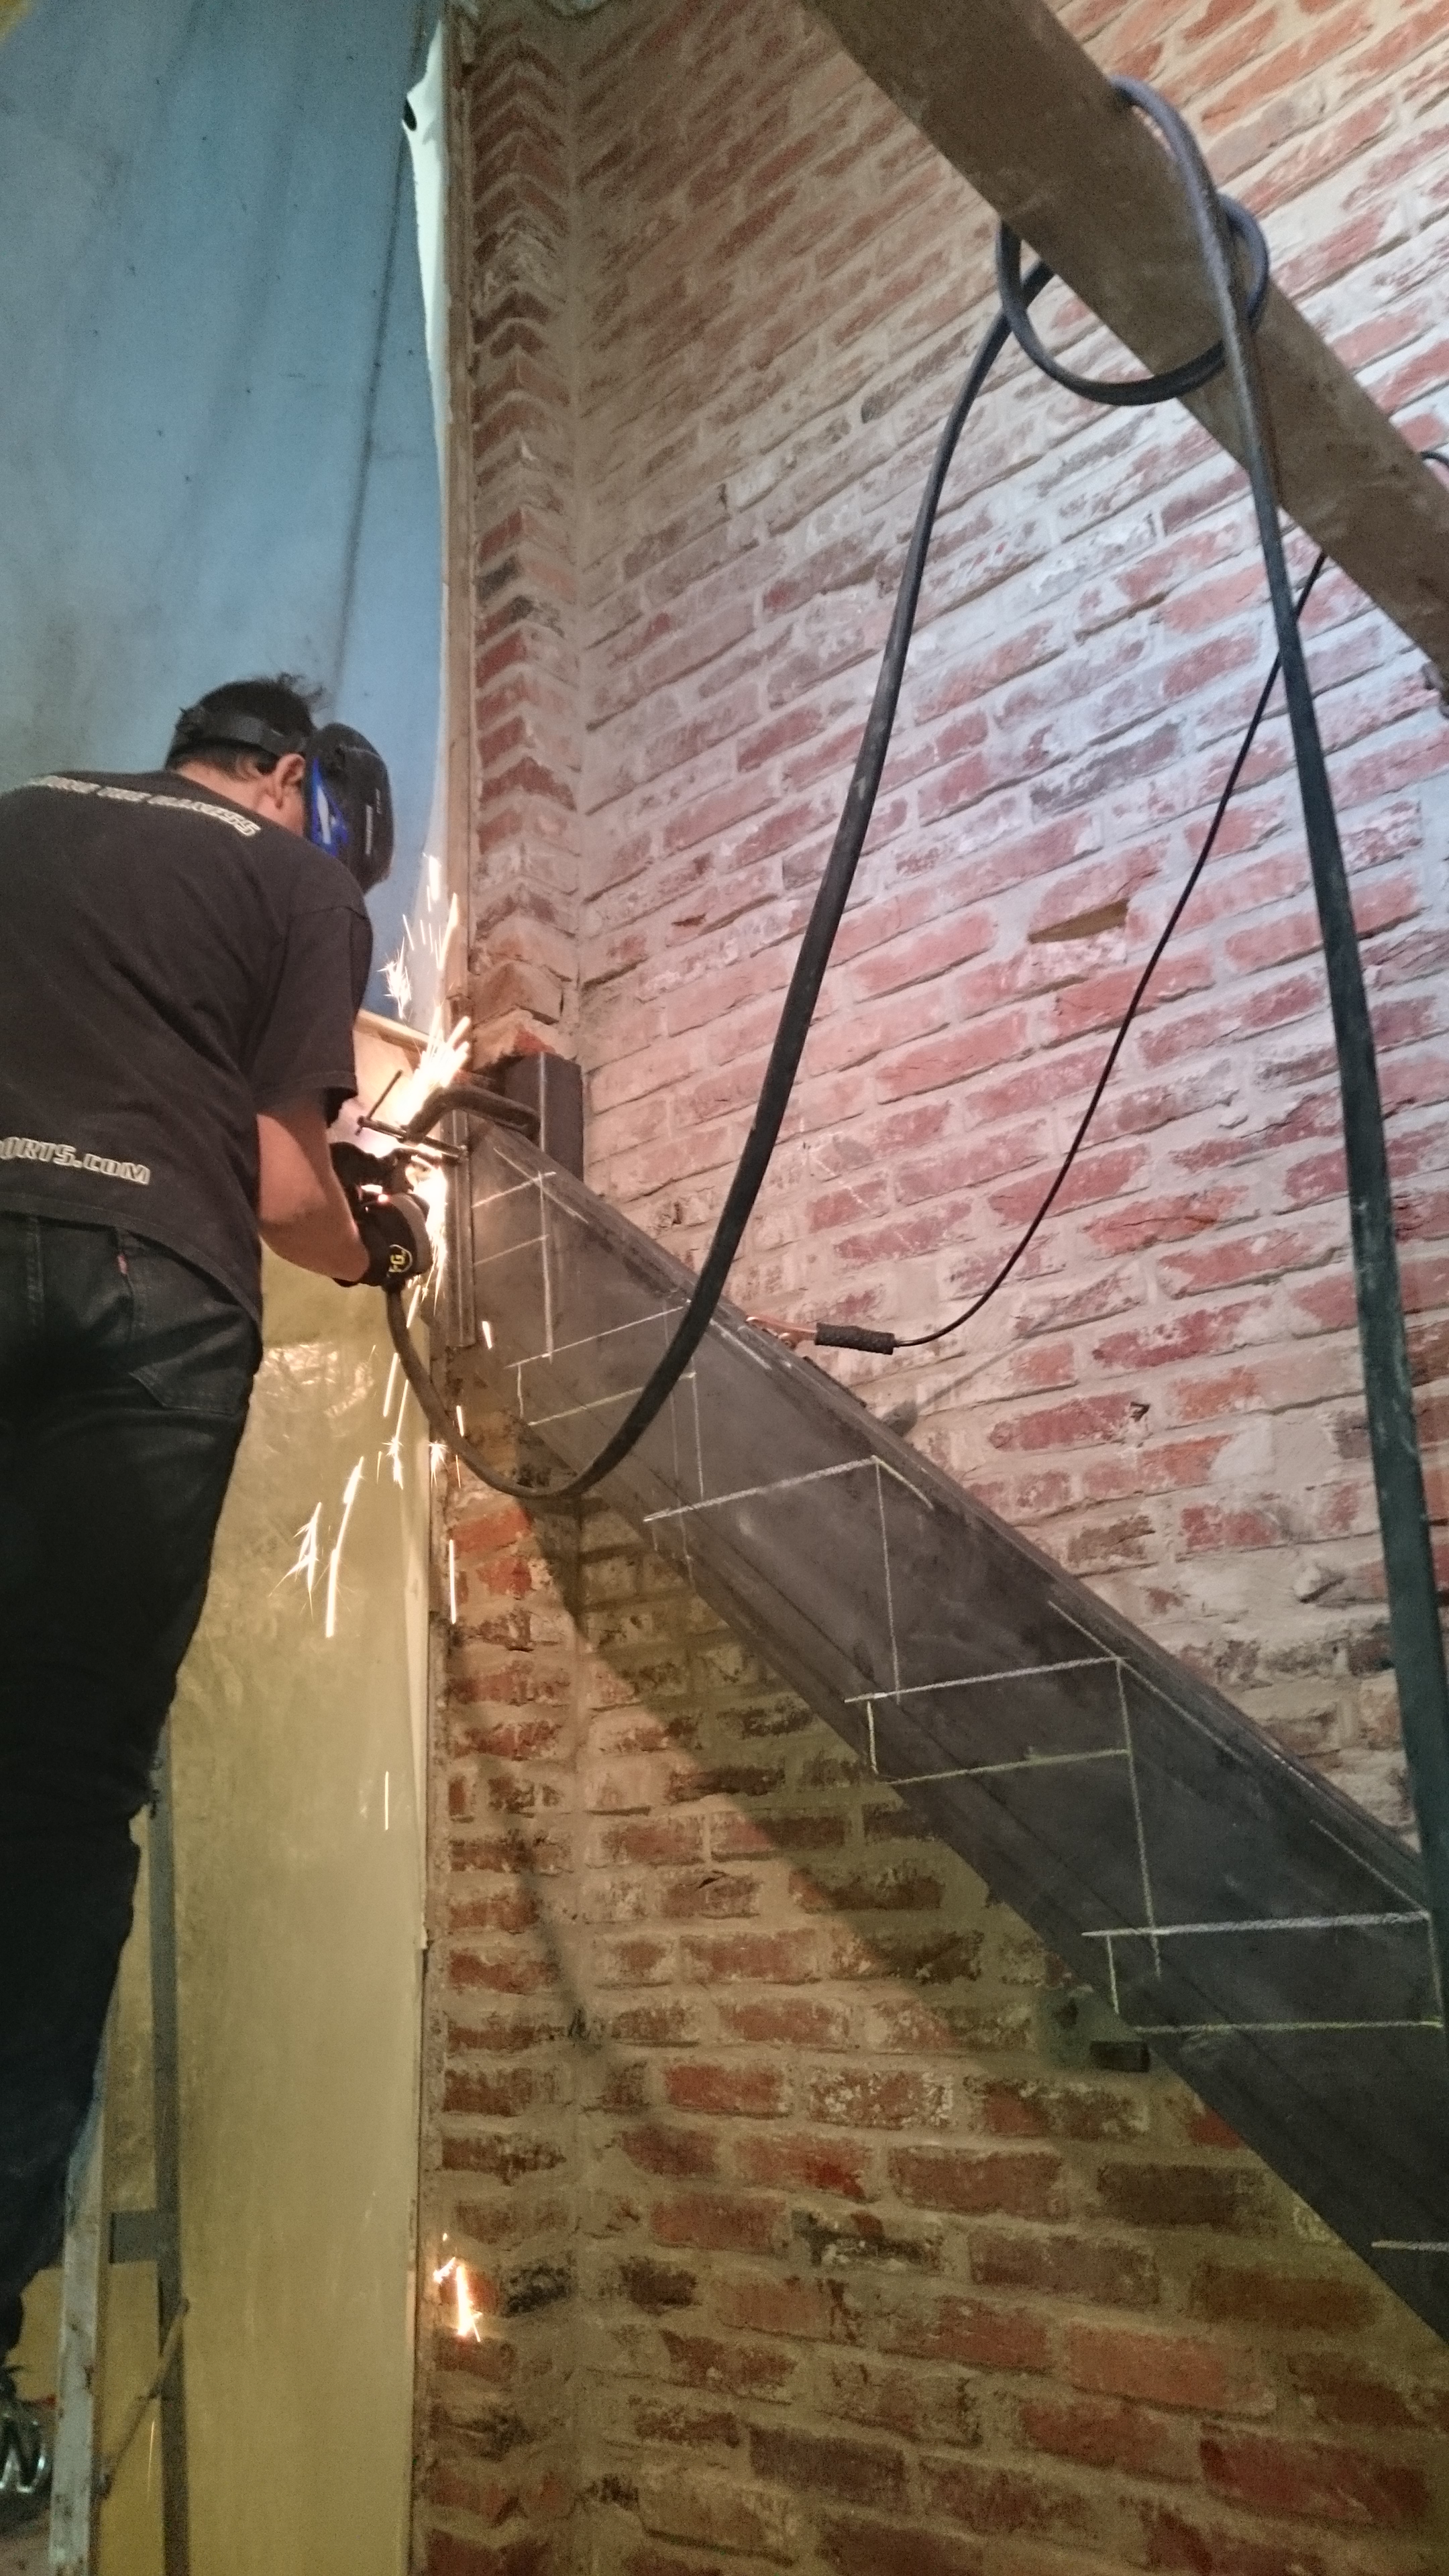
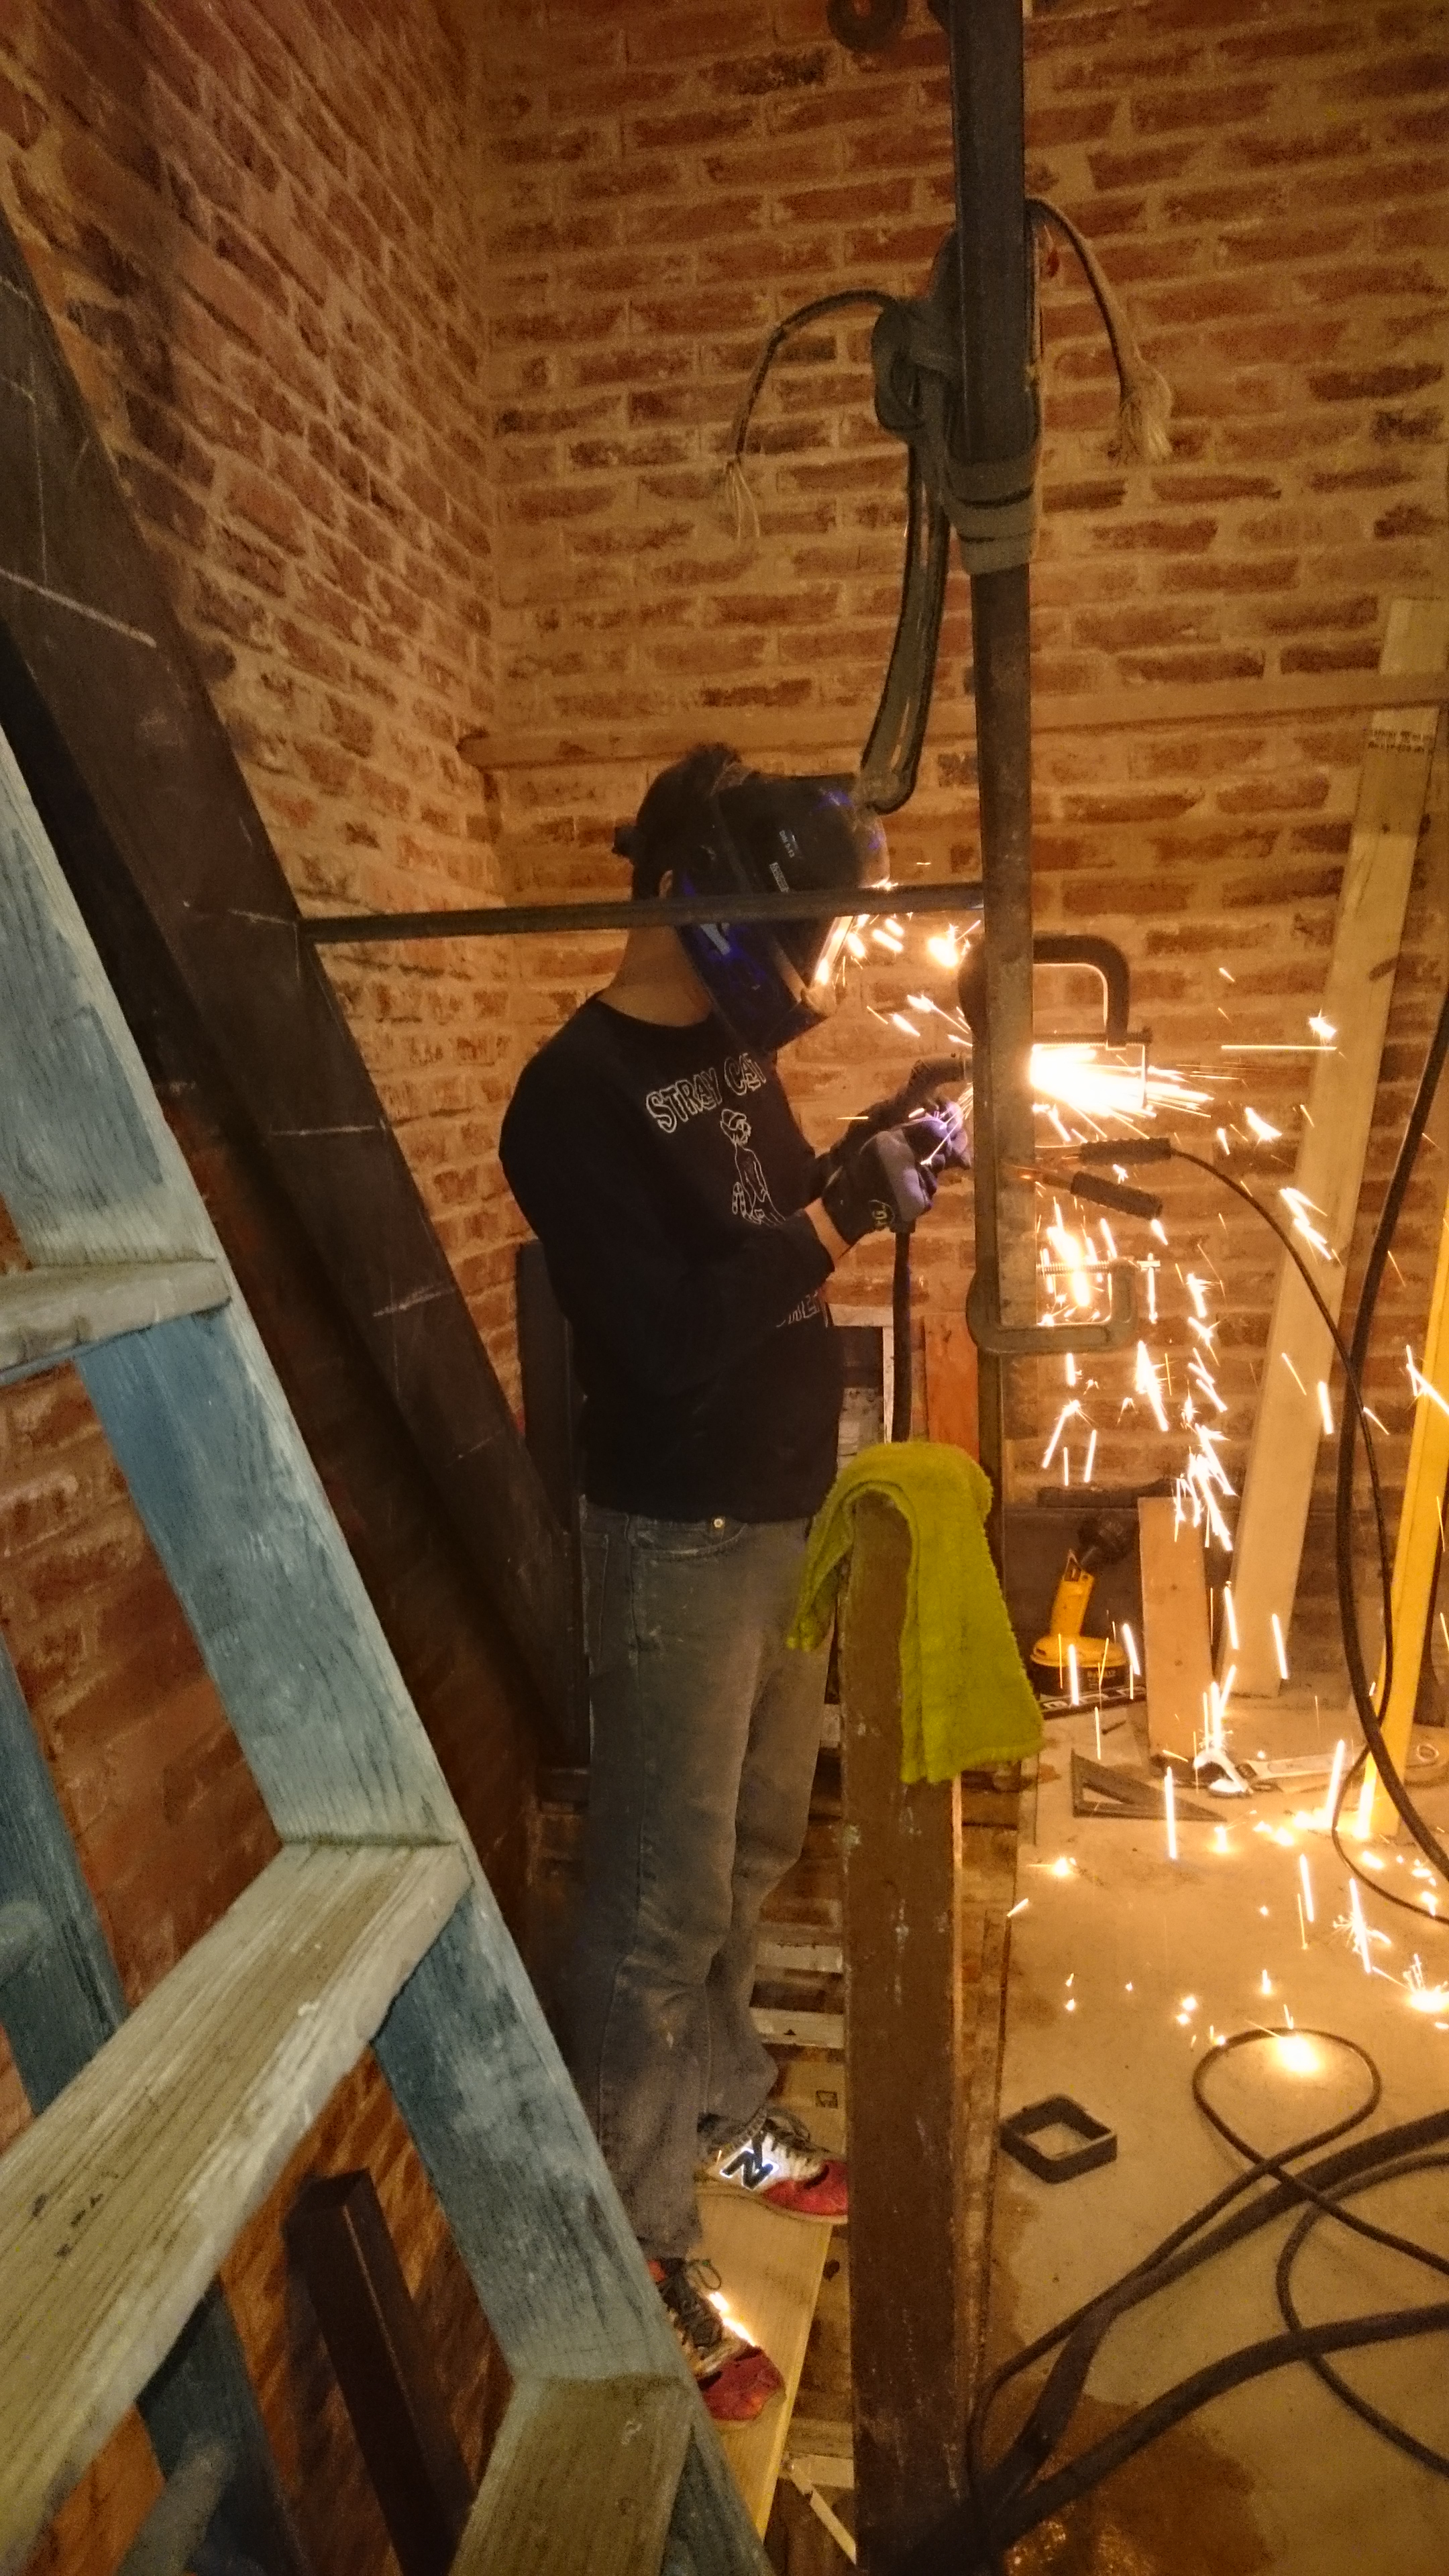
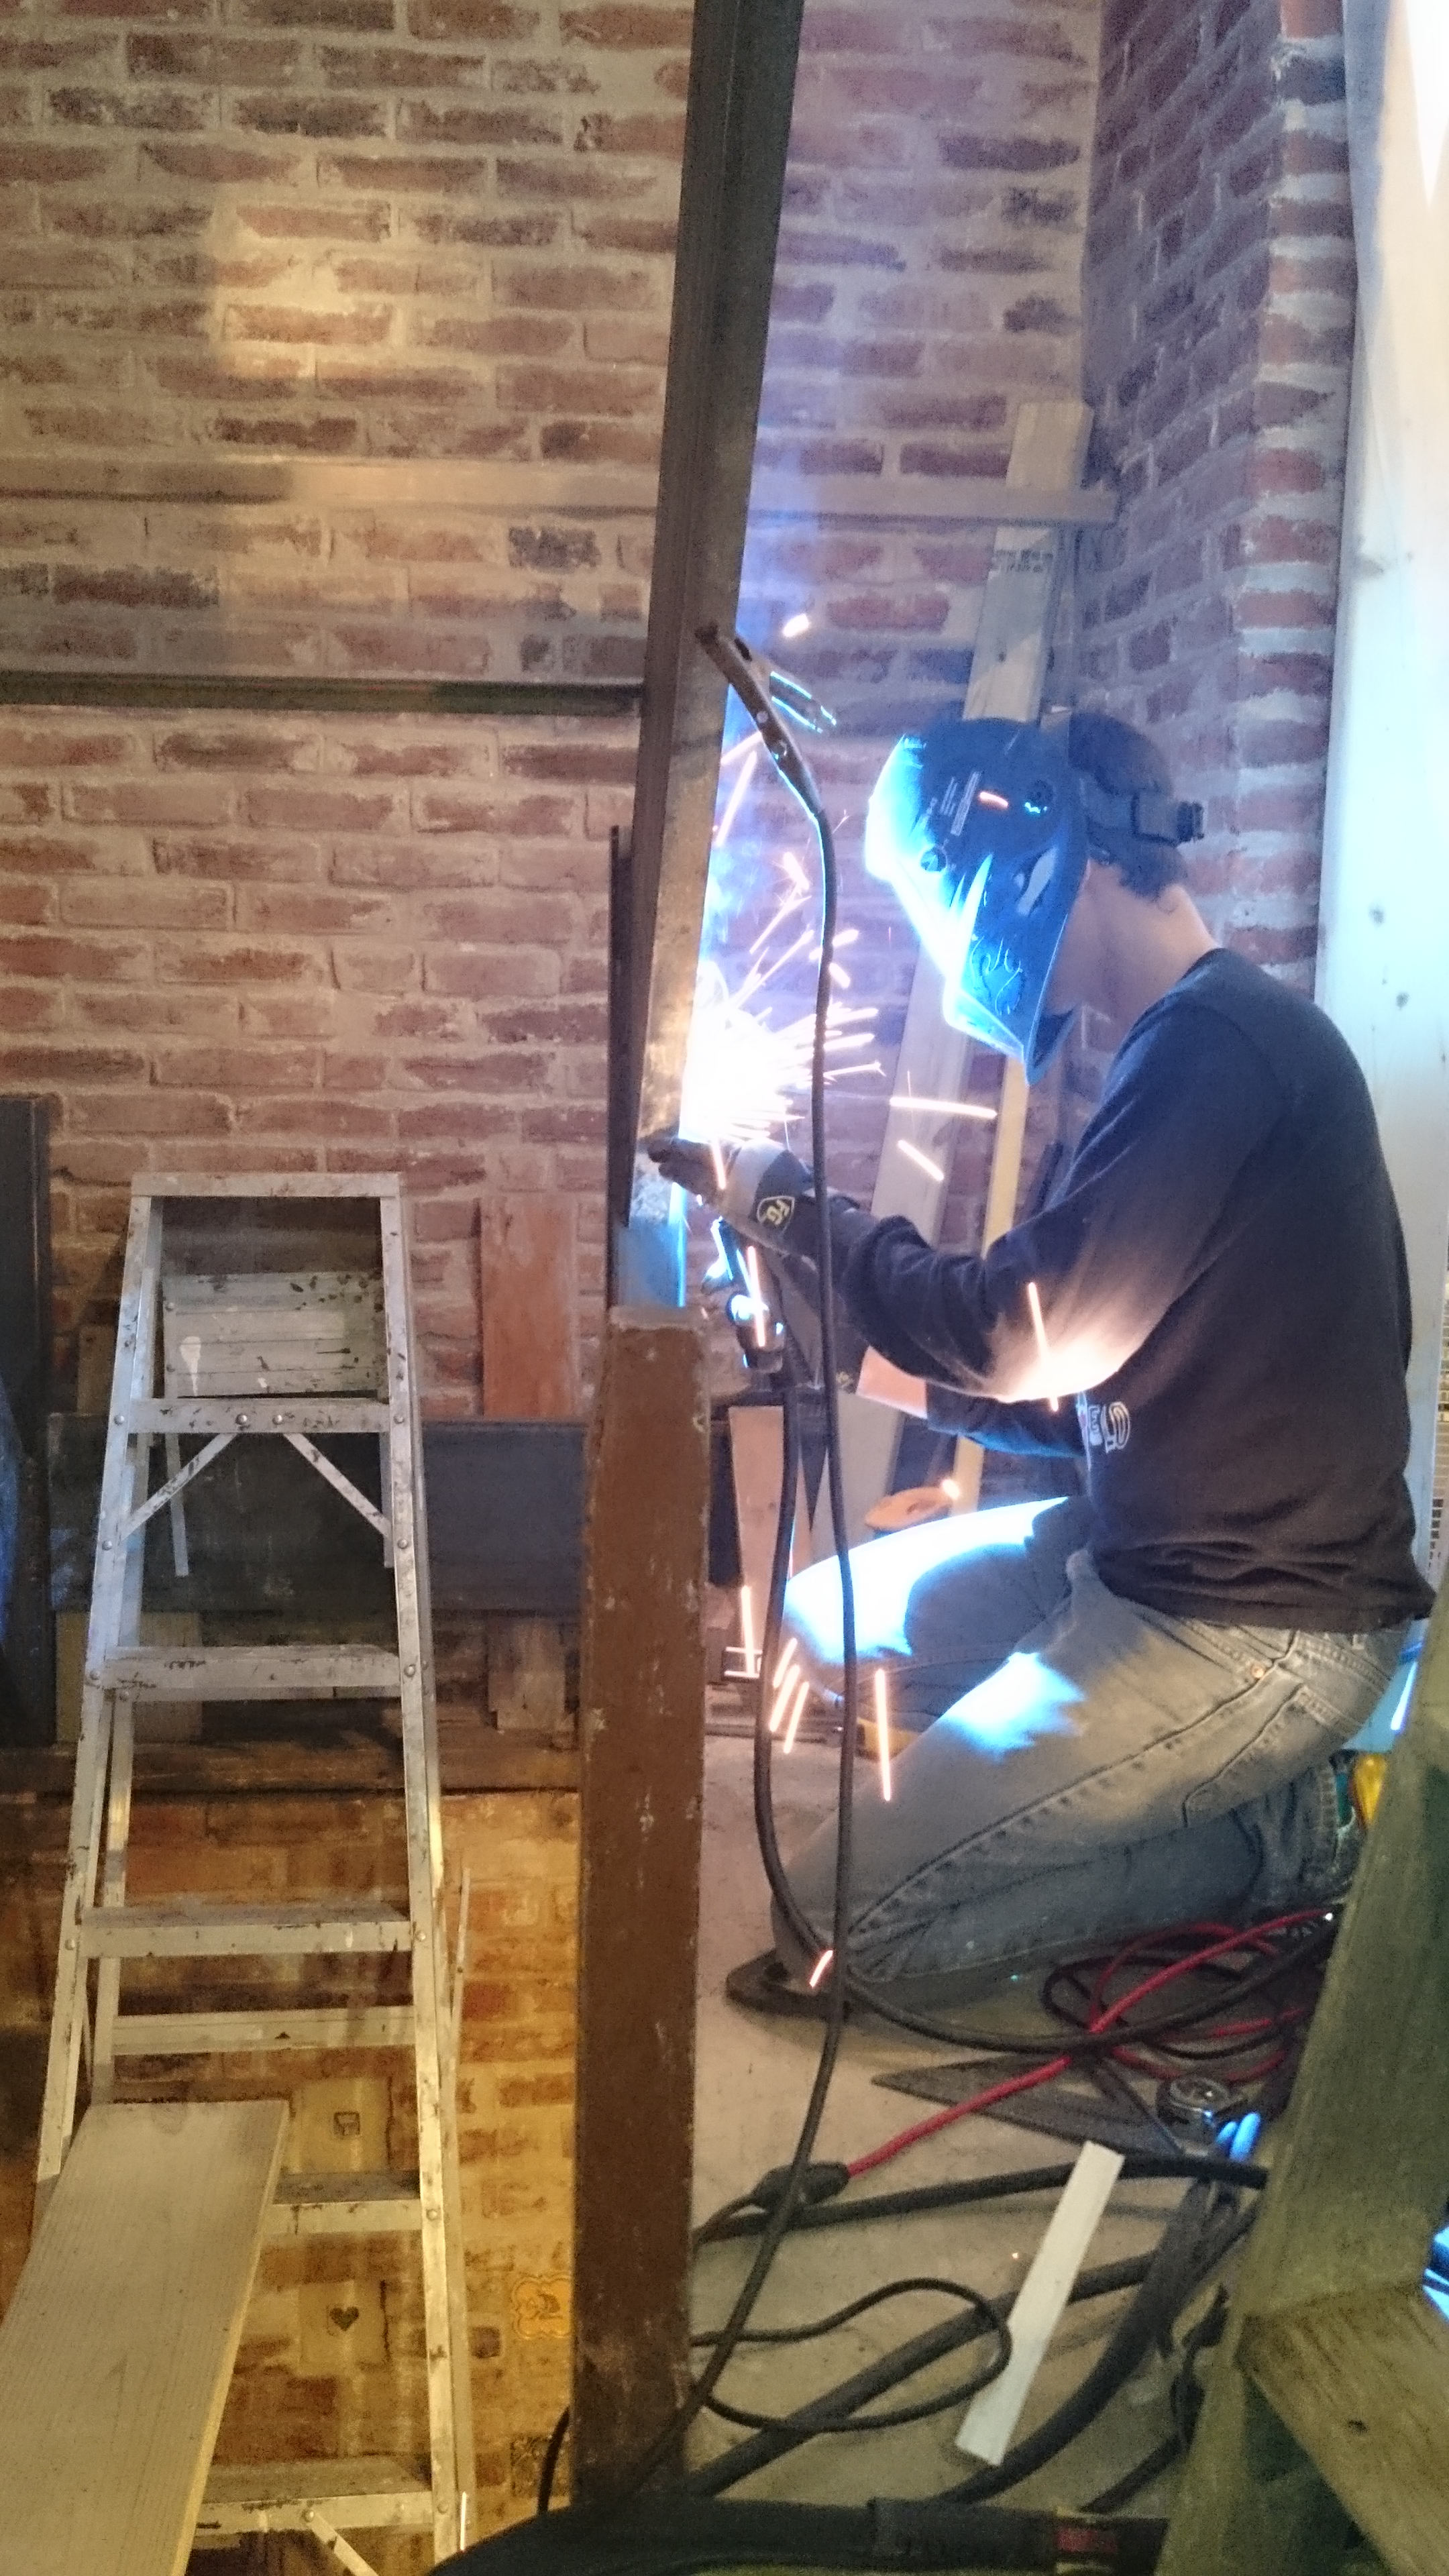
Somewhere in here we decided that it would be worth the extra effort to flush mount the brackets in the wood. We would weld on the angle so that it and any ugly welds were hidden by the board. This took a whole lot of routing, but I made a jig to set up guides and it went pretty smoothly. I also got a pretty good system down for churning out brackets in 8 easy steps including countersinking the hole so the screw too was flush.
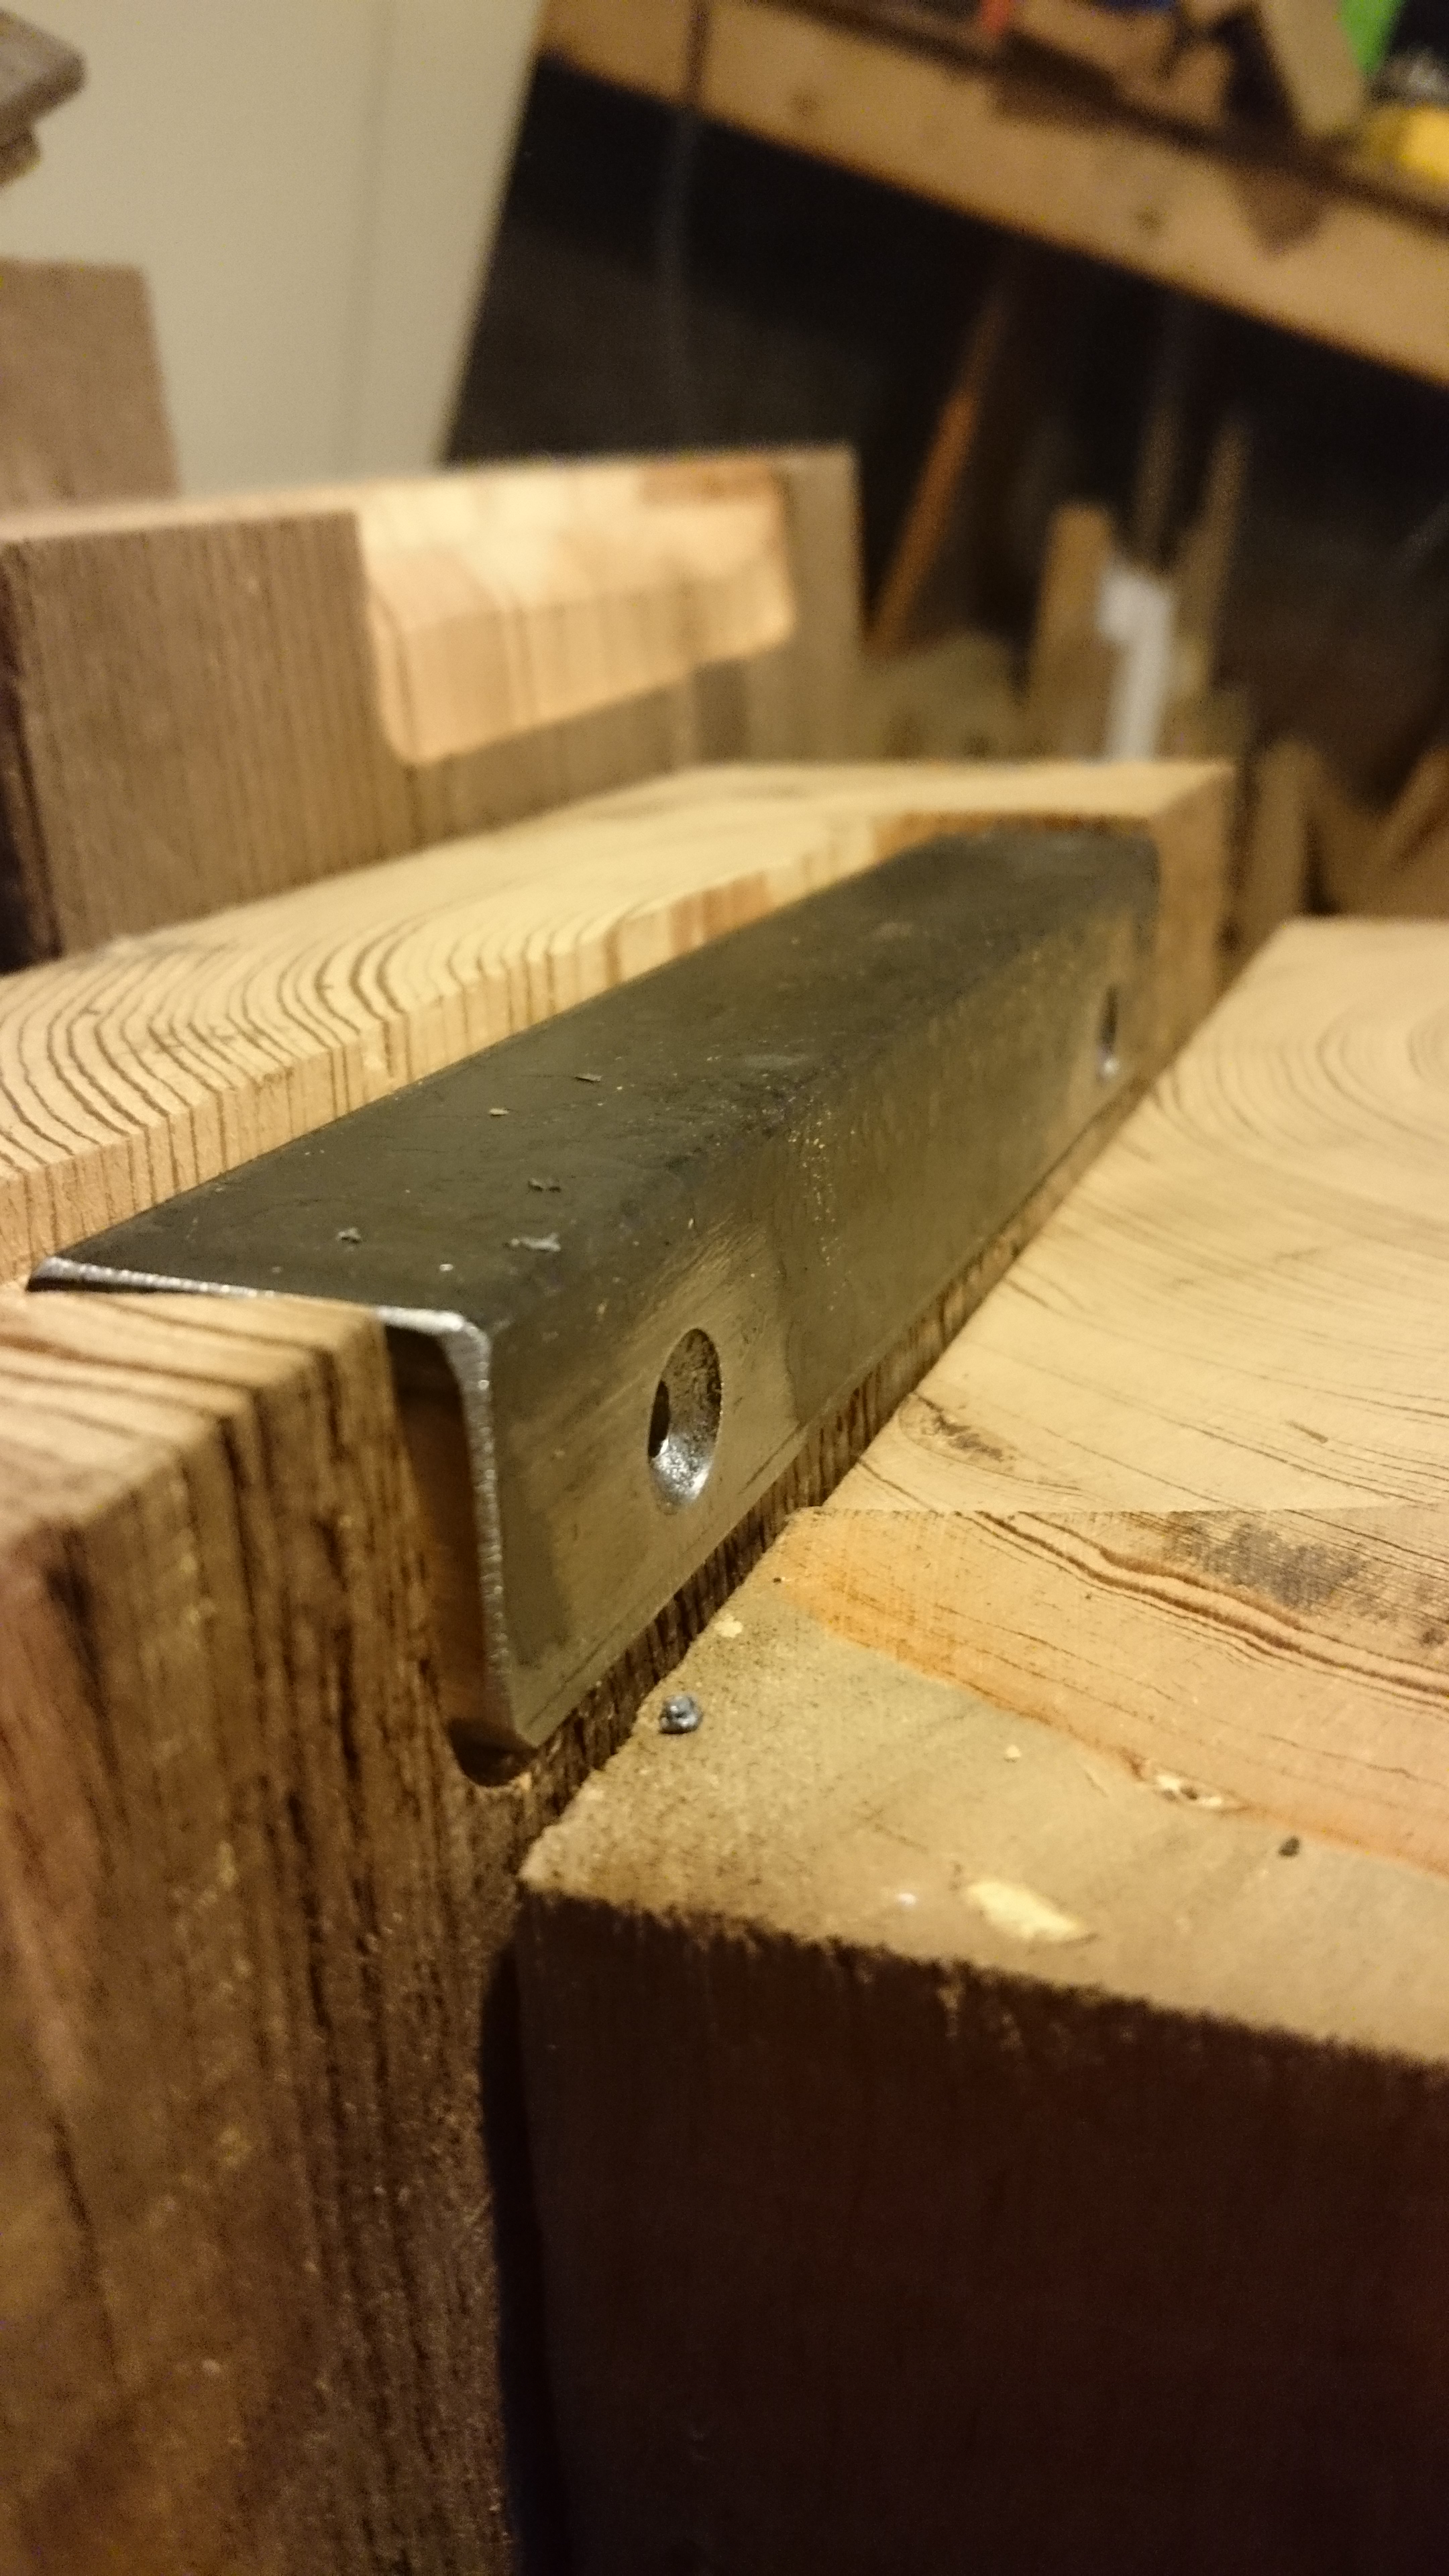
One bracket was a lot of work.
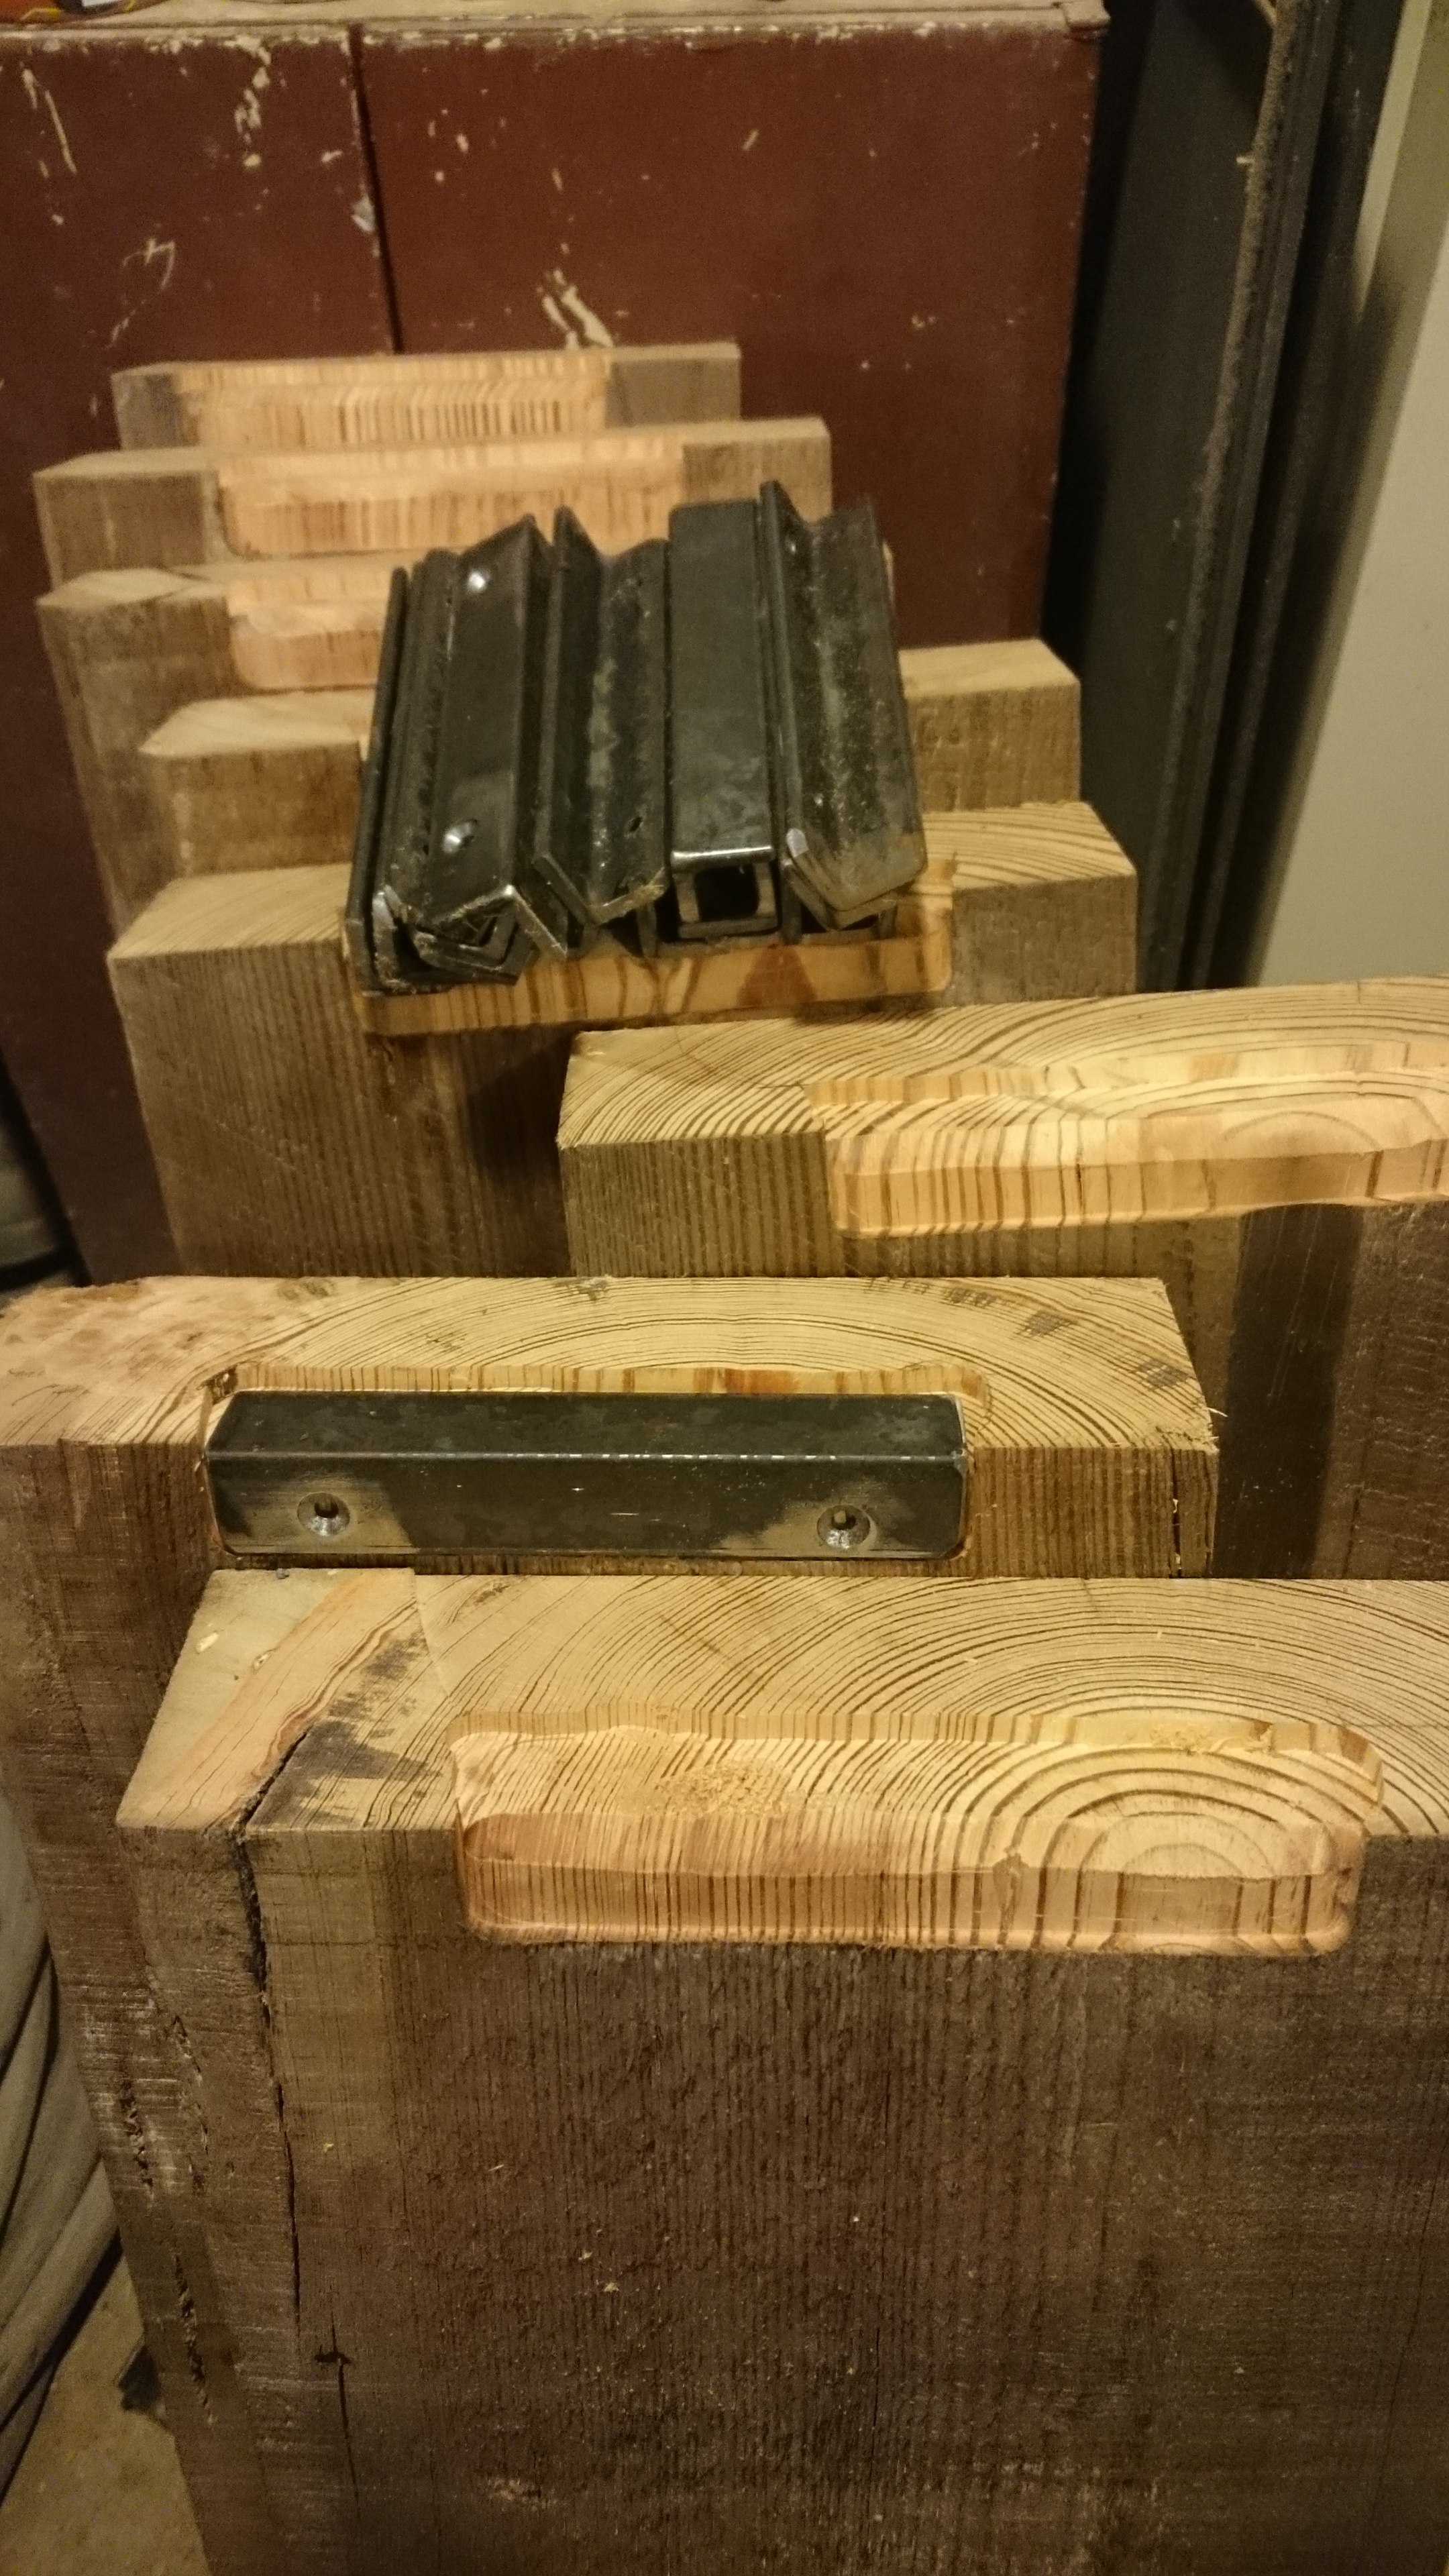
A lot of brackets were a WHOLE LOT OF WORK.
The problem with 100 year old joists is that they’re never perfect. Even once planed, most boards still had flaws and bad edges that needed to be removed. In the end we just barely had enough that can be used as 10.5″ straight treads and a whole bunch < 10″ wide. TO SKETCHUP!
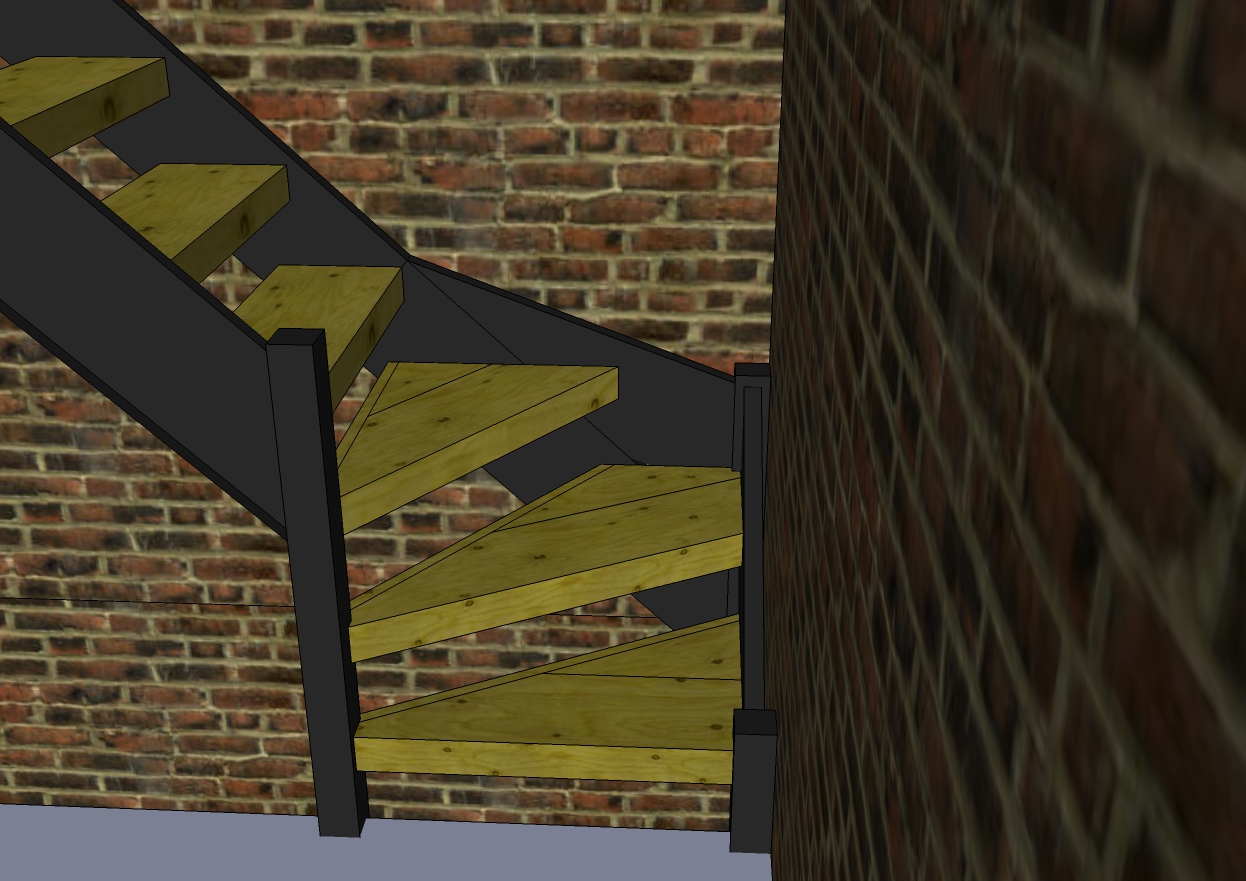
Visualizing the 3 corner stairs was hard so I drew it up in Sketchup.
Since the steel was already in place, we could get some really accurate measurements in order to draw up this in Sketchup. Once digital, I started playing around with stair designs. One of the challenges was my requirement that both the back and the bottom needed to be rough cut and the top and the front had to be immaculate when planed and sanded AND the grain had to run parallel to the front edge of the stair. In the end I decided to do a 3 piece design. I would cut 1″ off the rough cut side for the back and then build the tread out of the 8″(or so) board and then glue it all back together. To save material I arranged this in Sketchup to waste as little board length as possible.
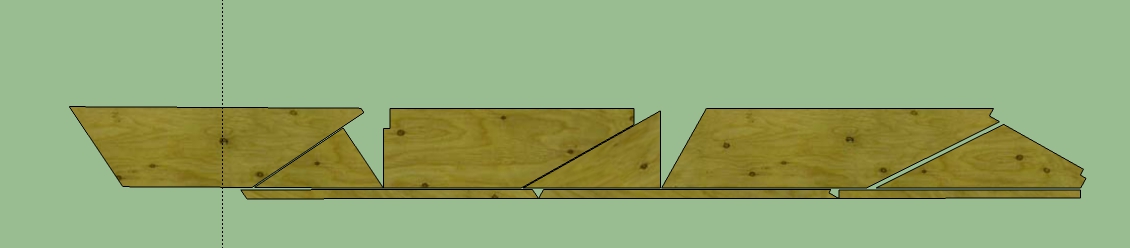
Drawing this helped me to figure out how to use our narrowest boards to make our widest treads most efficiently.
I put a lot of faith in my drawings. I printed out a layout with measurements of all the edges and diagonals so I could draw this out on the boards and check my work. Second step was to cut off the rough edge. Next was to rip the board down to the correct width. Then a very technical free hand (eyeballing it) cut of the diagonal to be cut straight. This angled cut off would rotate around to be glued with several 4″ long 1/2 lag bolts thrown in for some serious clamping and pining duties.
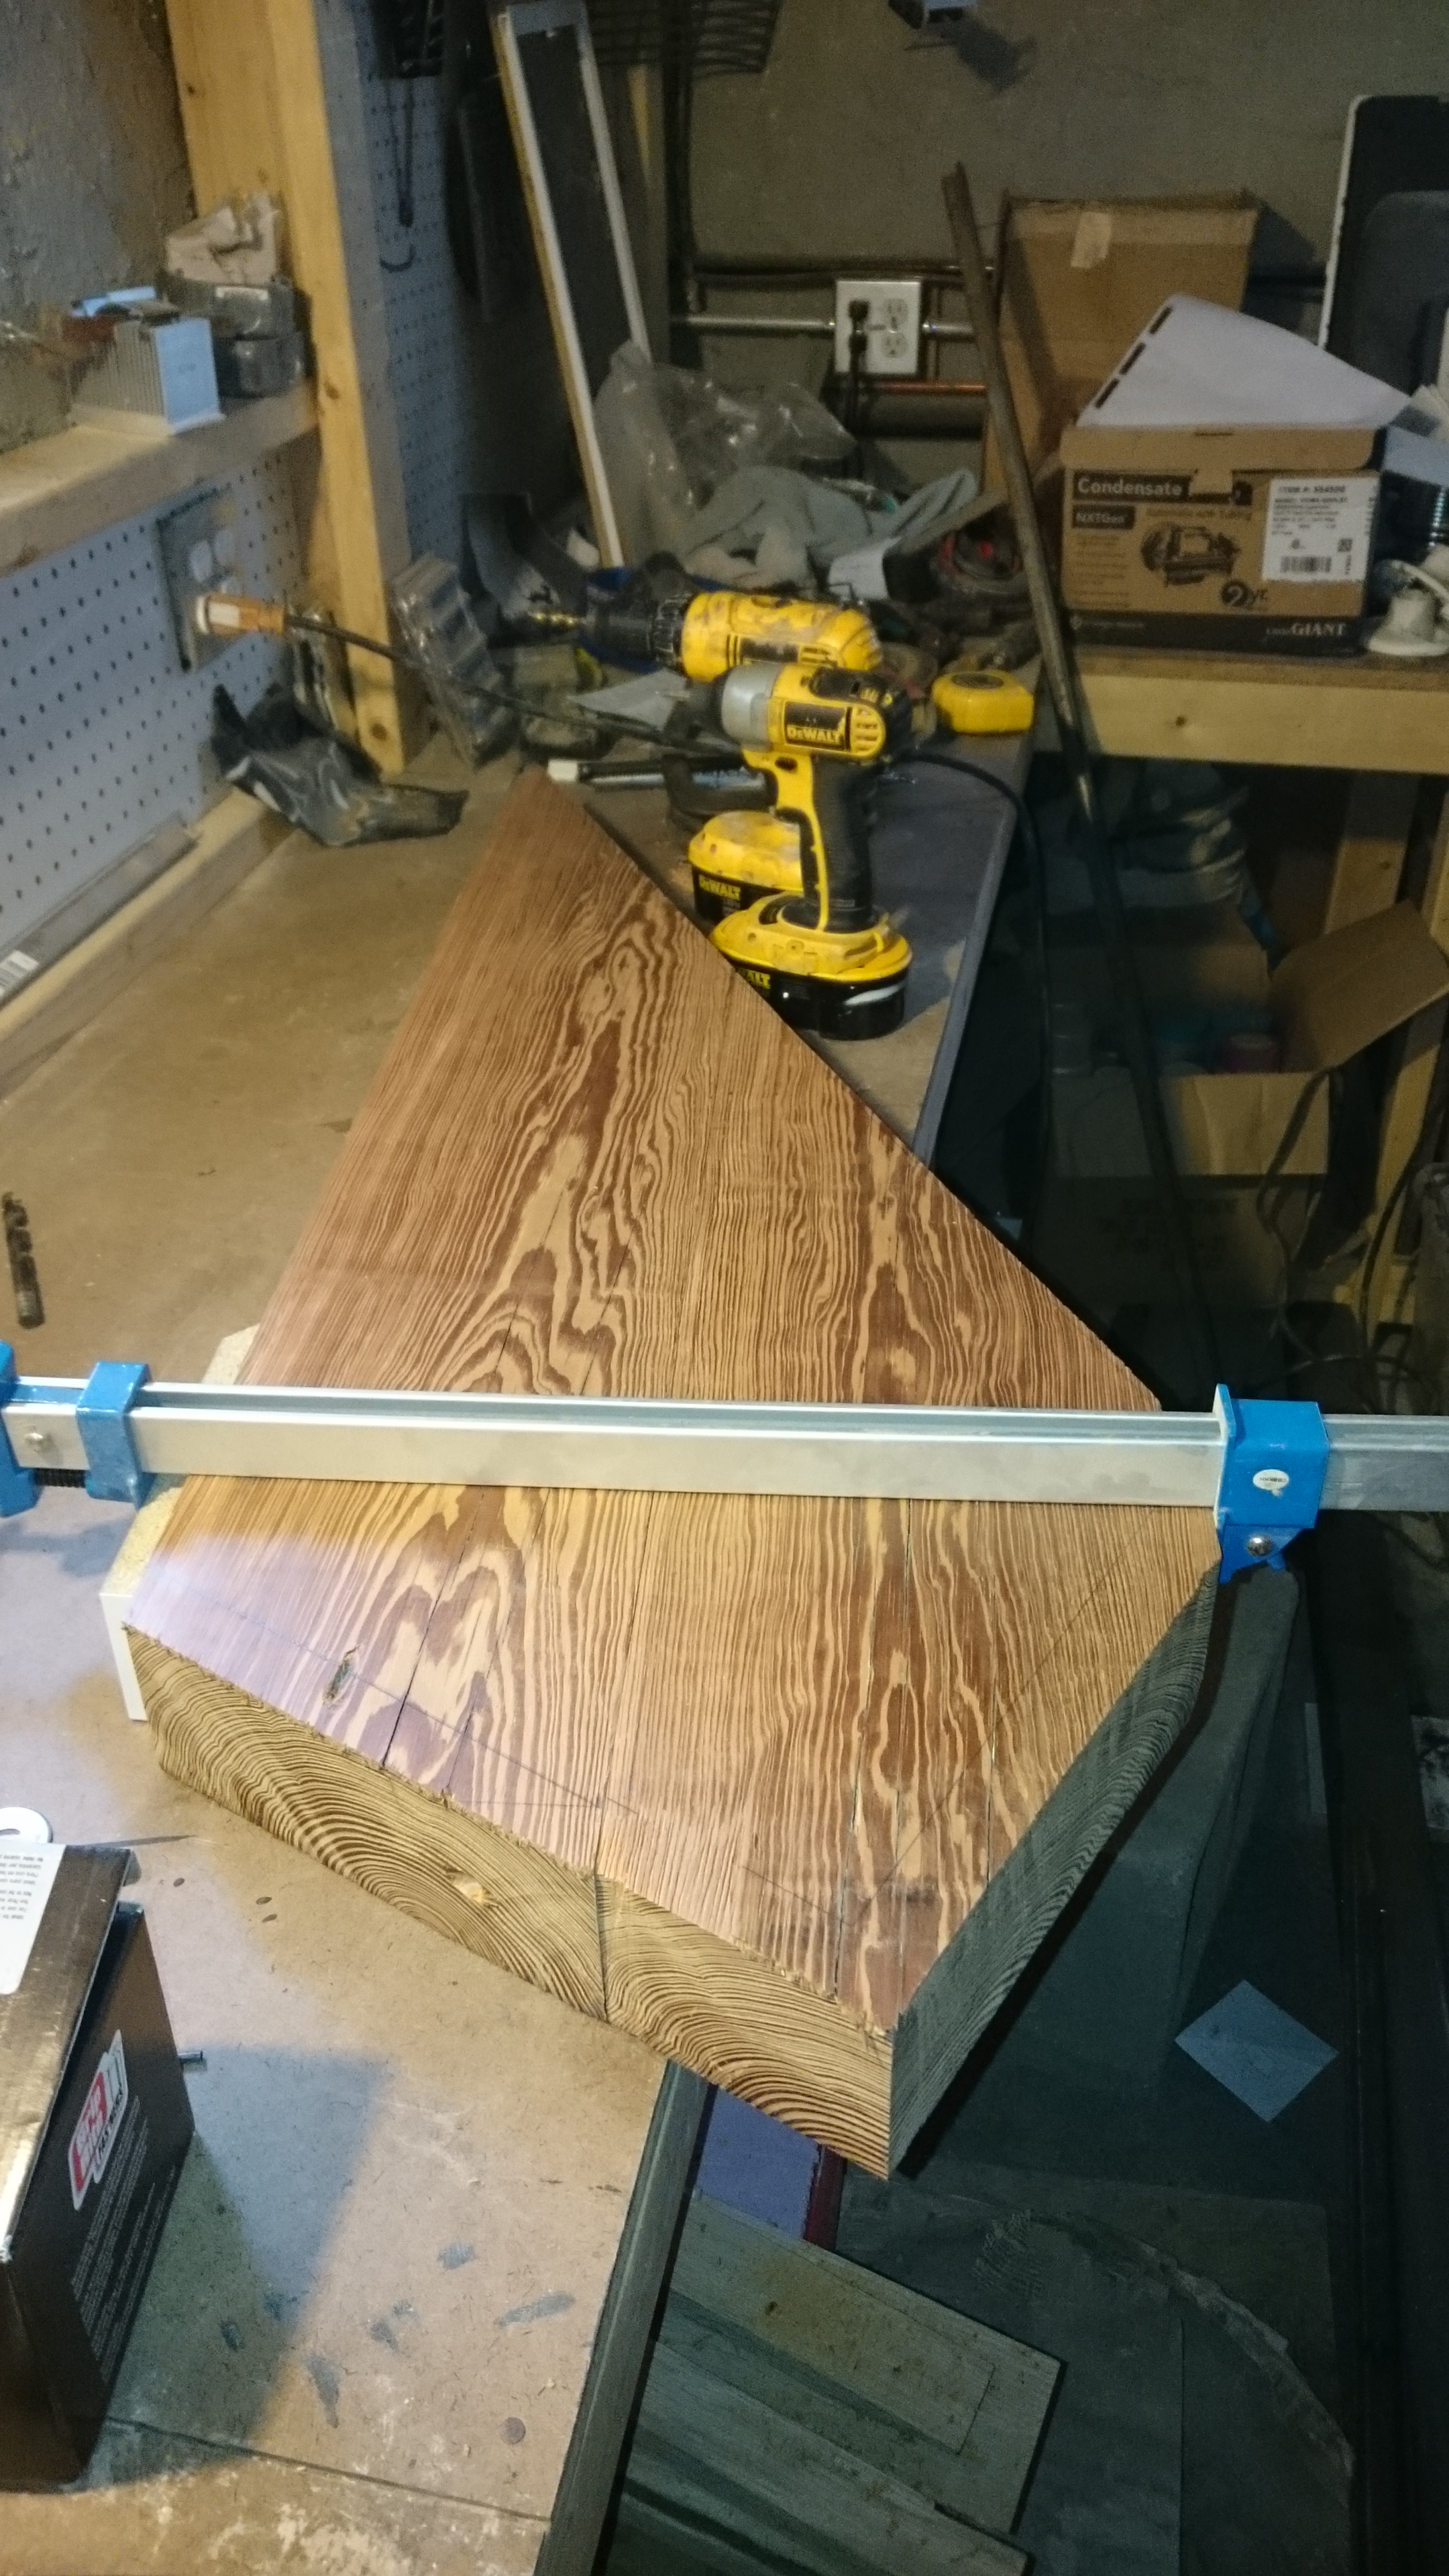
Rotating had some cool benefits. Since it was basically the same grain pattern, only further down the board, the resulting assembly has the grain mirrored along the nearly invisible glue line. Upon cutting, this is what we would see:
Beautiful symmetry when I assembled the pieces.
The last cuts were made to straighten out the back edge so I could glue back on the 1″ rough edge. Once this was all together I sanded just like we did the floors. On the finished boards its hard to tell they’re not once piece.
Almost there. One to go. All but the very bottom step still need sanding.
Final fitting of the boards was a challenge even with the help of Sketchup, particularly in the corner. That particular “kite” stair had to line up on both the not perfectly 90* corner and two sides of the post and have no more than a 1/8″ gap on any edge. For this we made a template out of an end-of-life dry erase board.
Straight stairs needed some final touches as well. Here is a photo of the finished top stair which had to tie in the the hidden brackets, the 3″ post stubs, the C-channel and the bricks.
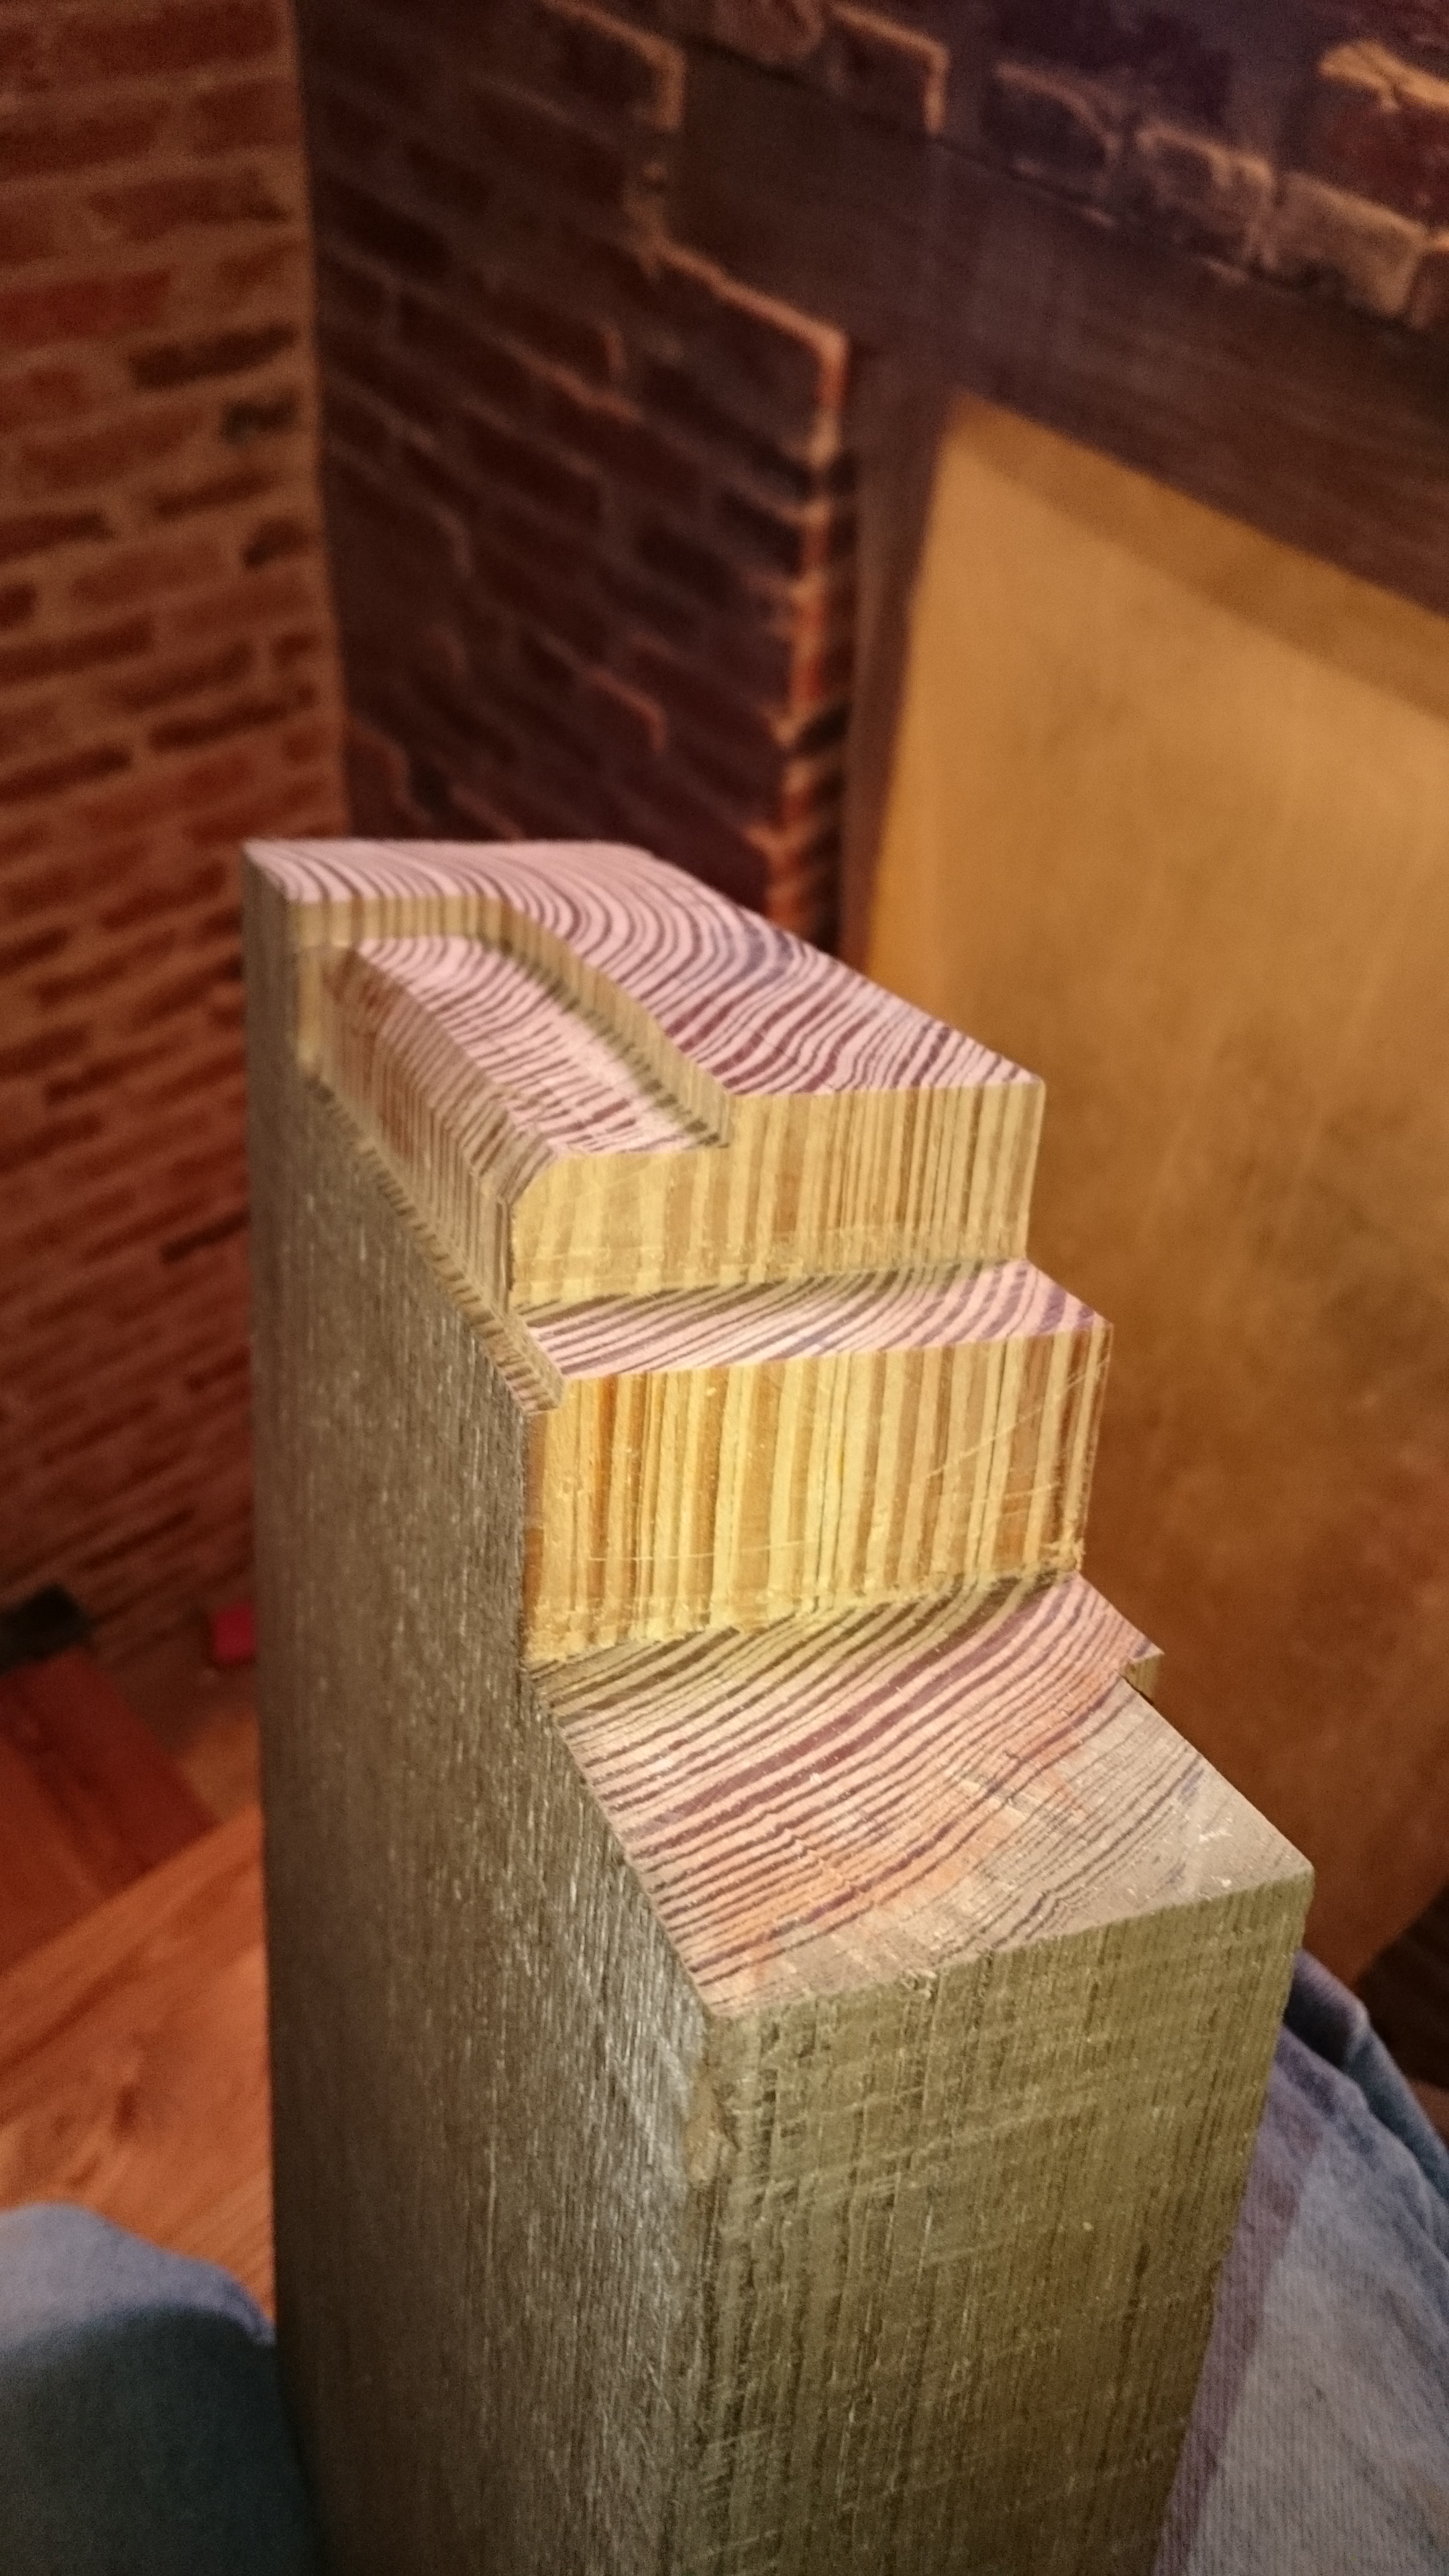
Some pieces seem so complicated. I began referring to the stairs as my wooden spaceship.
There are a whole lot of cuts in there, but in the end it makes for a very clean and simple step.

Not so complicated when it is snapped into place.
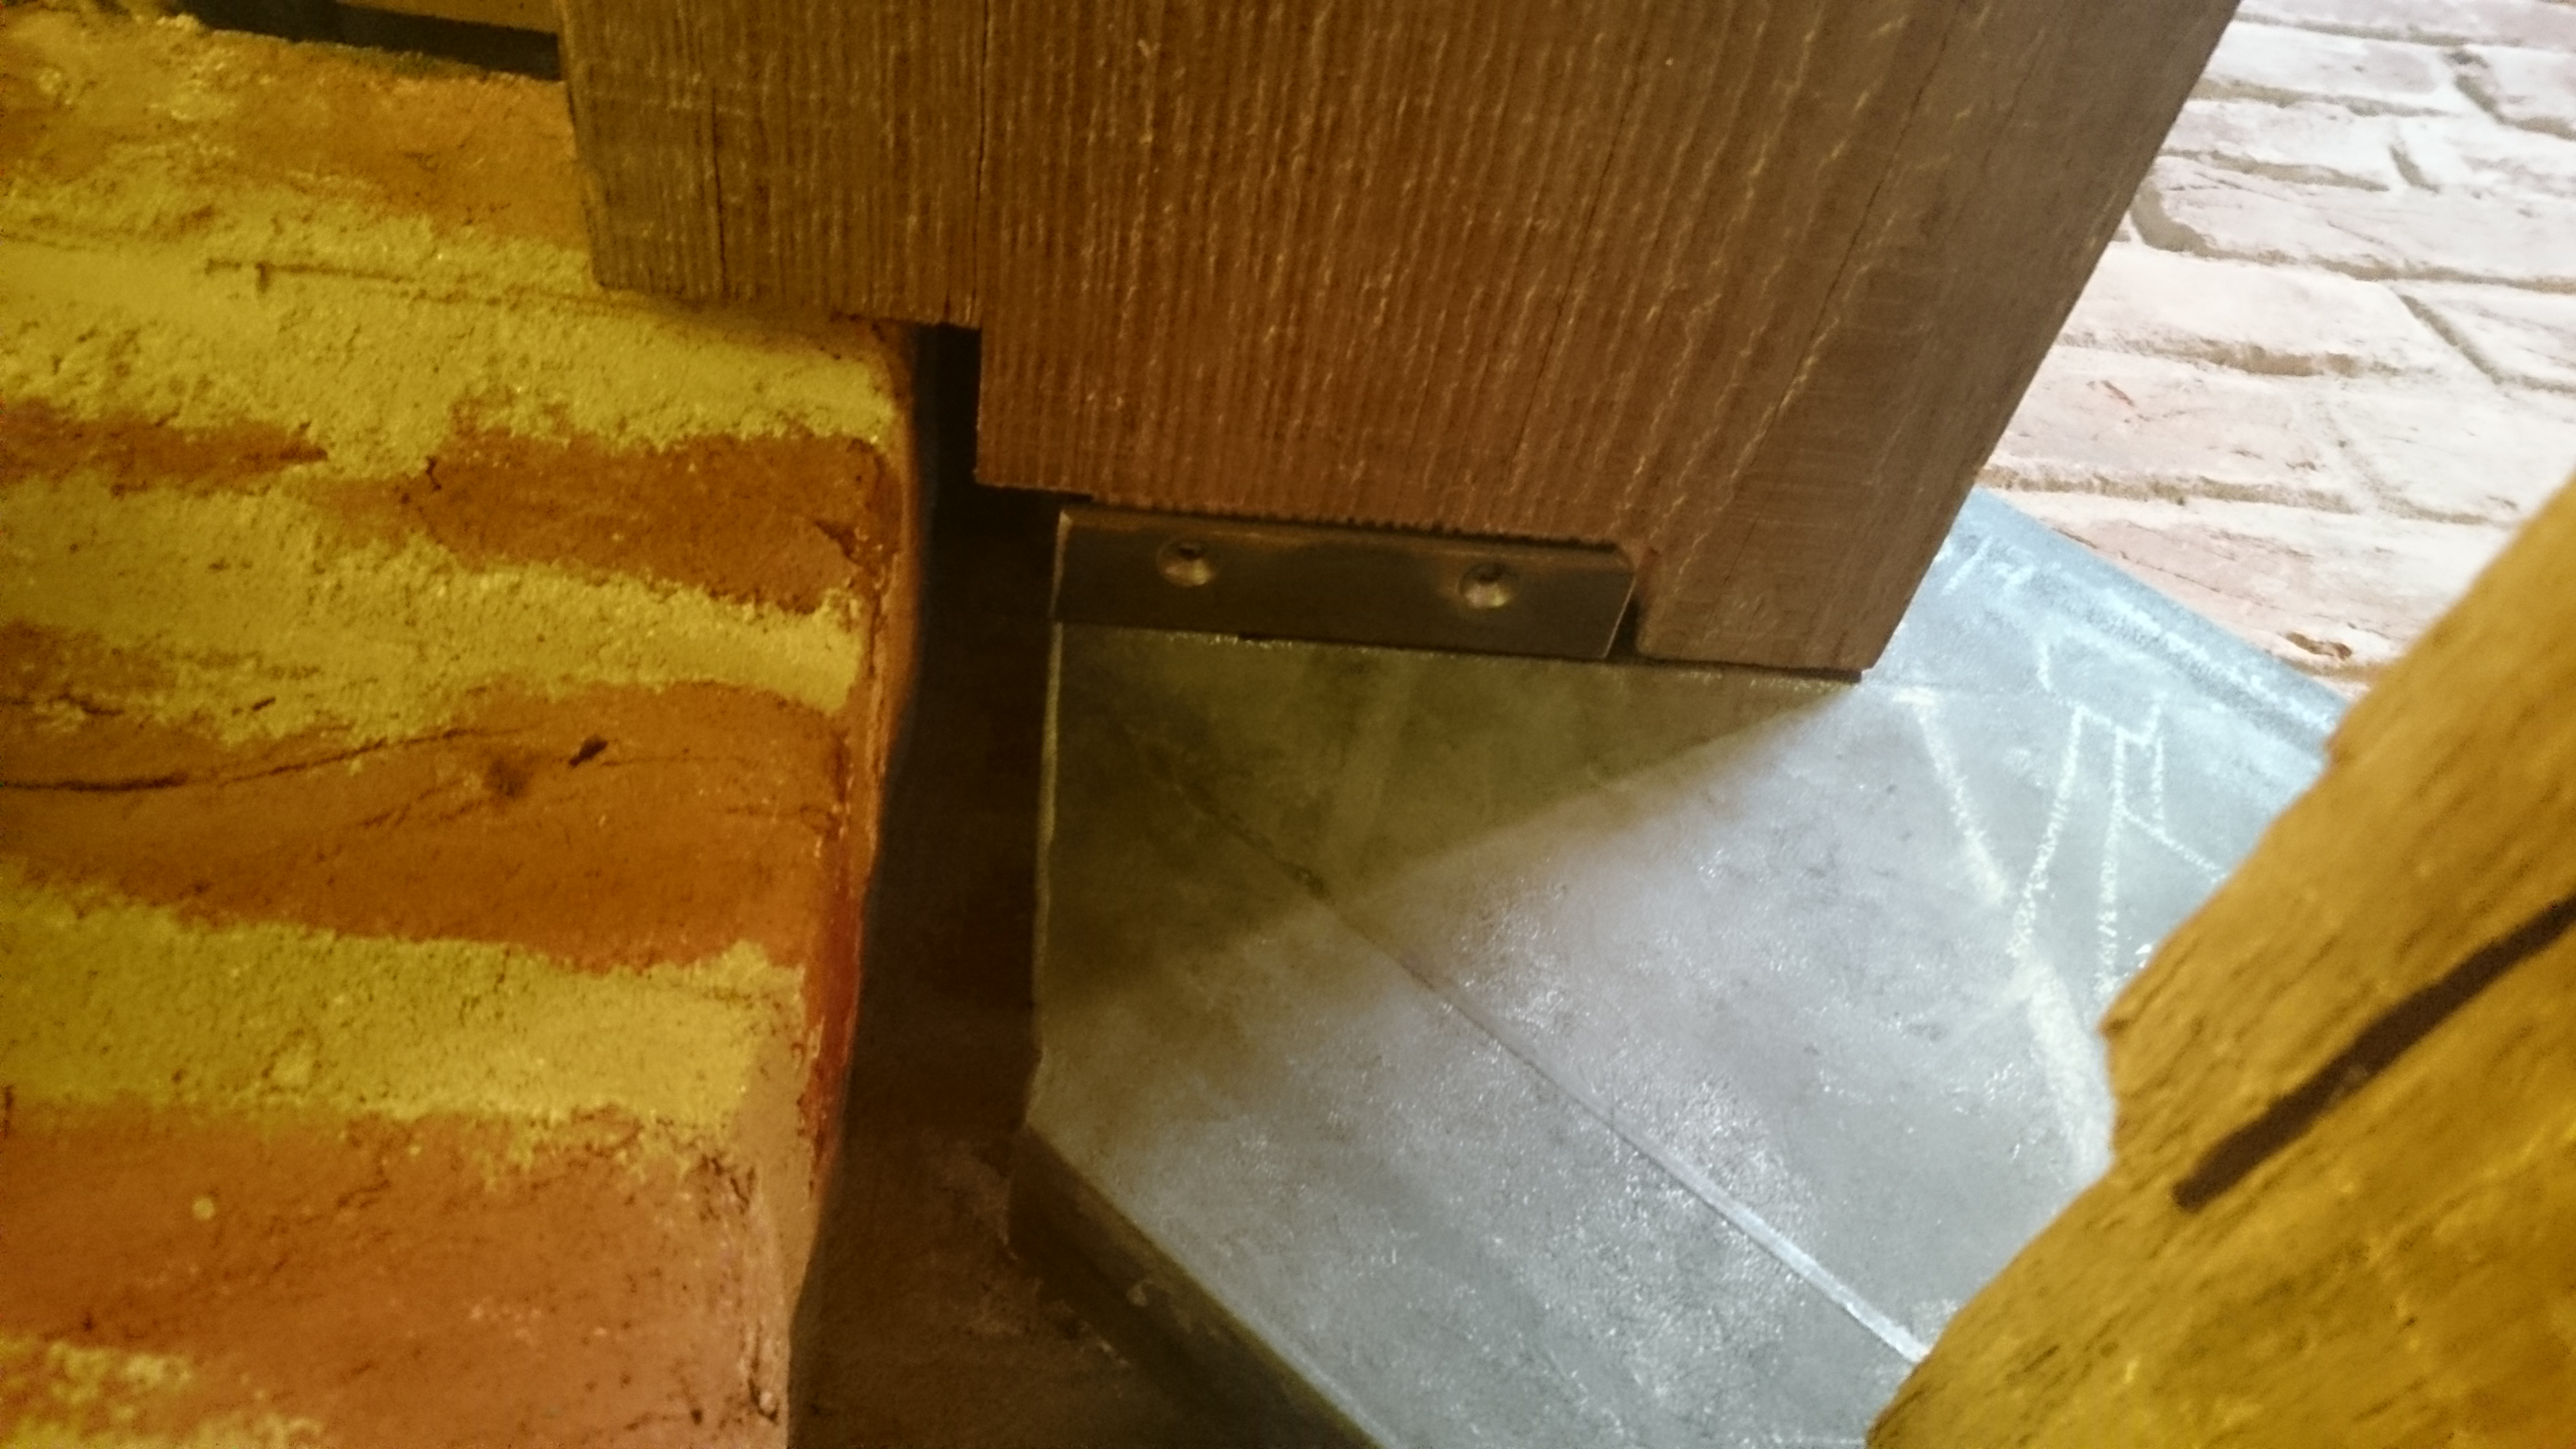
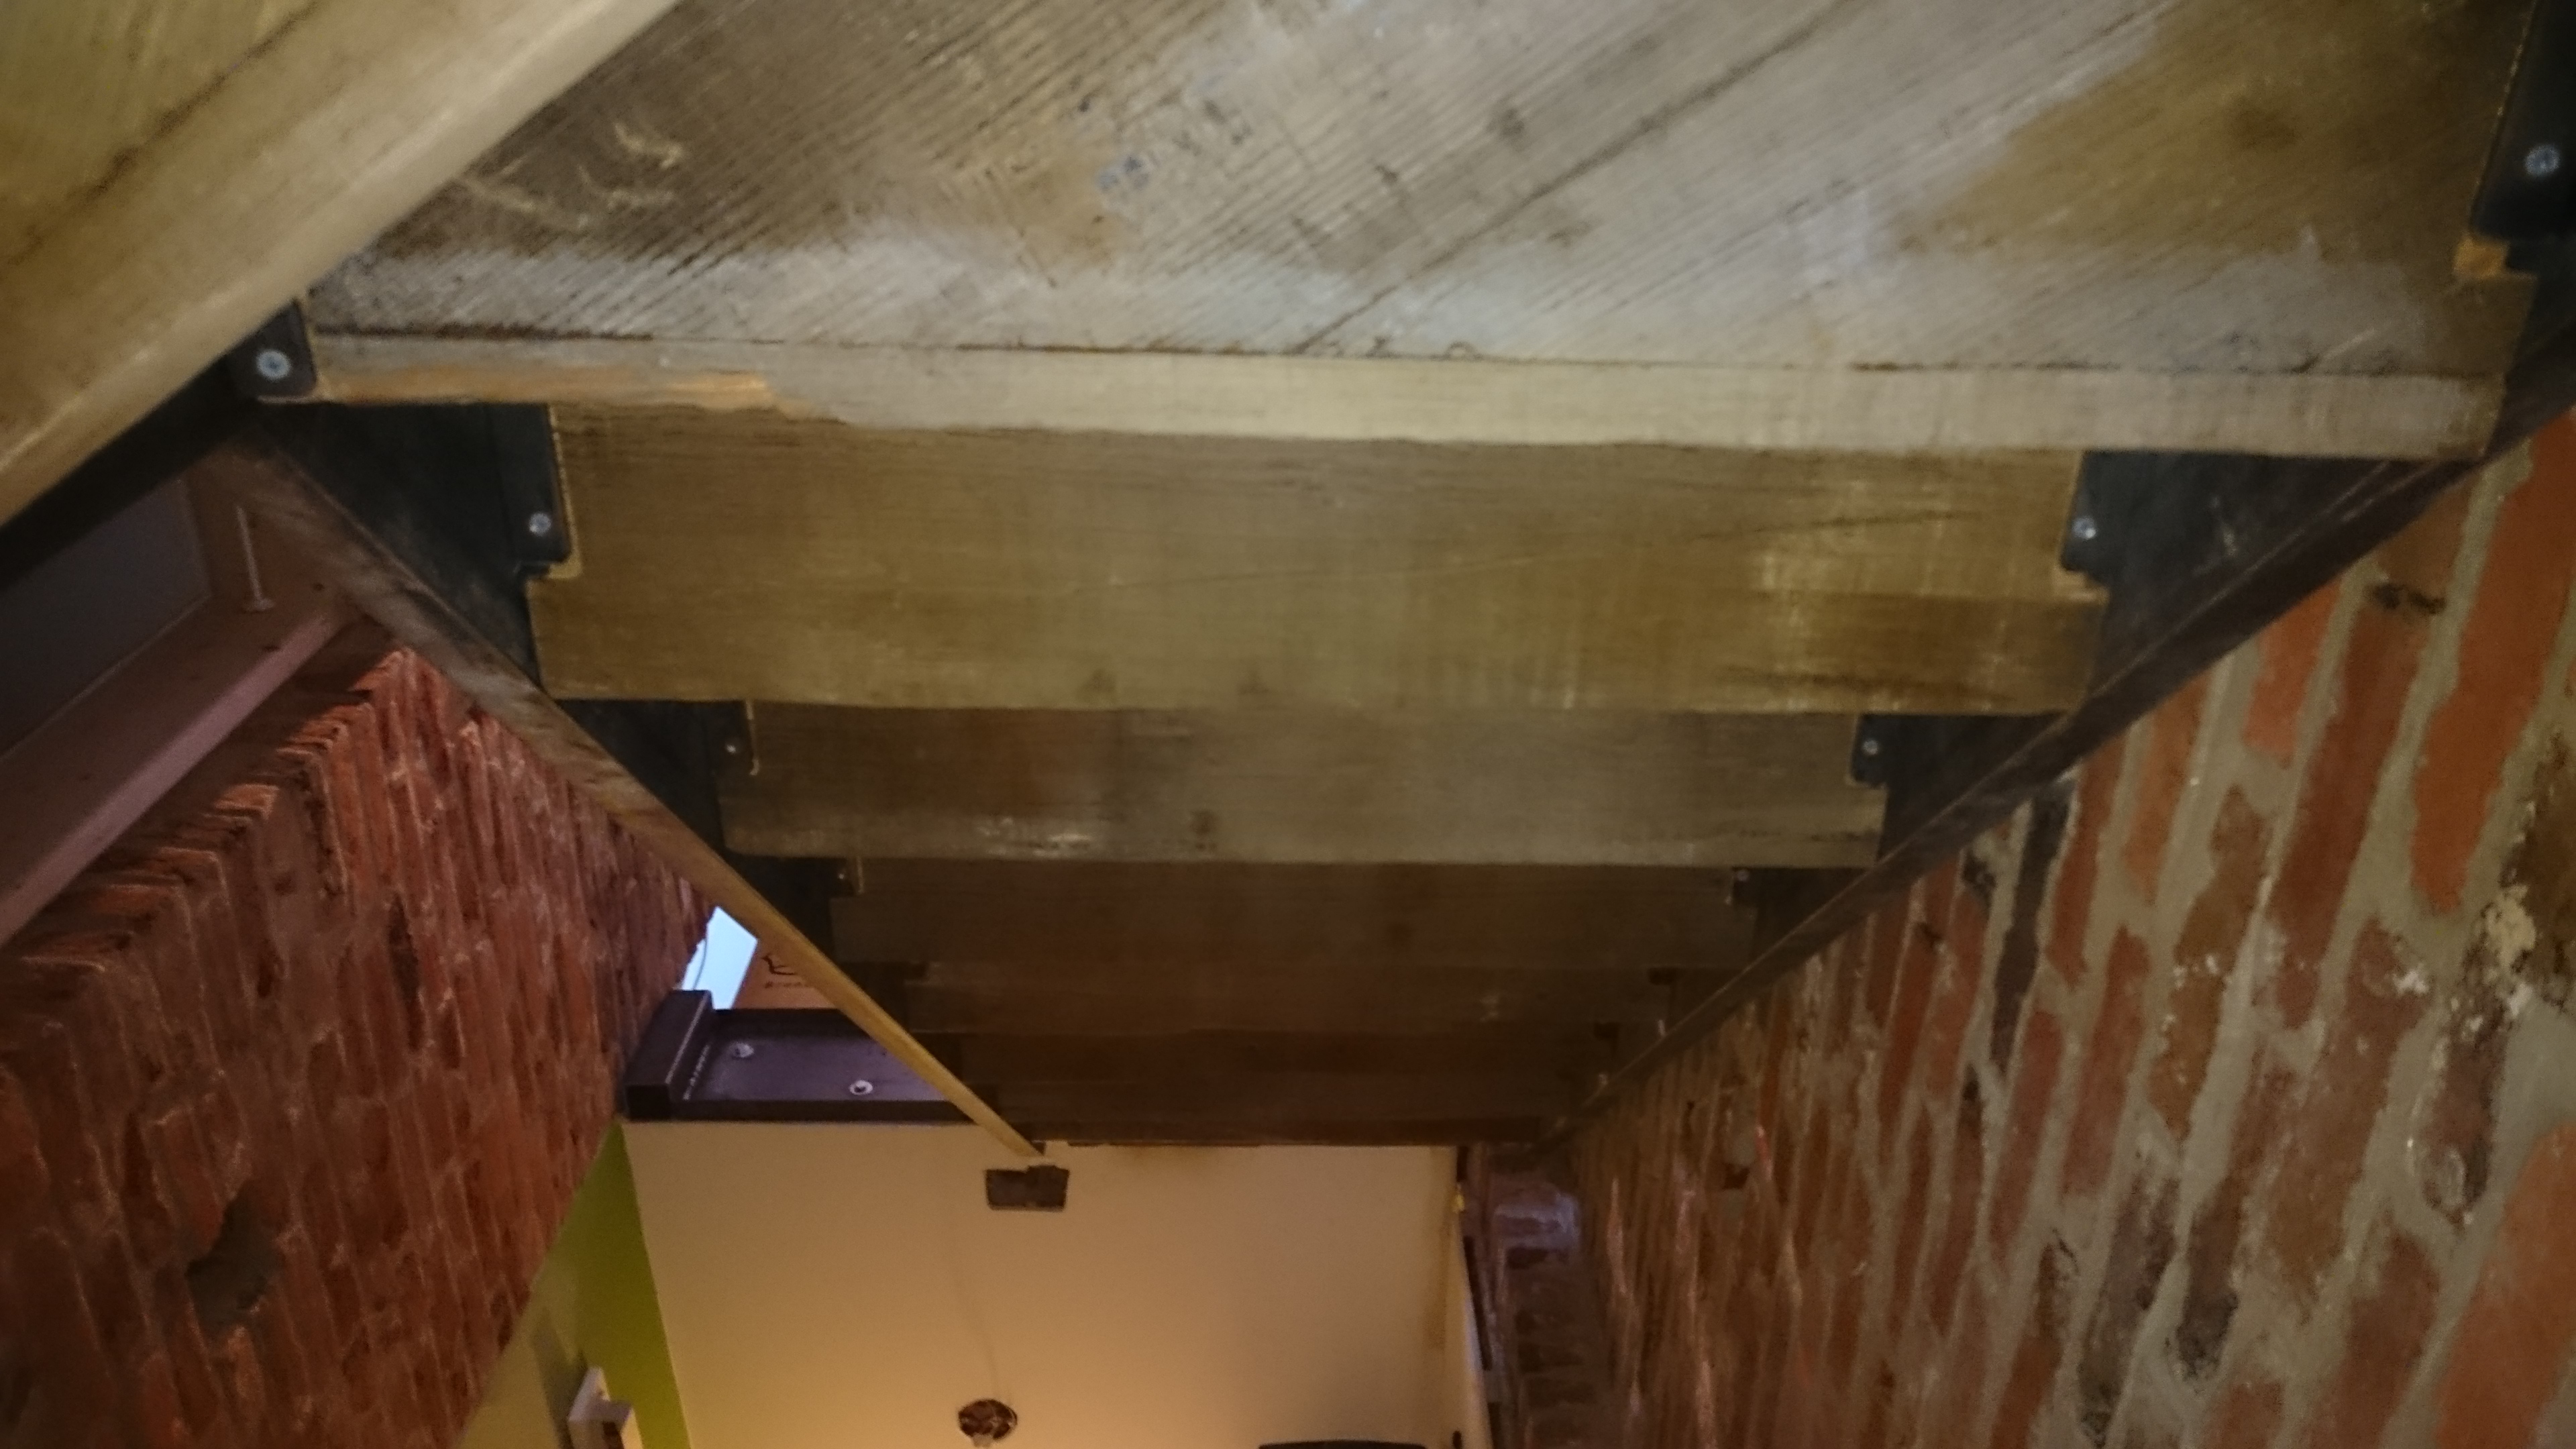
Not that complicated from below
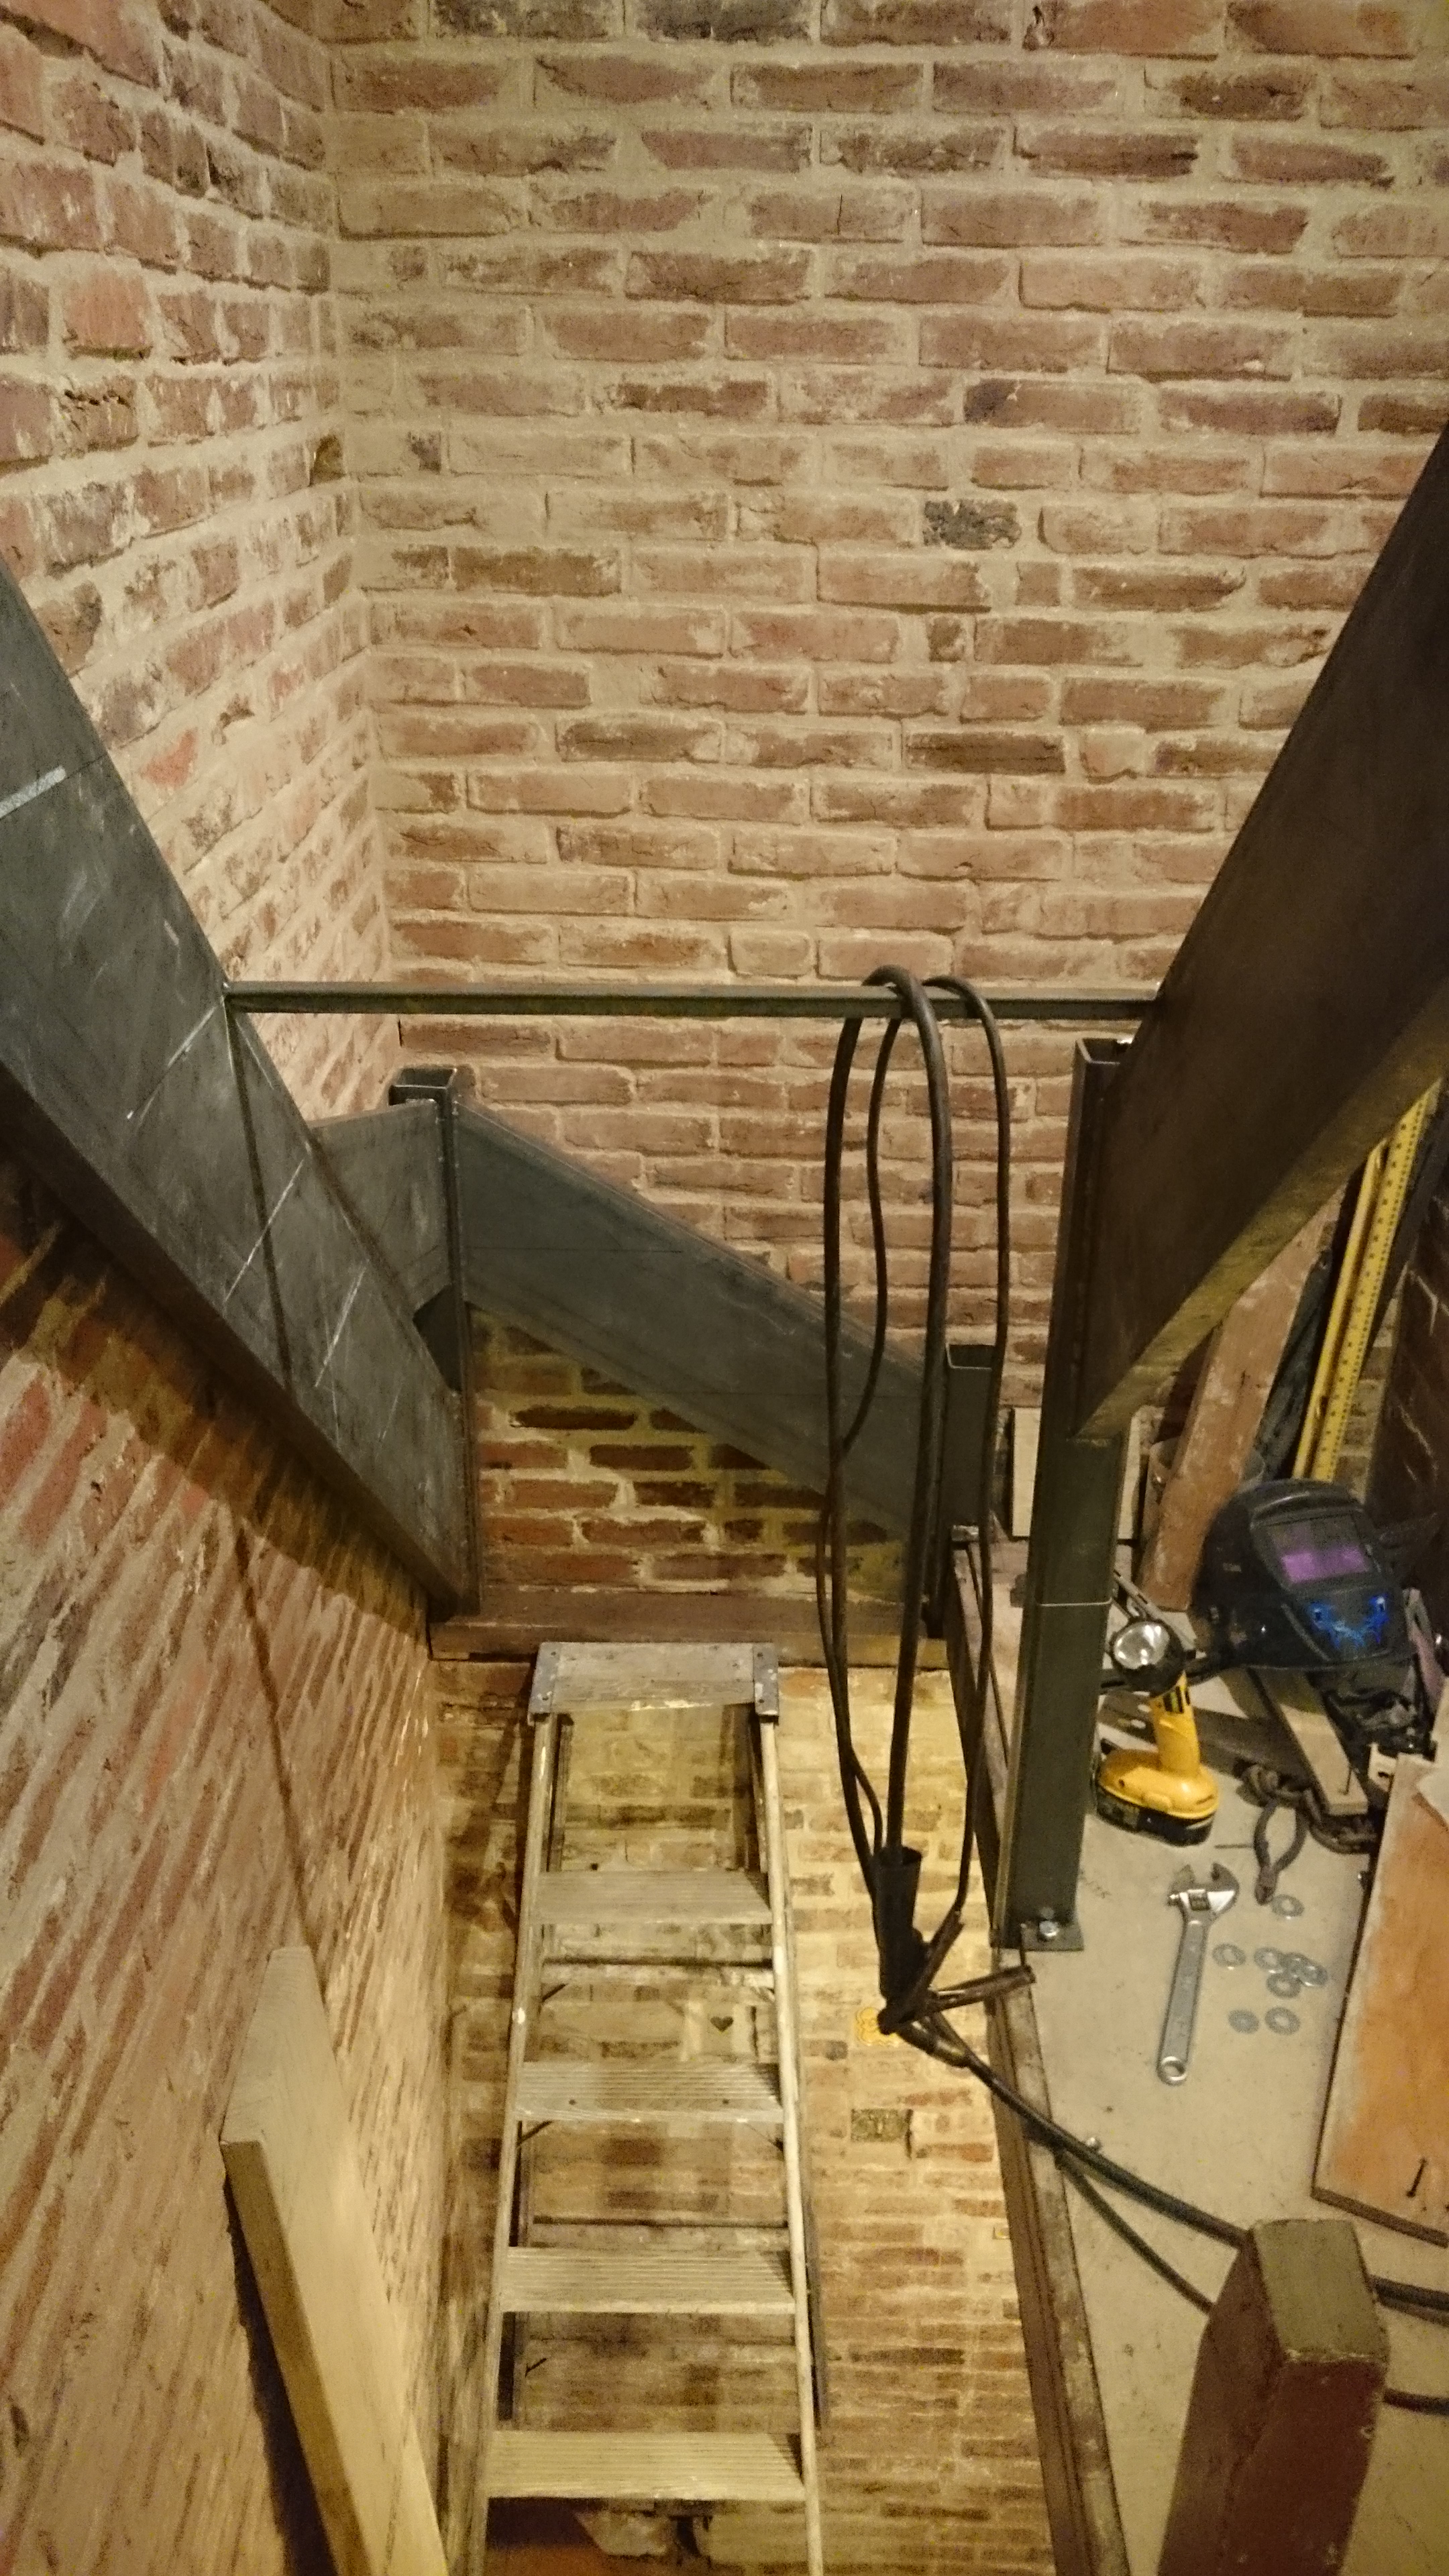
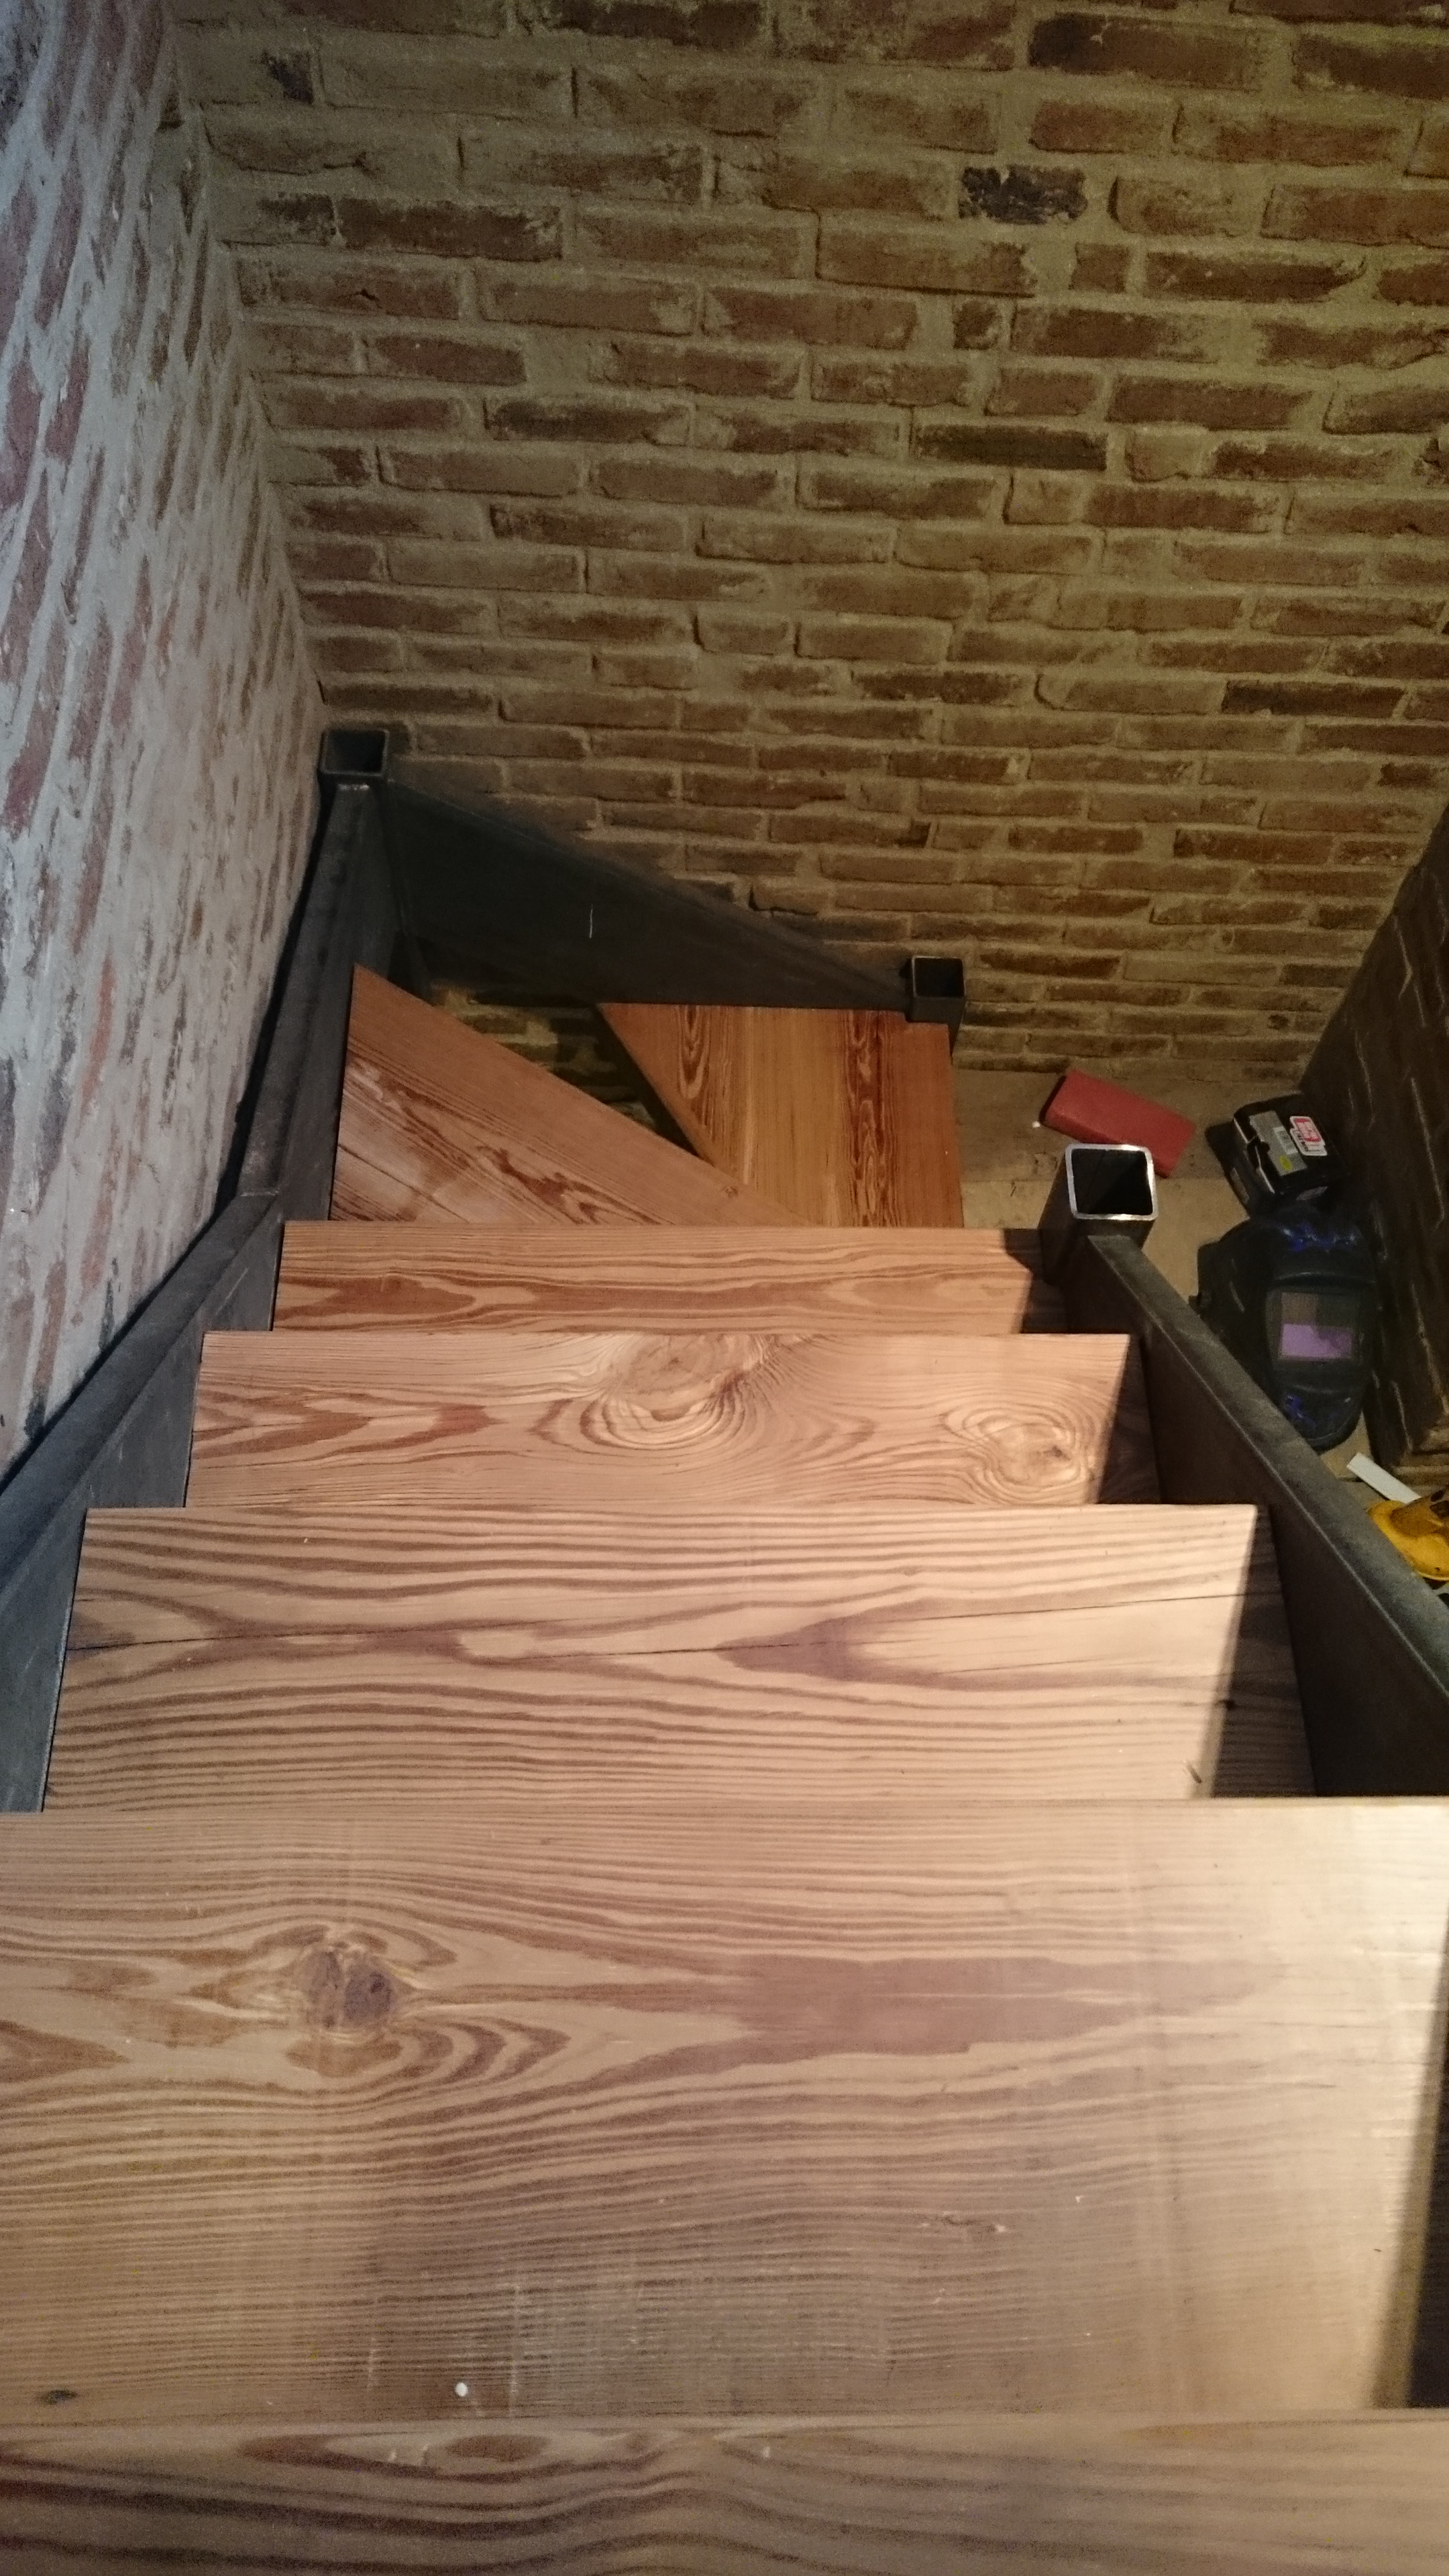
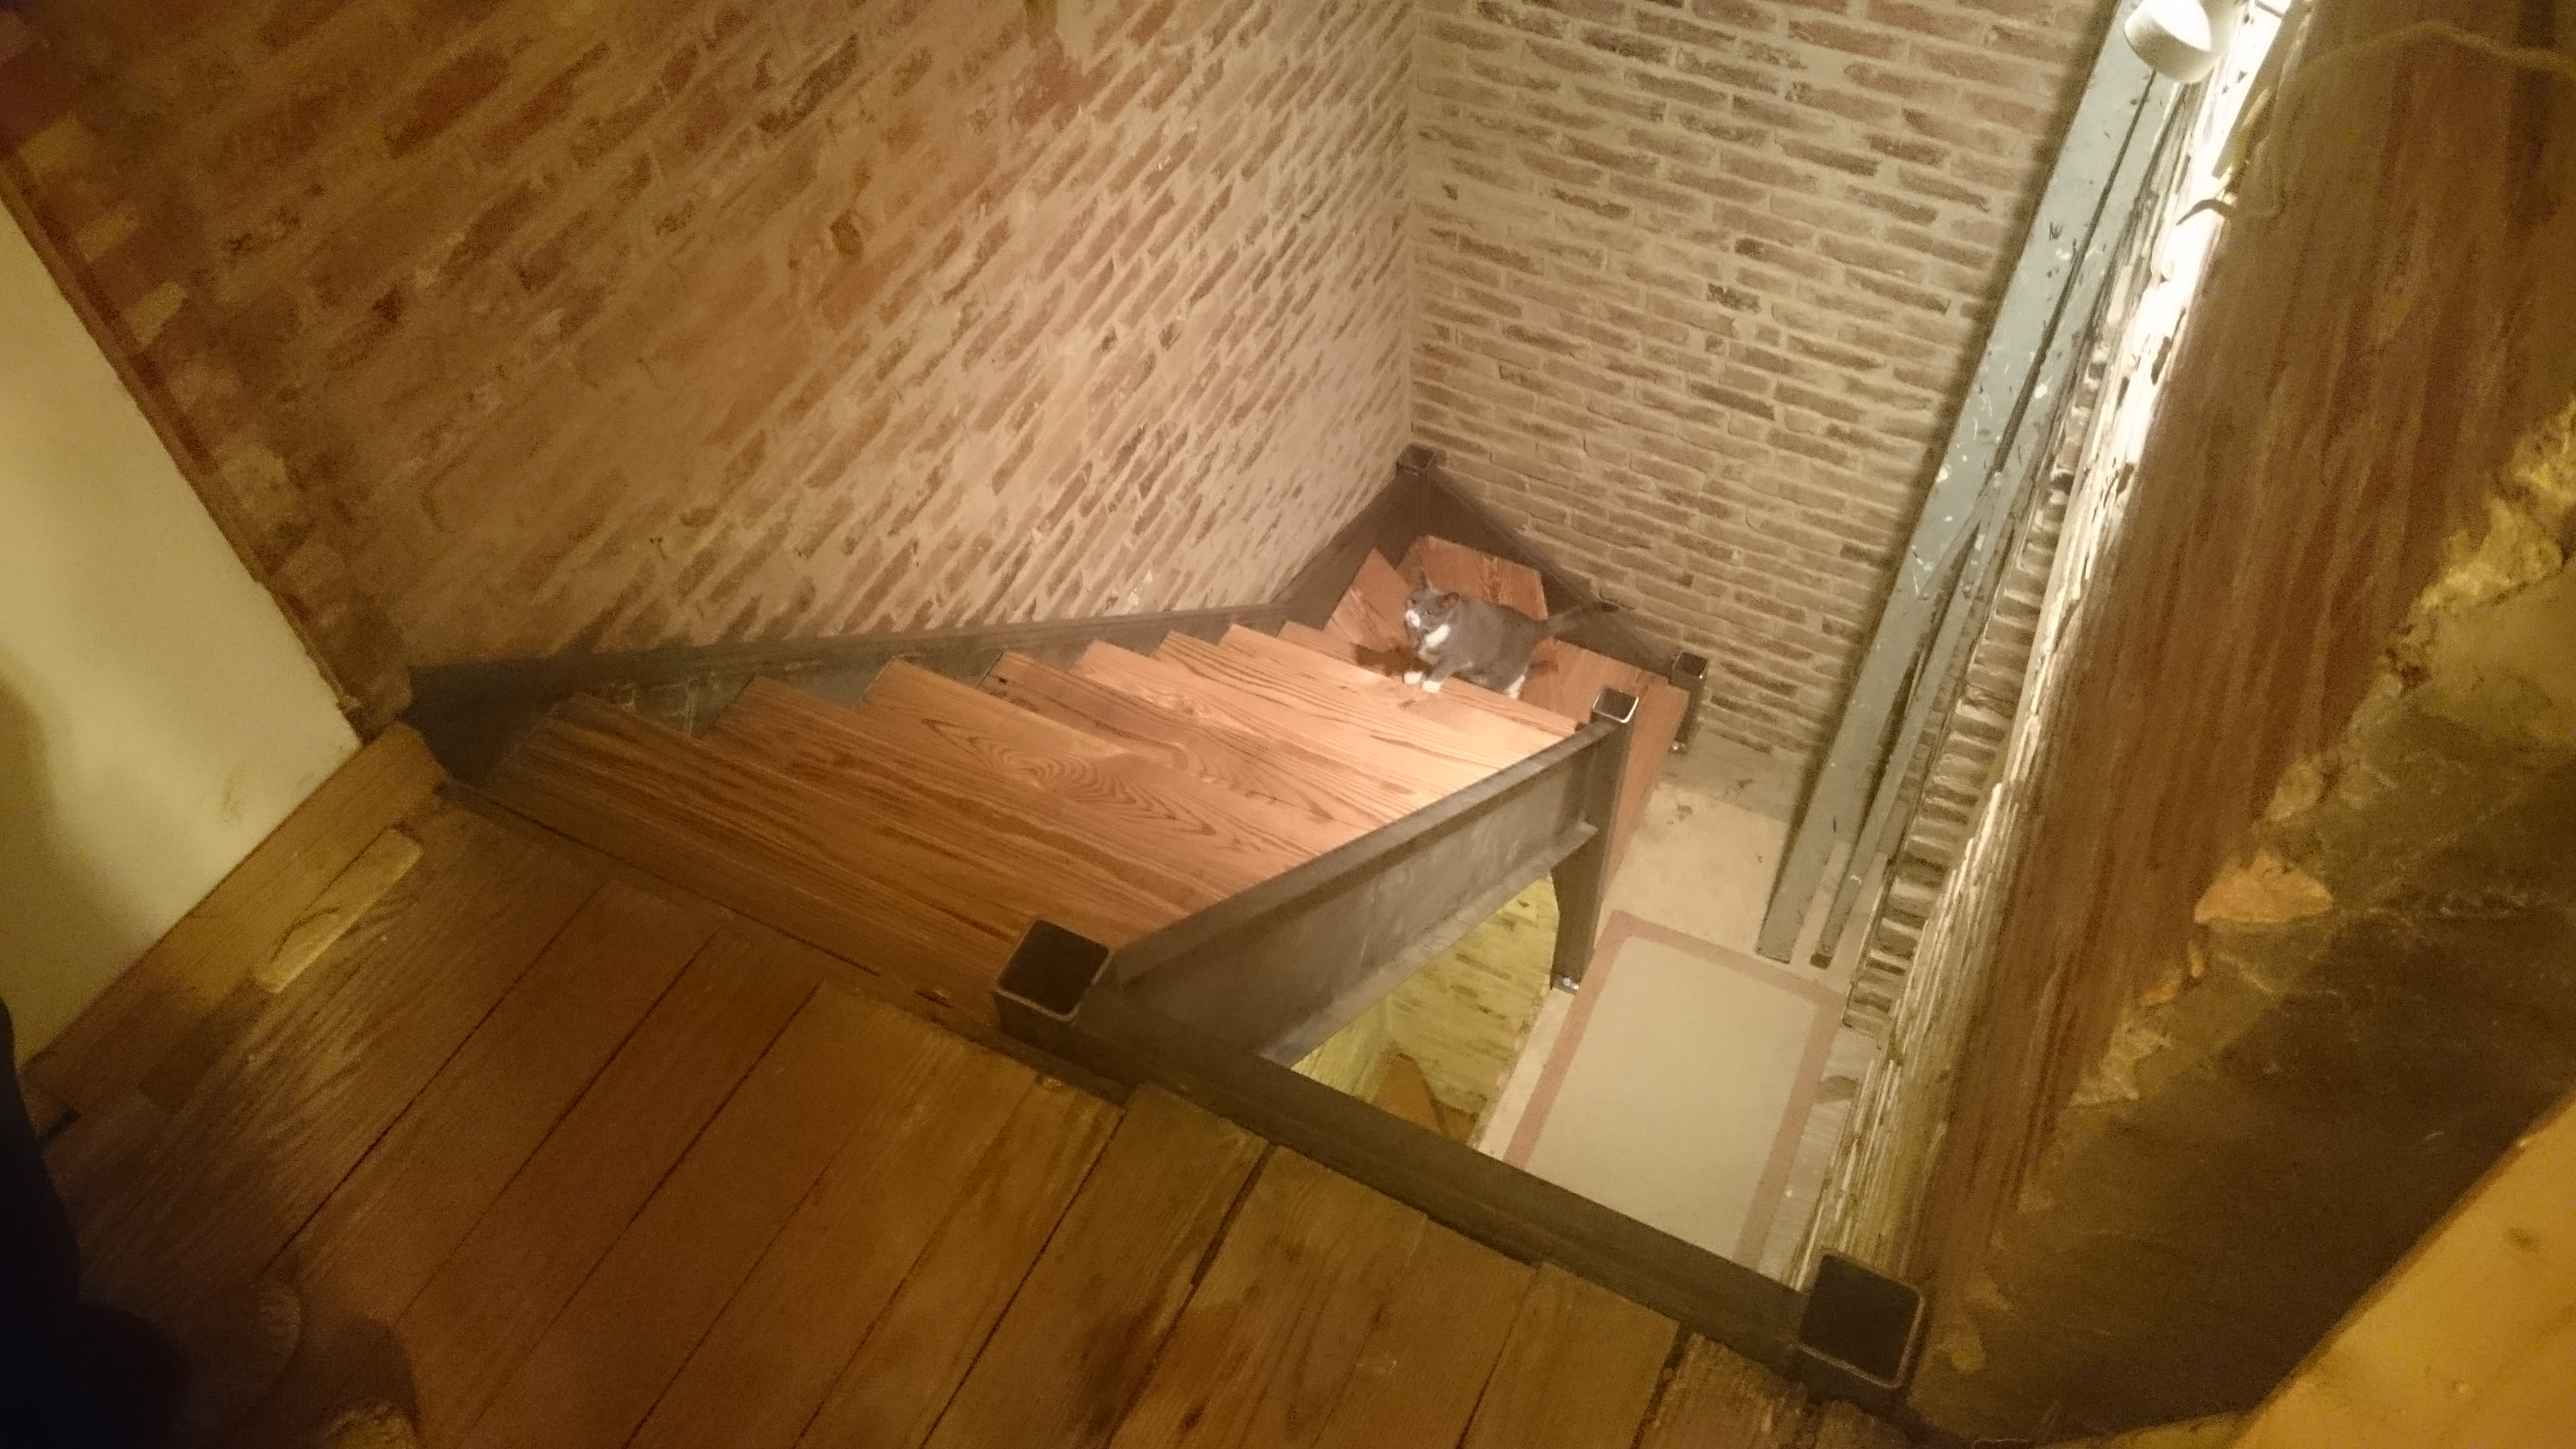
Finally this flight is coming together. Here is a view looking up.
Looking up at the rough cut bottoms from below. The glue haze only shows up in photos :-/
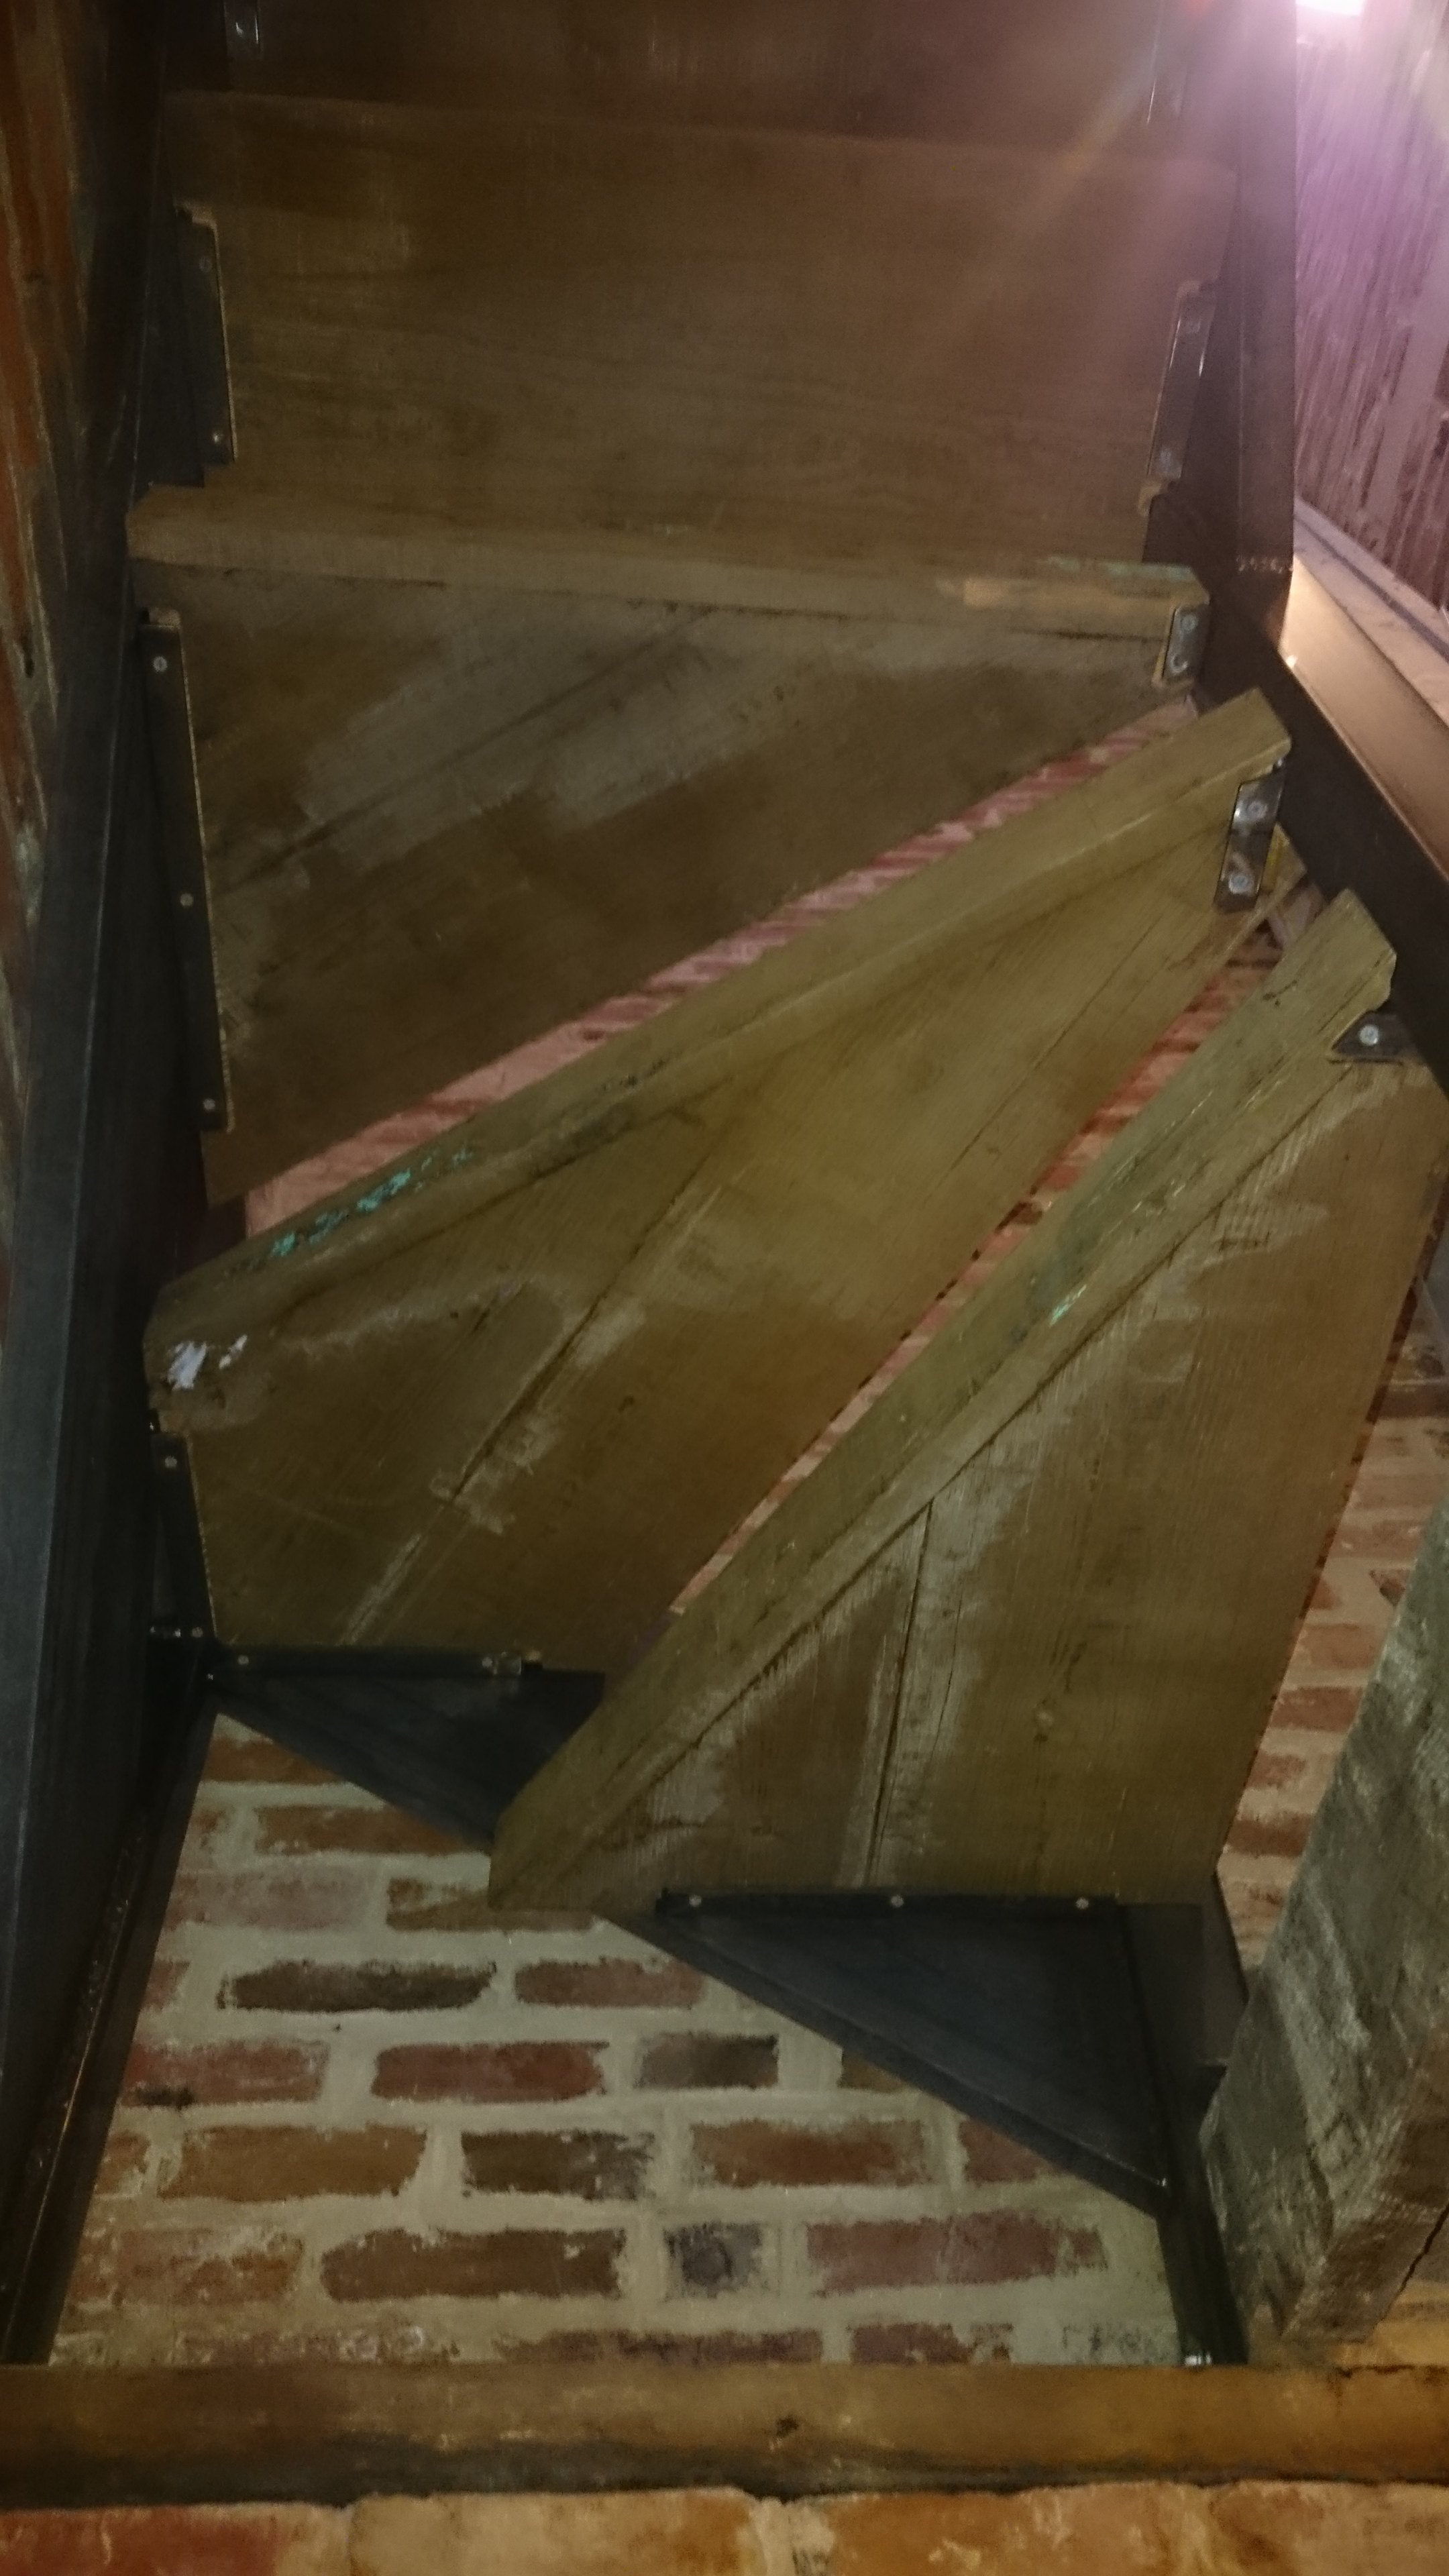
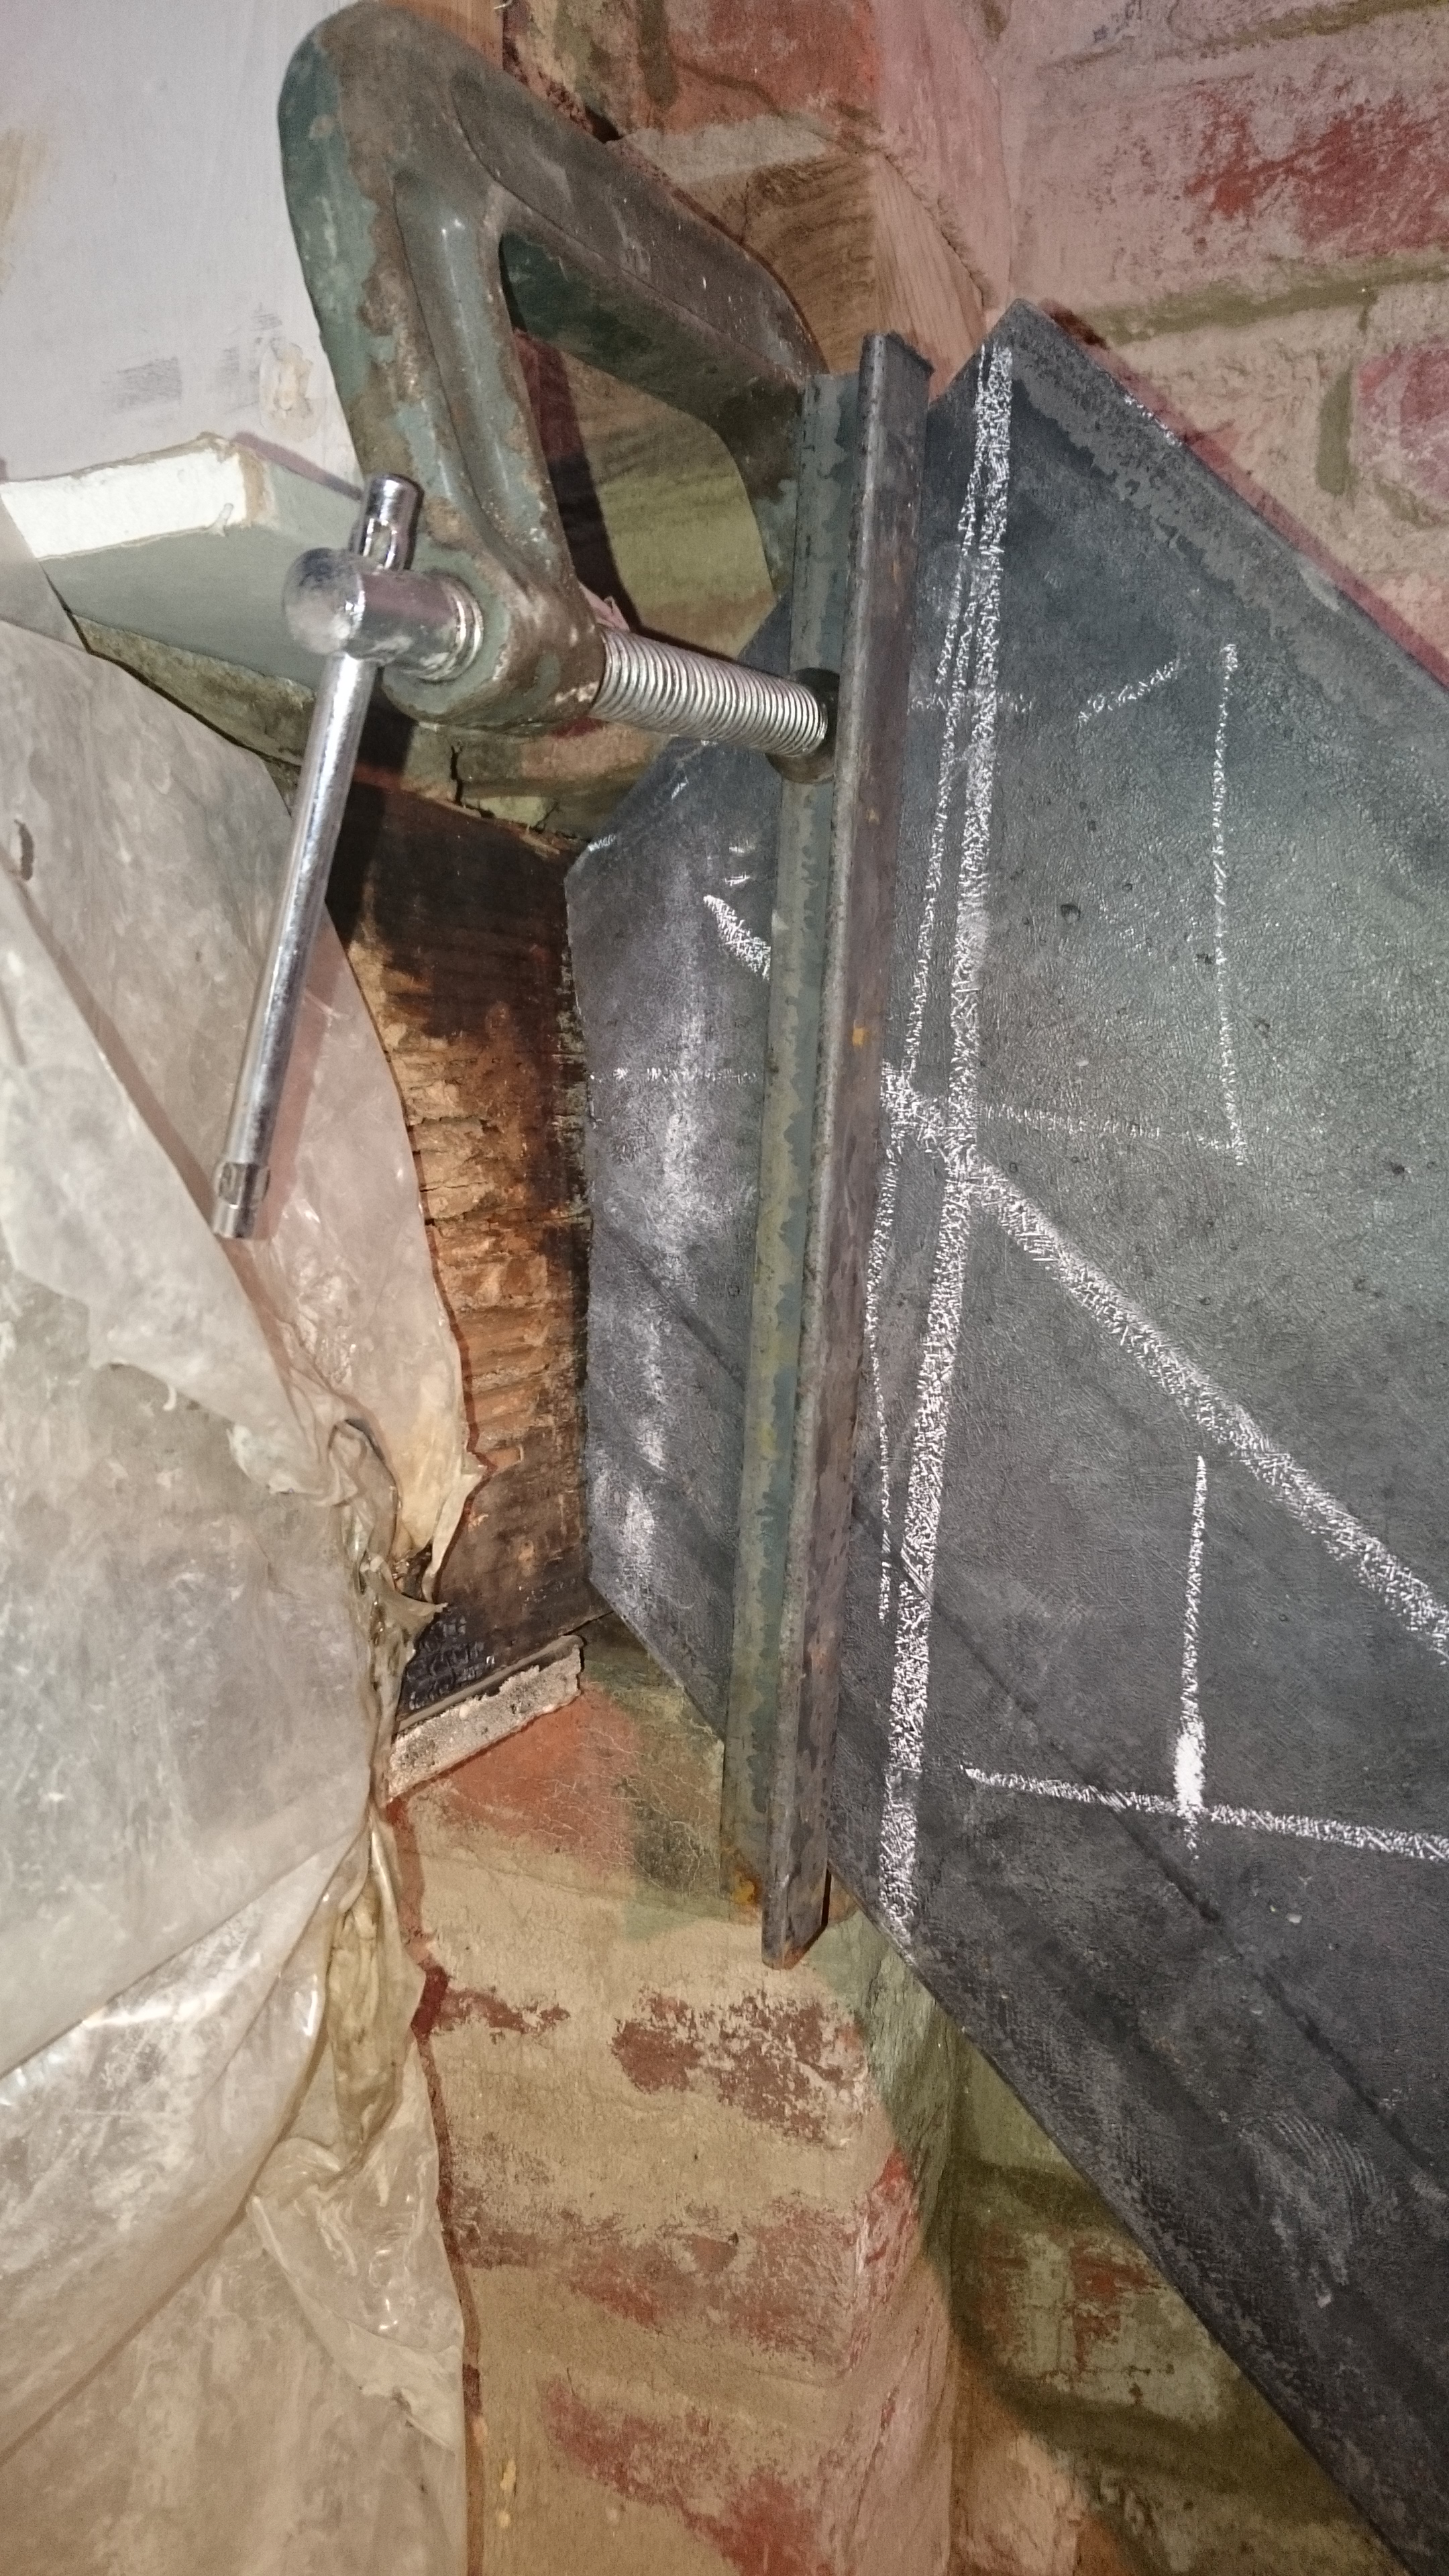
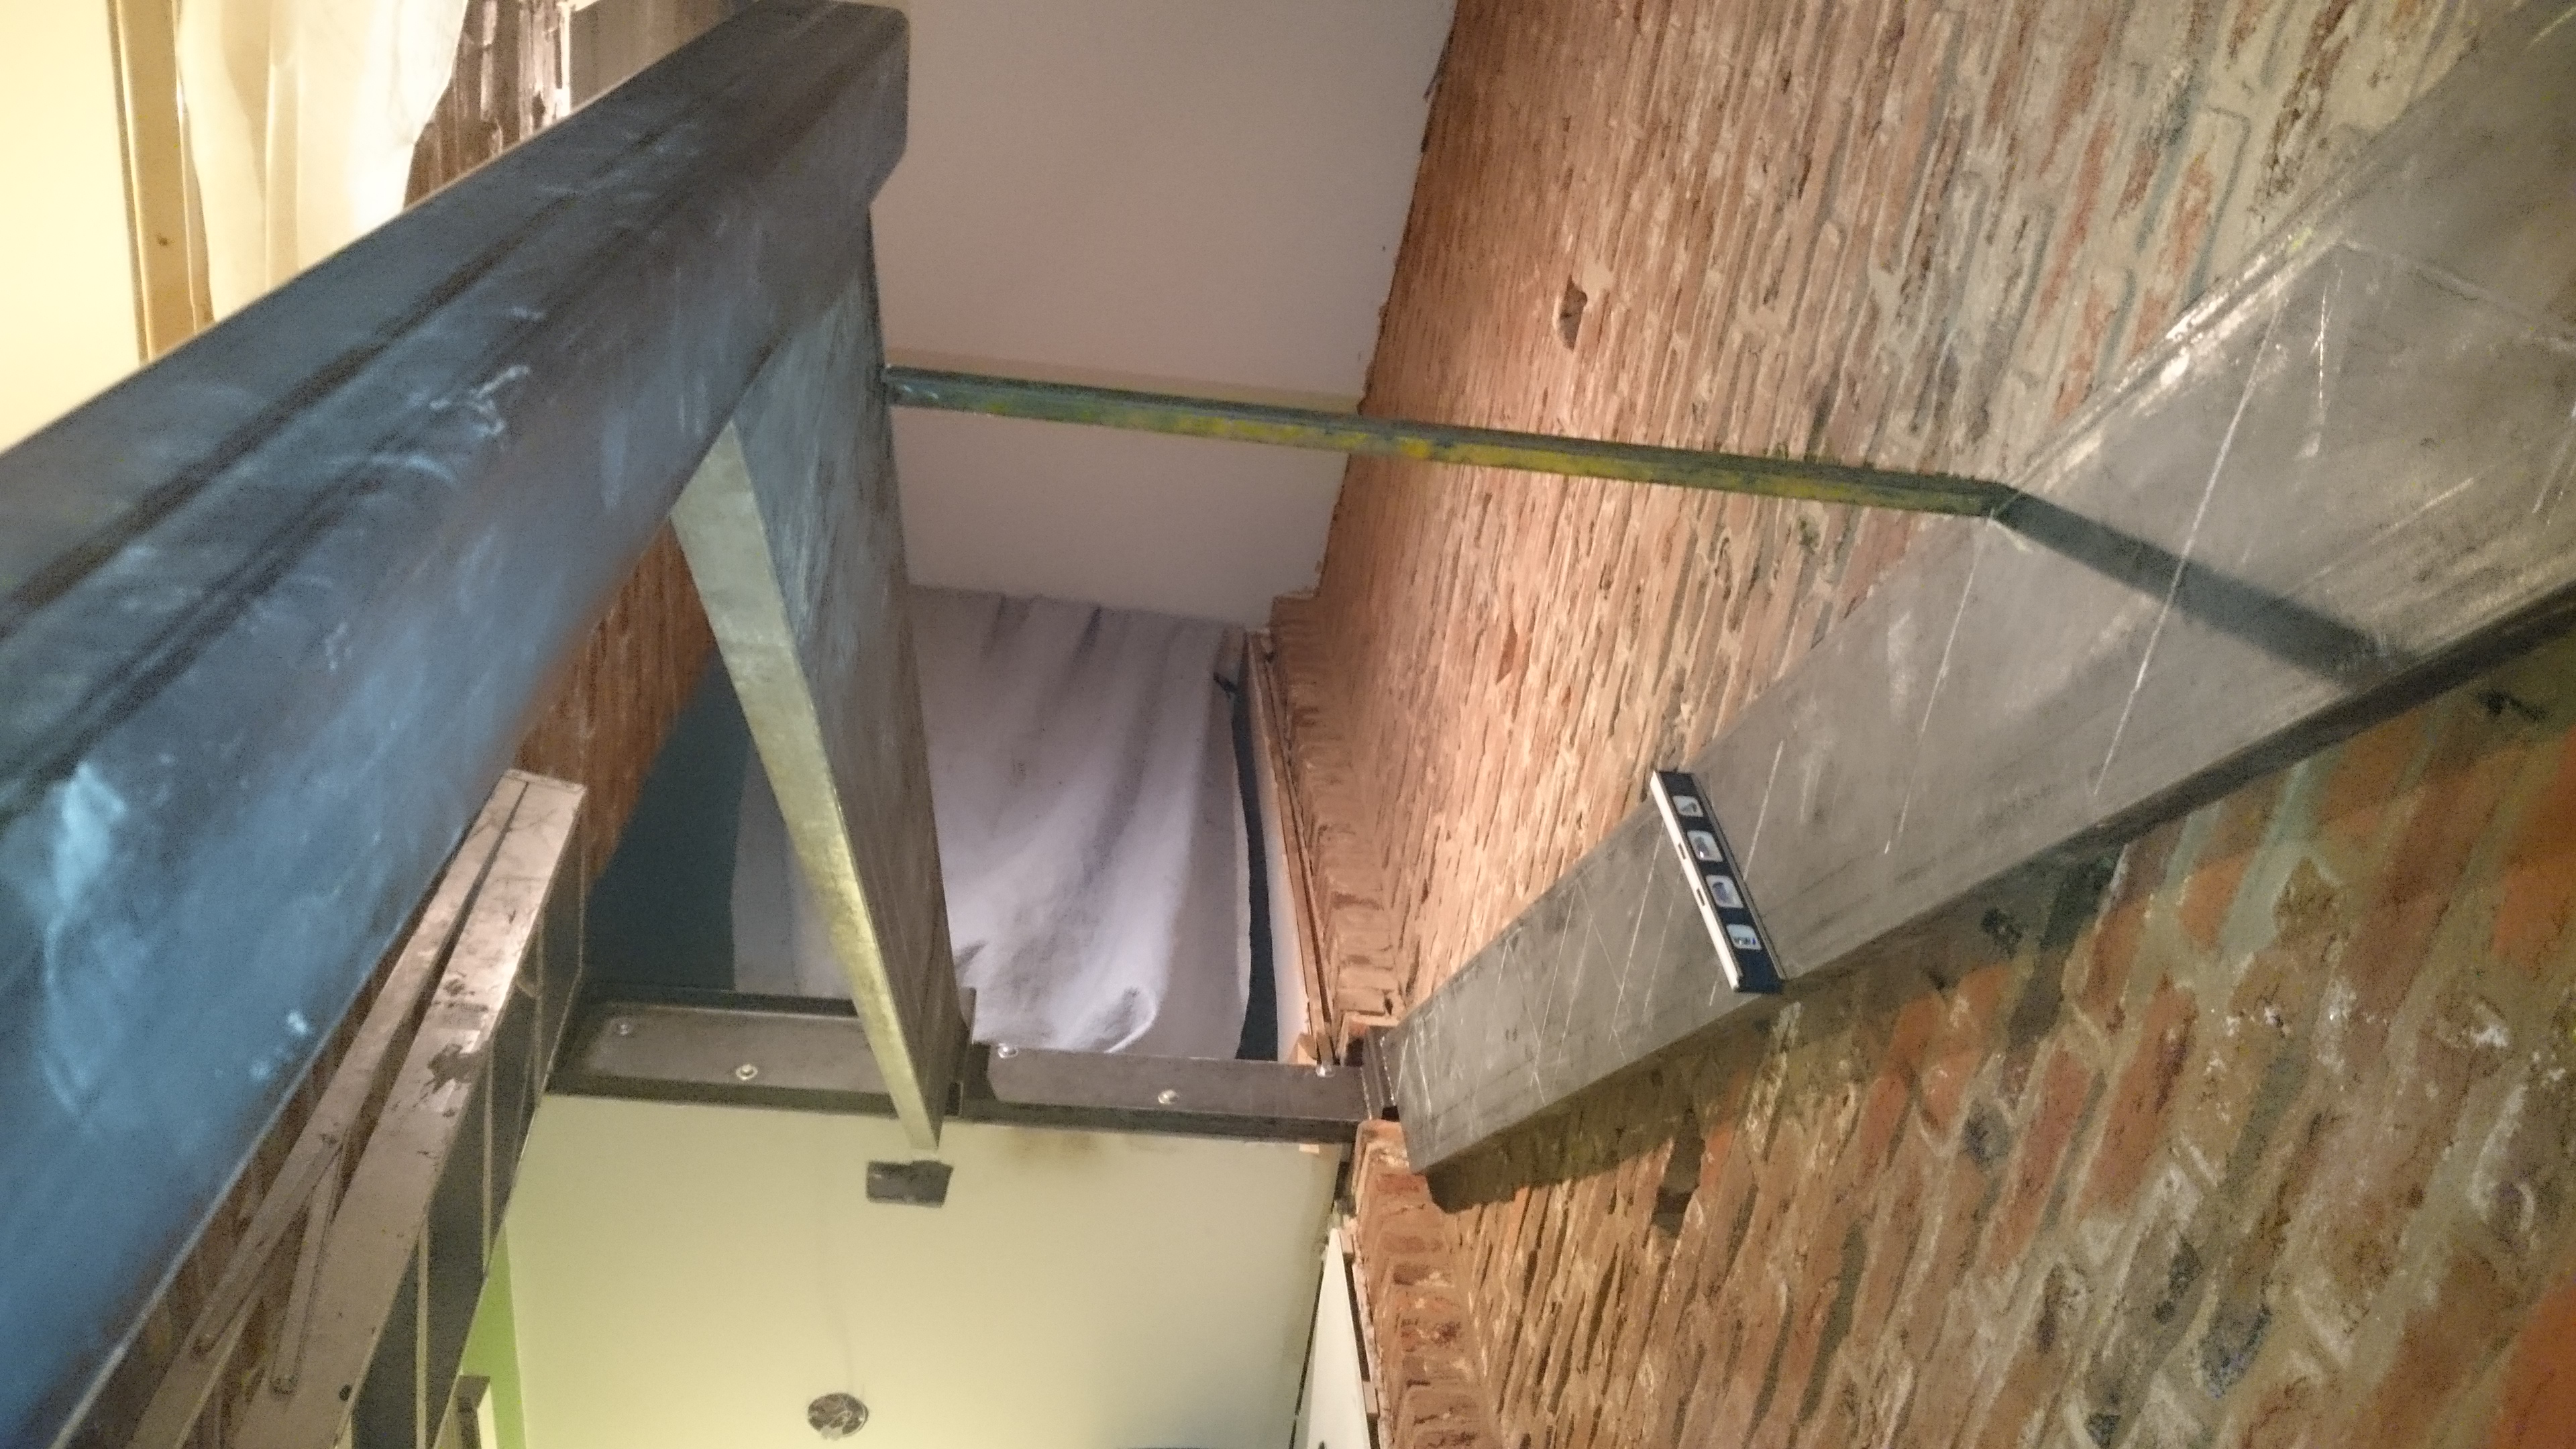
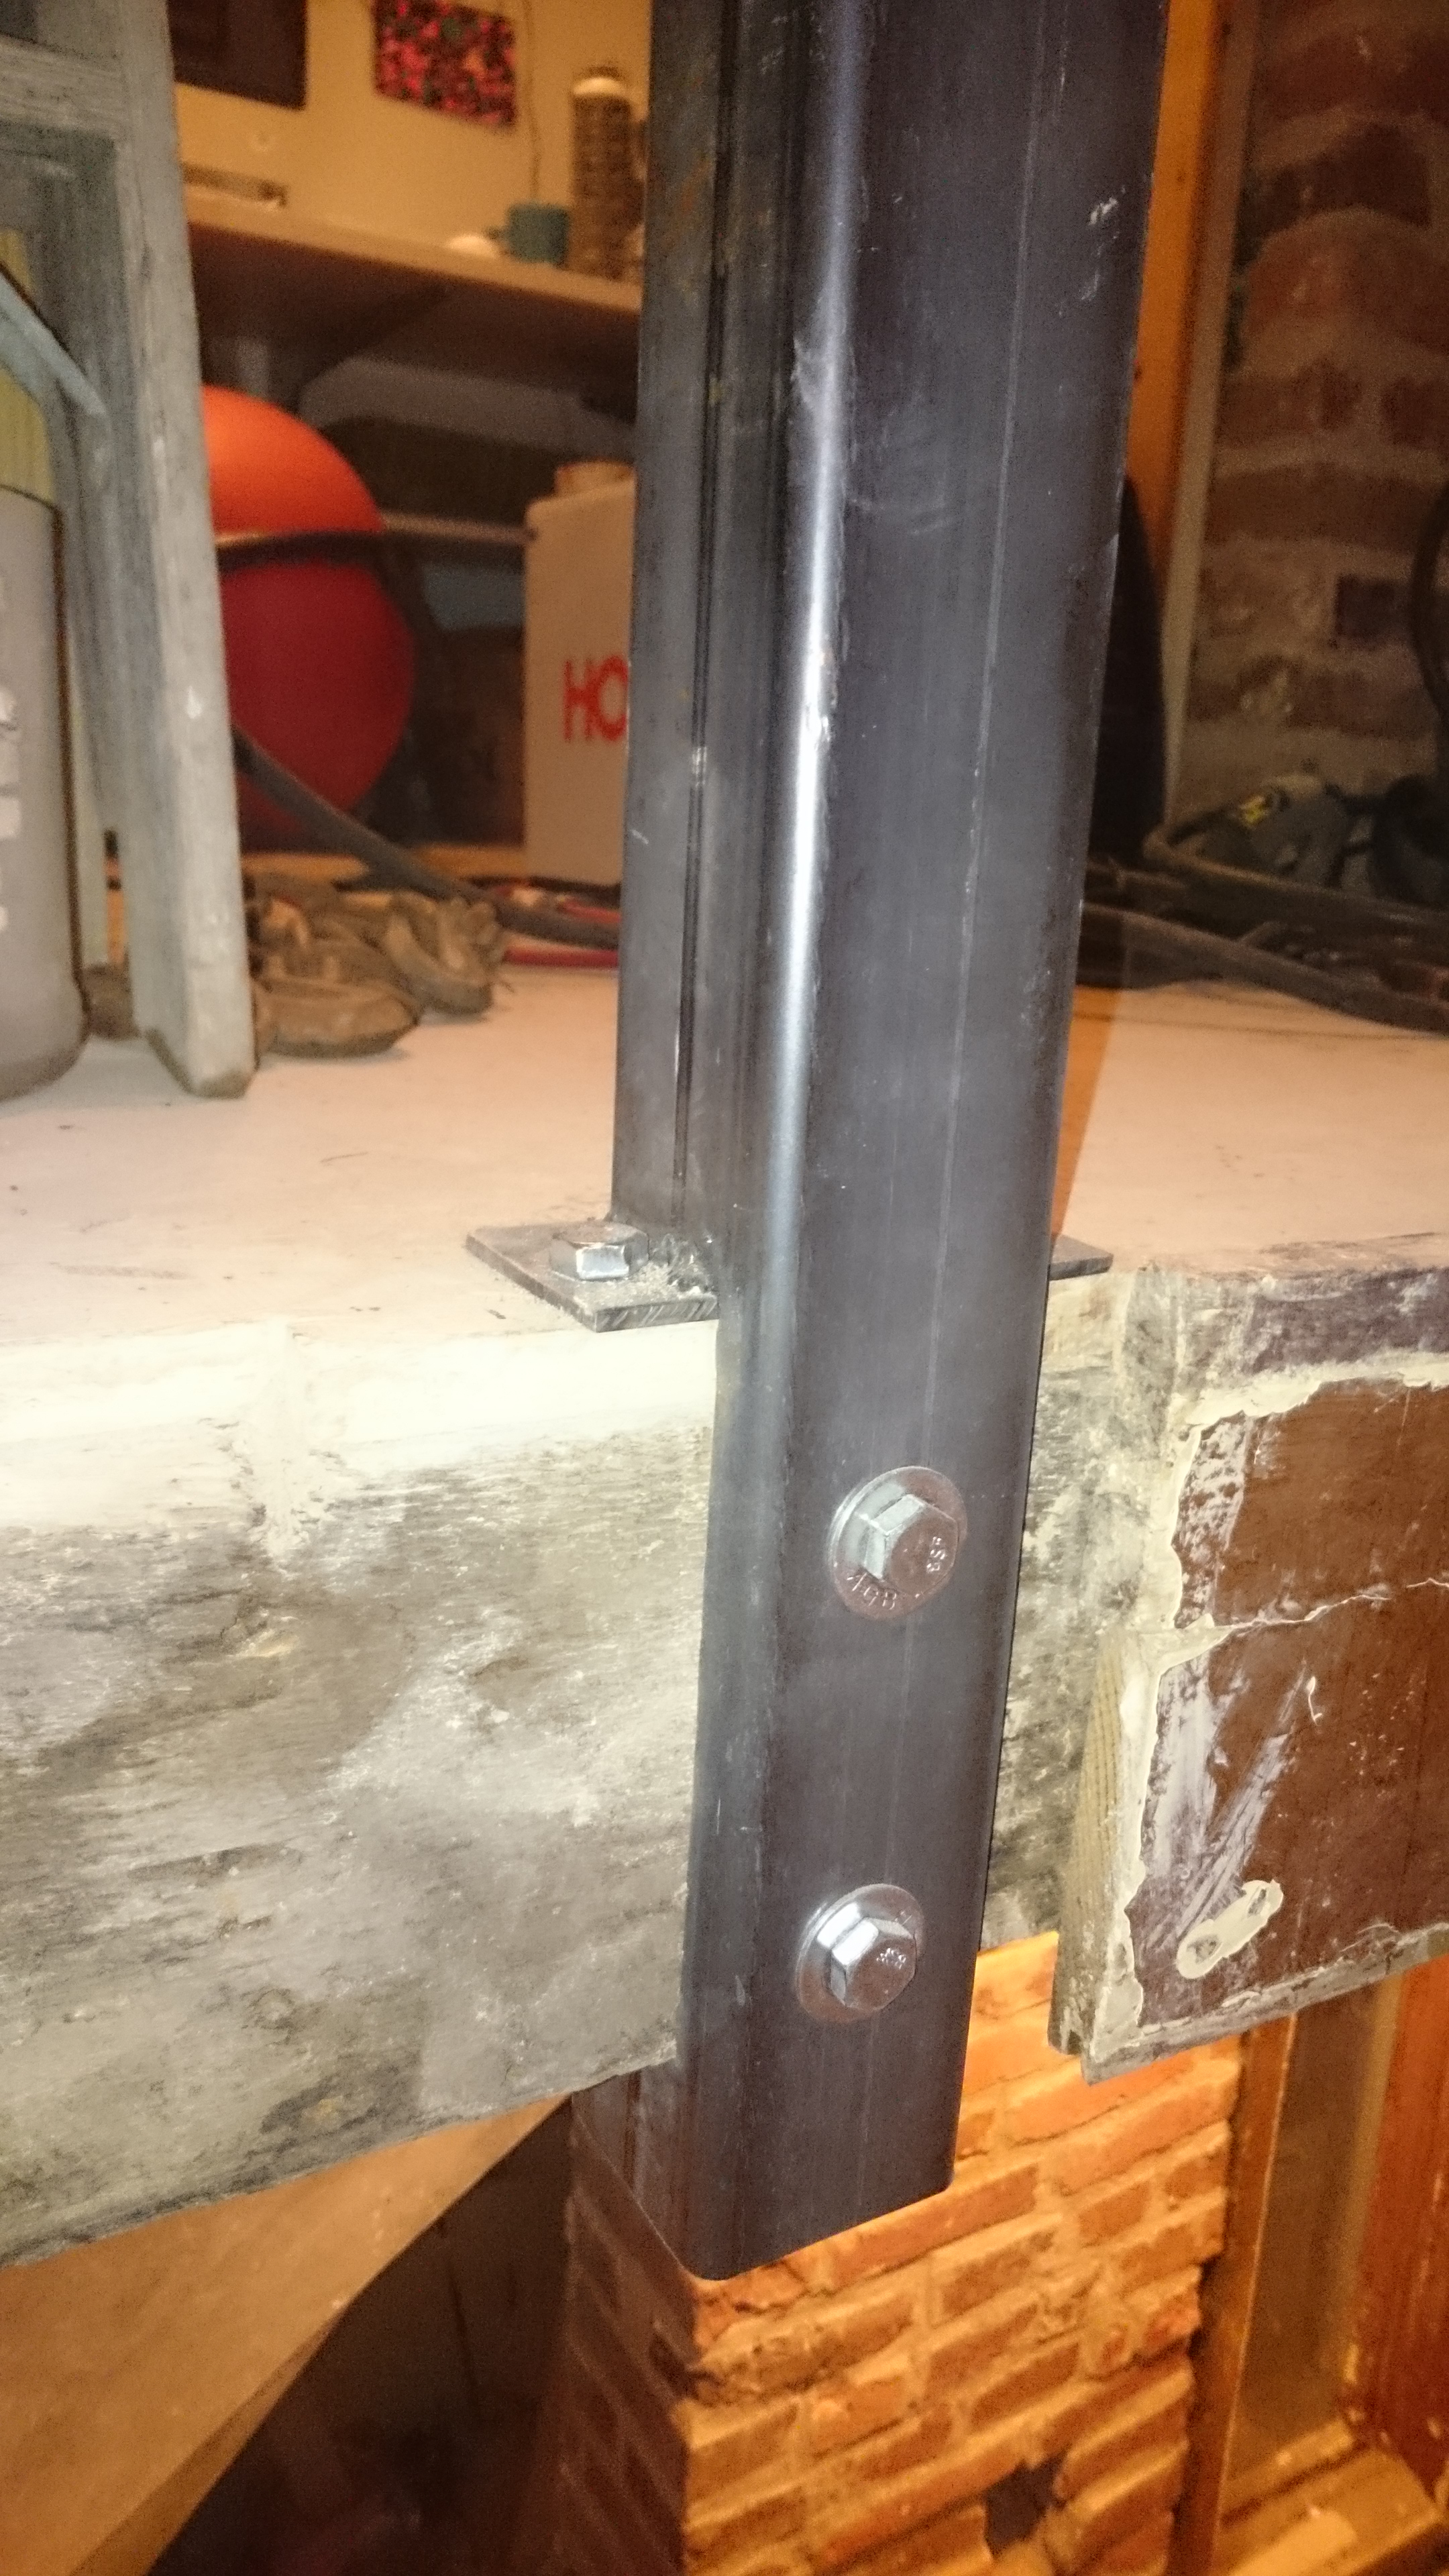
Note that the stairs progress around the post just like in the Sketchup drawing. Also see the steel brackets I made in order to get as much surface area as possible on the smallest part of the stairs.
Emi is not intimidated by the open treads.