

Passing out on a heated floor isnt too bad!
Merry Christmas! Yesterday we celebrated Christmas on the 3rd floor. The newly oiled floors had only been prepared 24 hours earlier. We couldn’t wait another hour to try them out. We’re quite amazed how nice they look for 130 year original floors. They had been covered since 1953 by linoleum and painted long before that. Here is how we got from that to this:
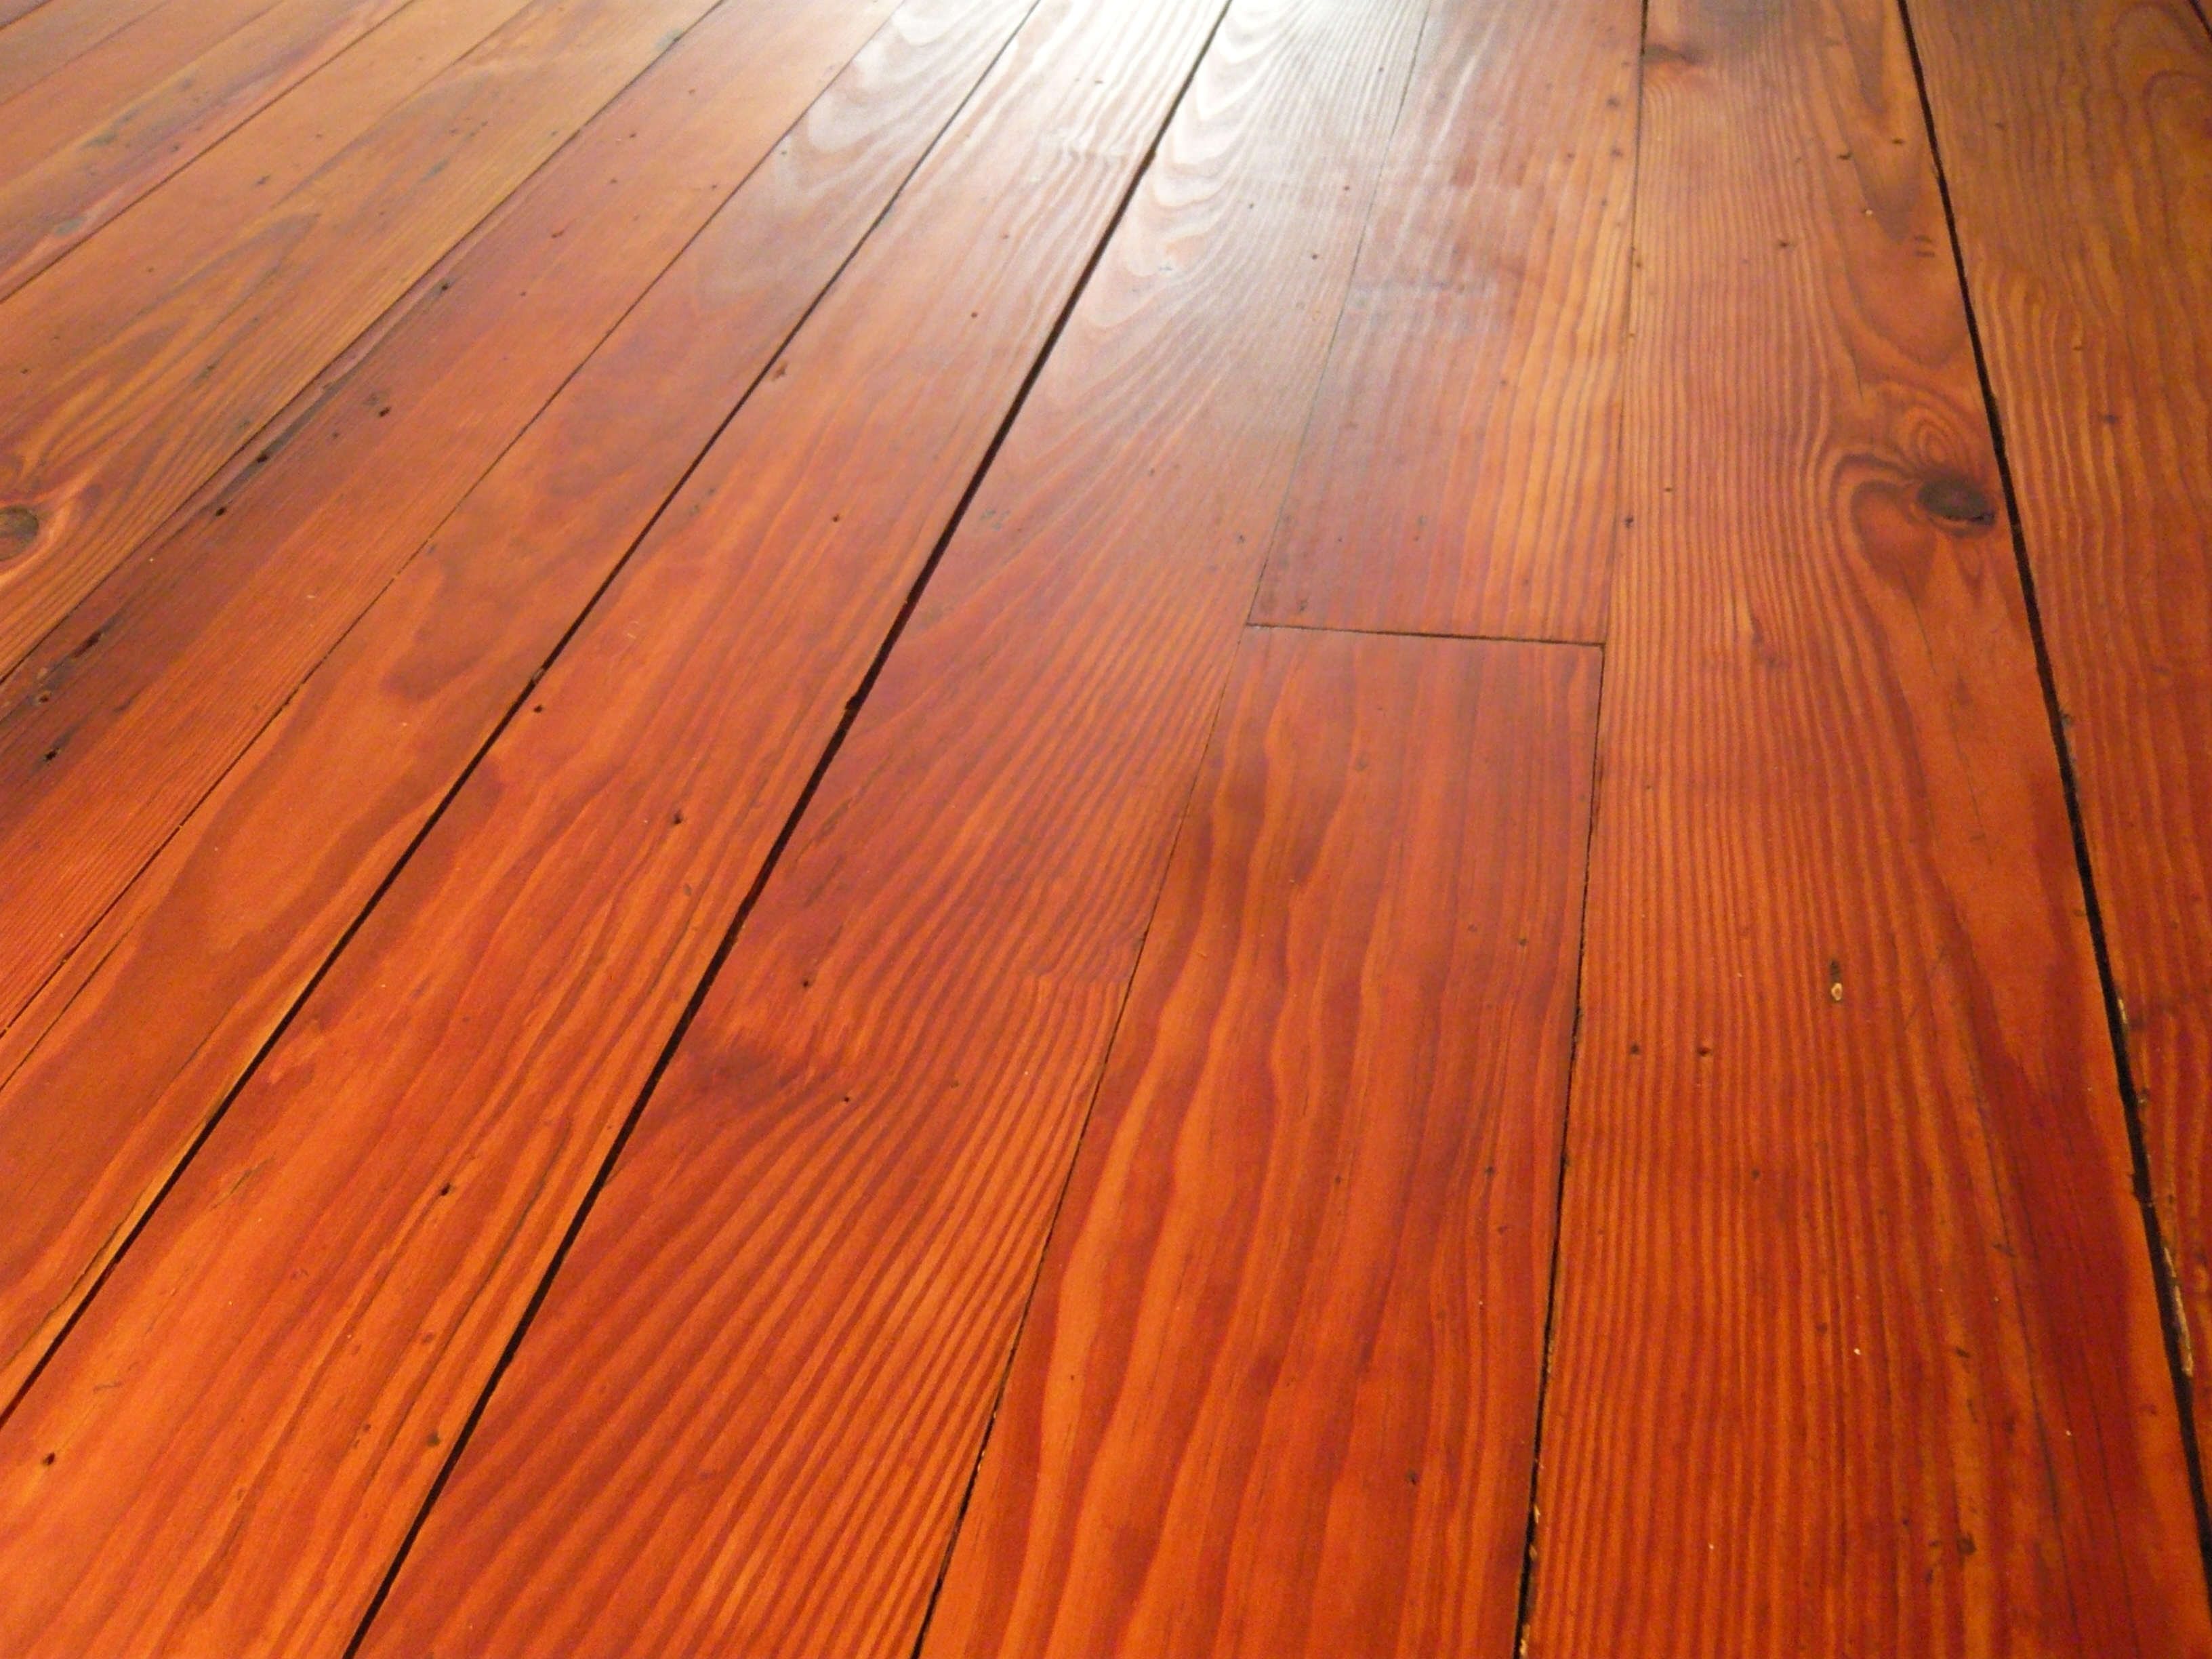
The colors in the wood are just amazing. They range from bright yellow to dark red. Very warm!
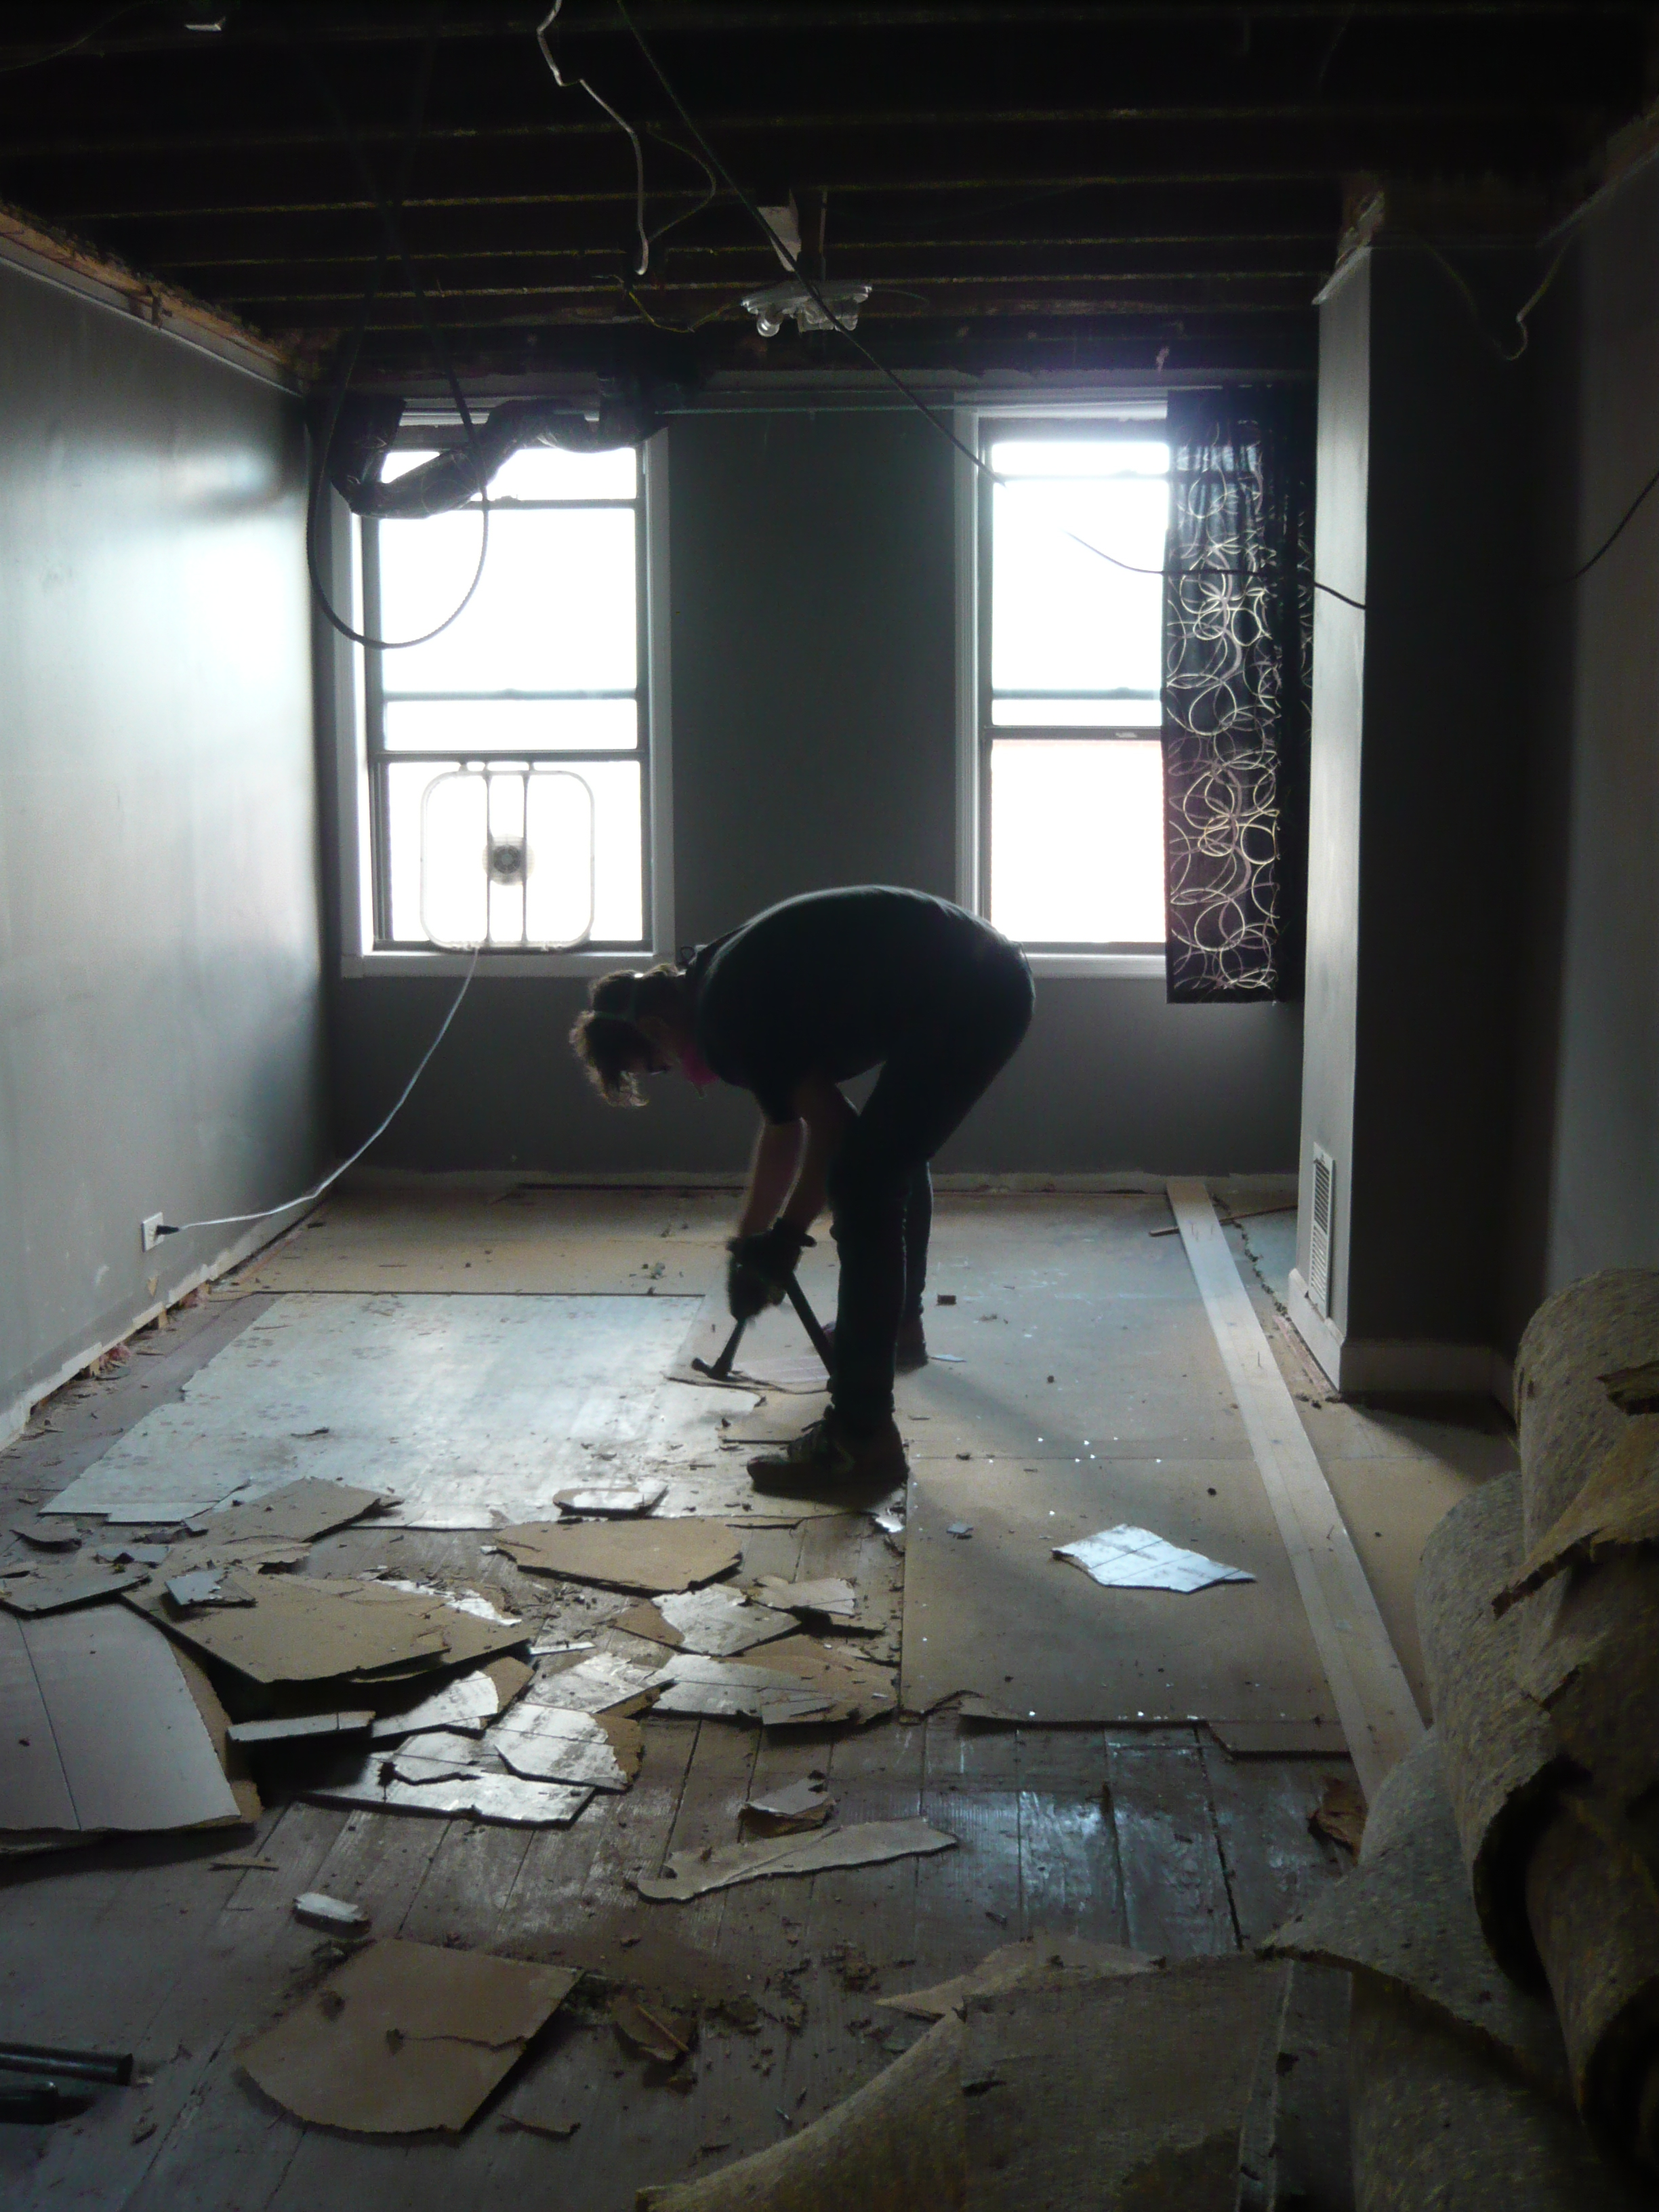
Going way back to our first weeks working on the house, we see how we got started. Once the laths and plaster from the ceiling and (super shitty) dividing walls were down, we tore up the carpet and everything under it down to the subfloor.
The layers coming up.
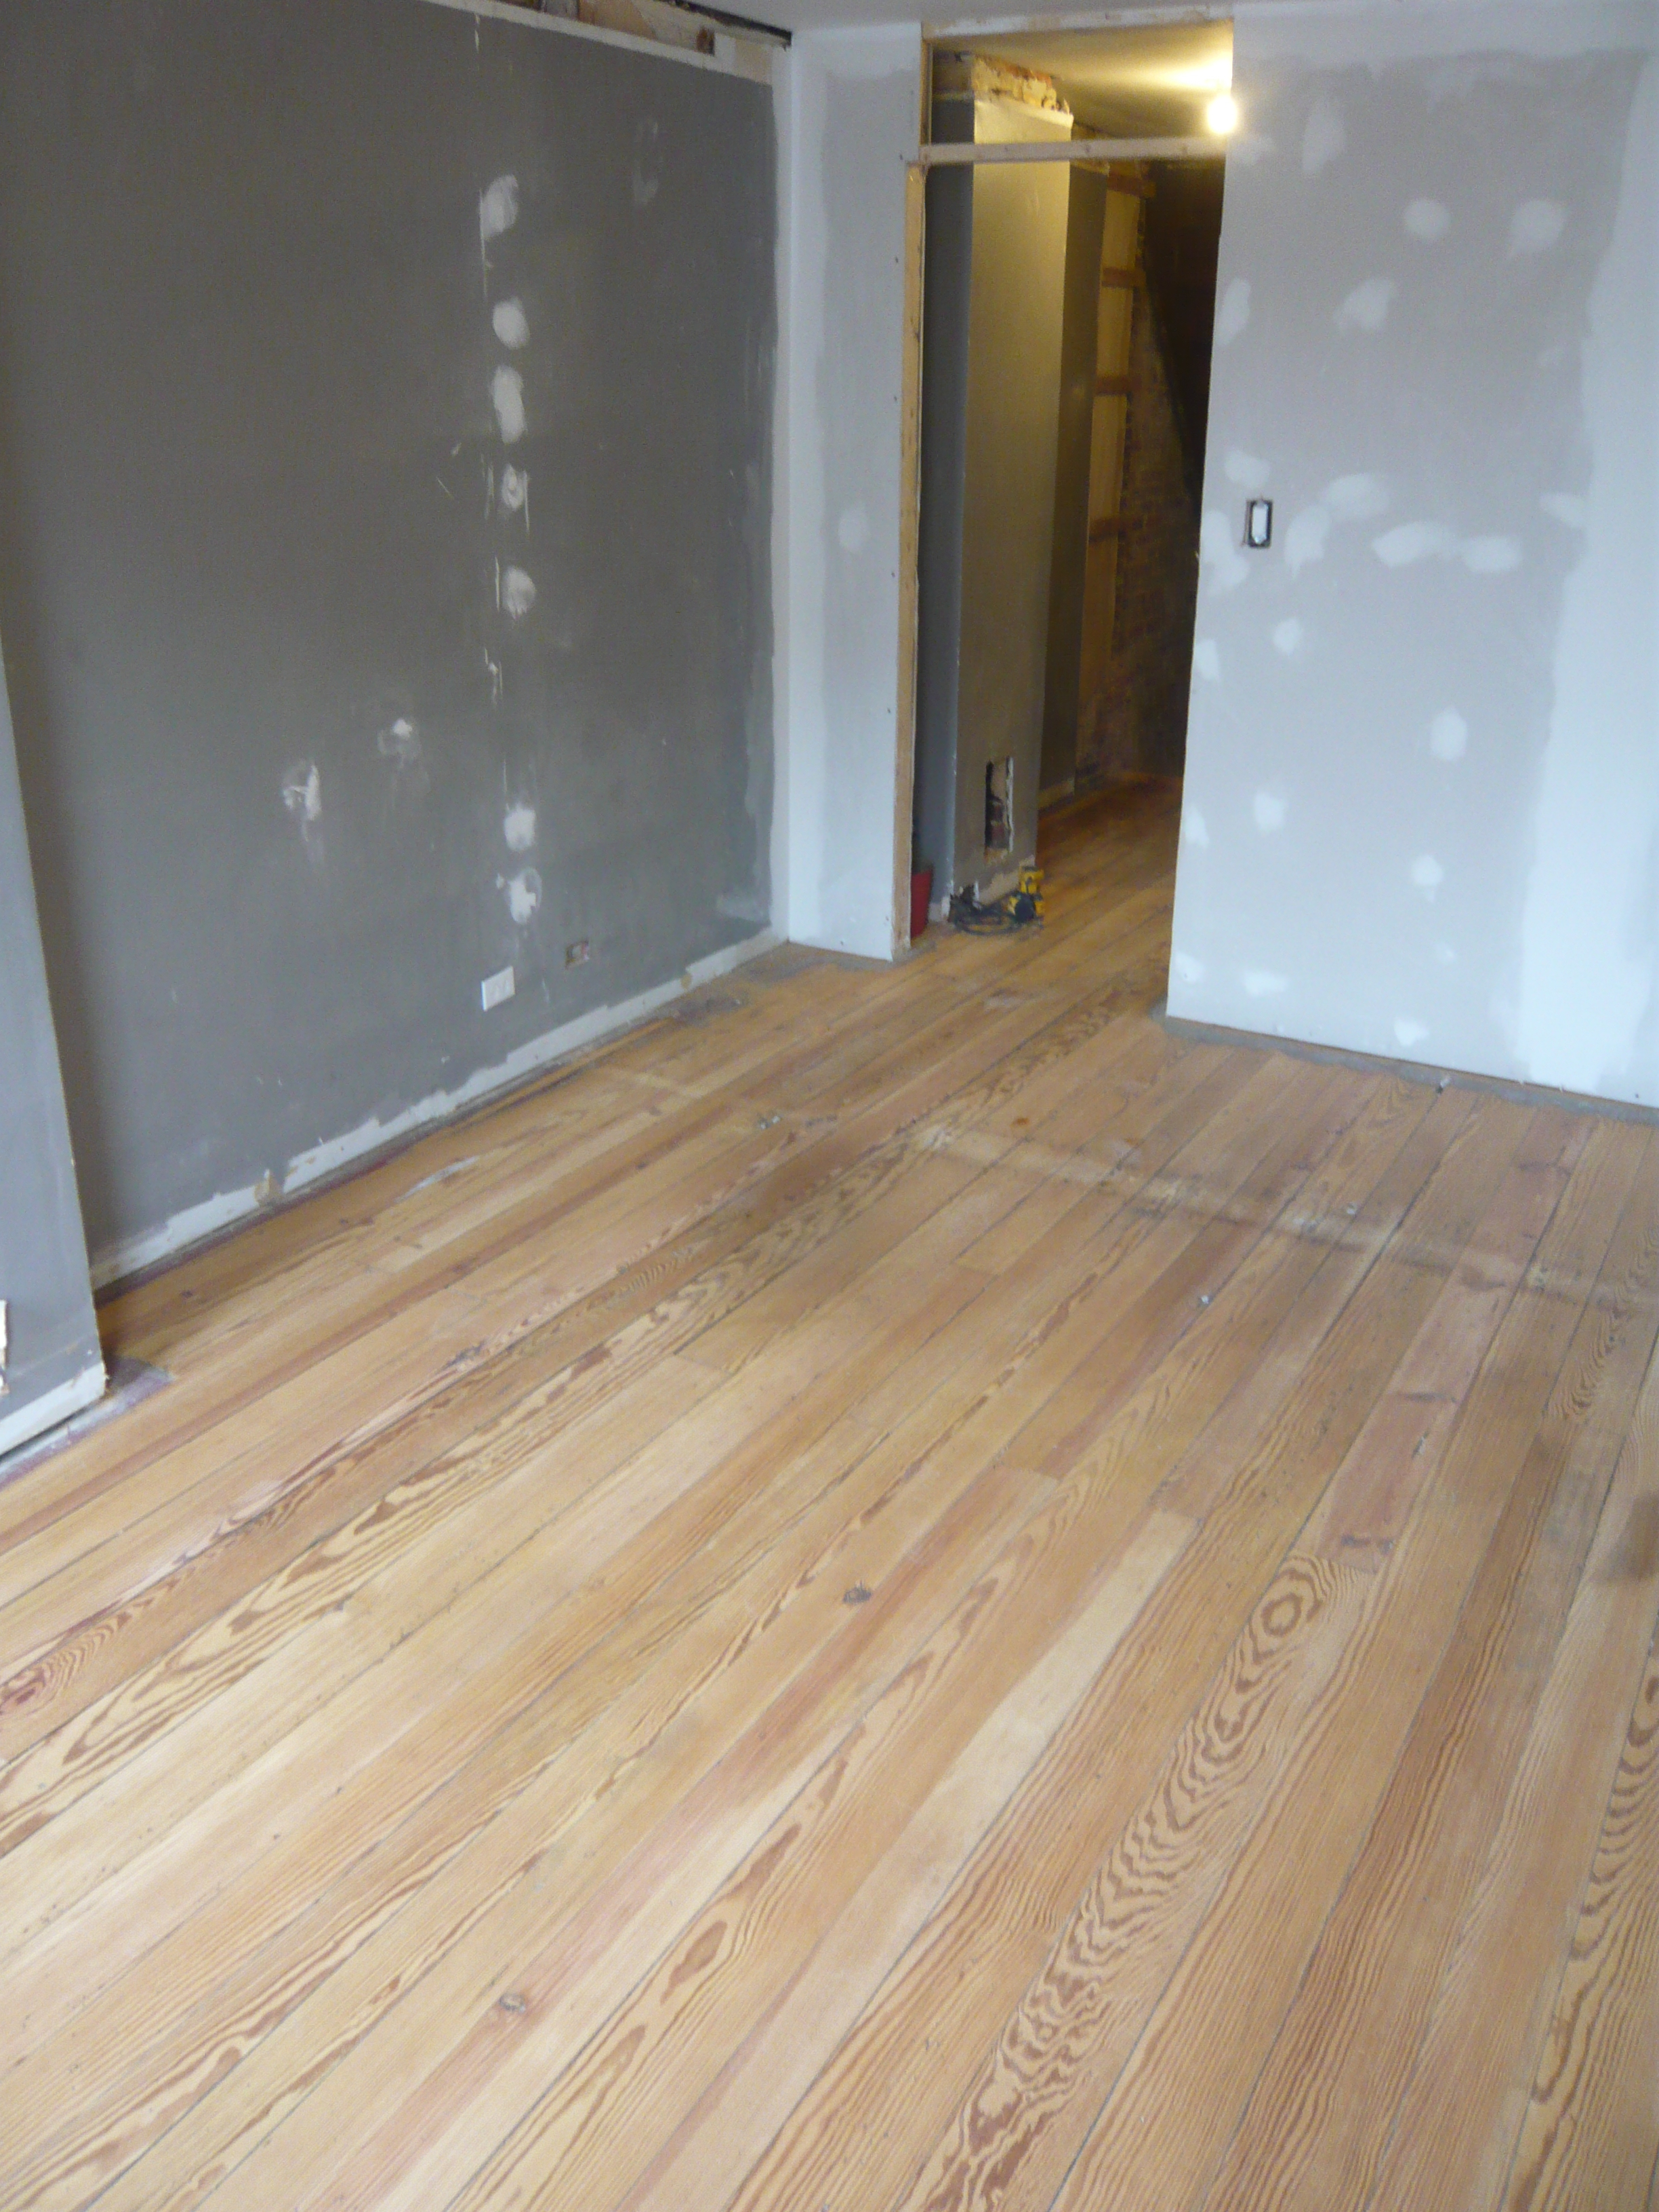
In most spots there was carpet on top, masonite under that, linoleum under that and then scattered around we found newspapers dated December 1953. Underneath were ~7/8″ tongue and groove pine planks painted in maybe a dozen different colors. These patches told the stories of previous layouts and walls. We salvaged a few boards when we replaced the bathroom subfloor with plywood. These board were used to replace board that had been damaged when the house was retrofitted with electric decades earlier. On this floor we worked for several months as we fixed bricks, erected walls, and did drywall.
Once the dusty job of drywall was finished, it was time to do the floors. We went over them looking for nails and scraping dirty and plaster out from between the gaps. Its amazing how much came up from these gaps.
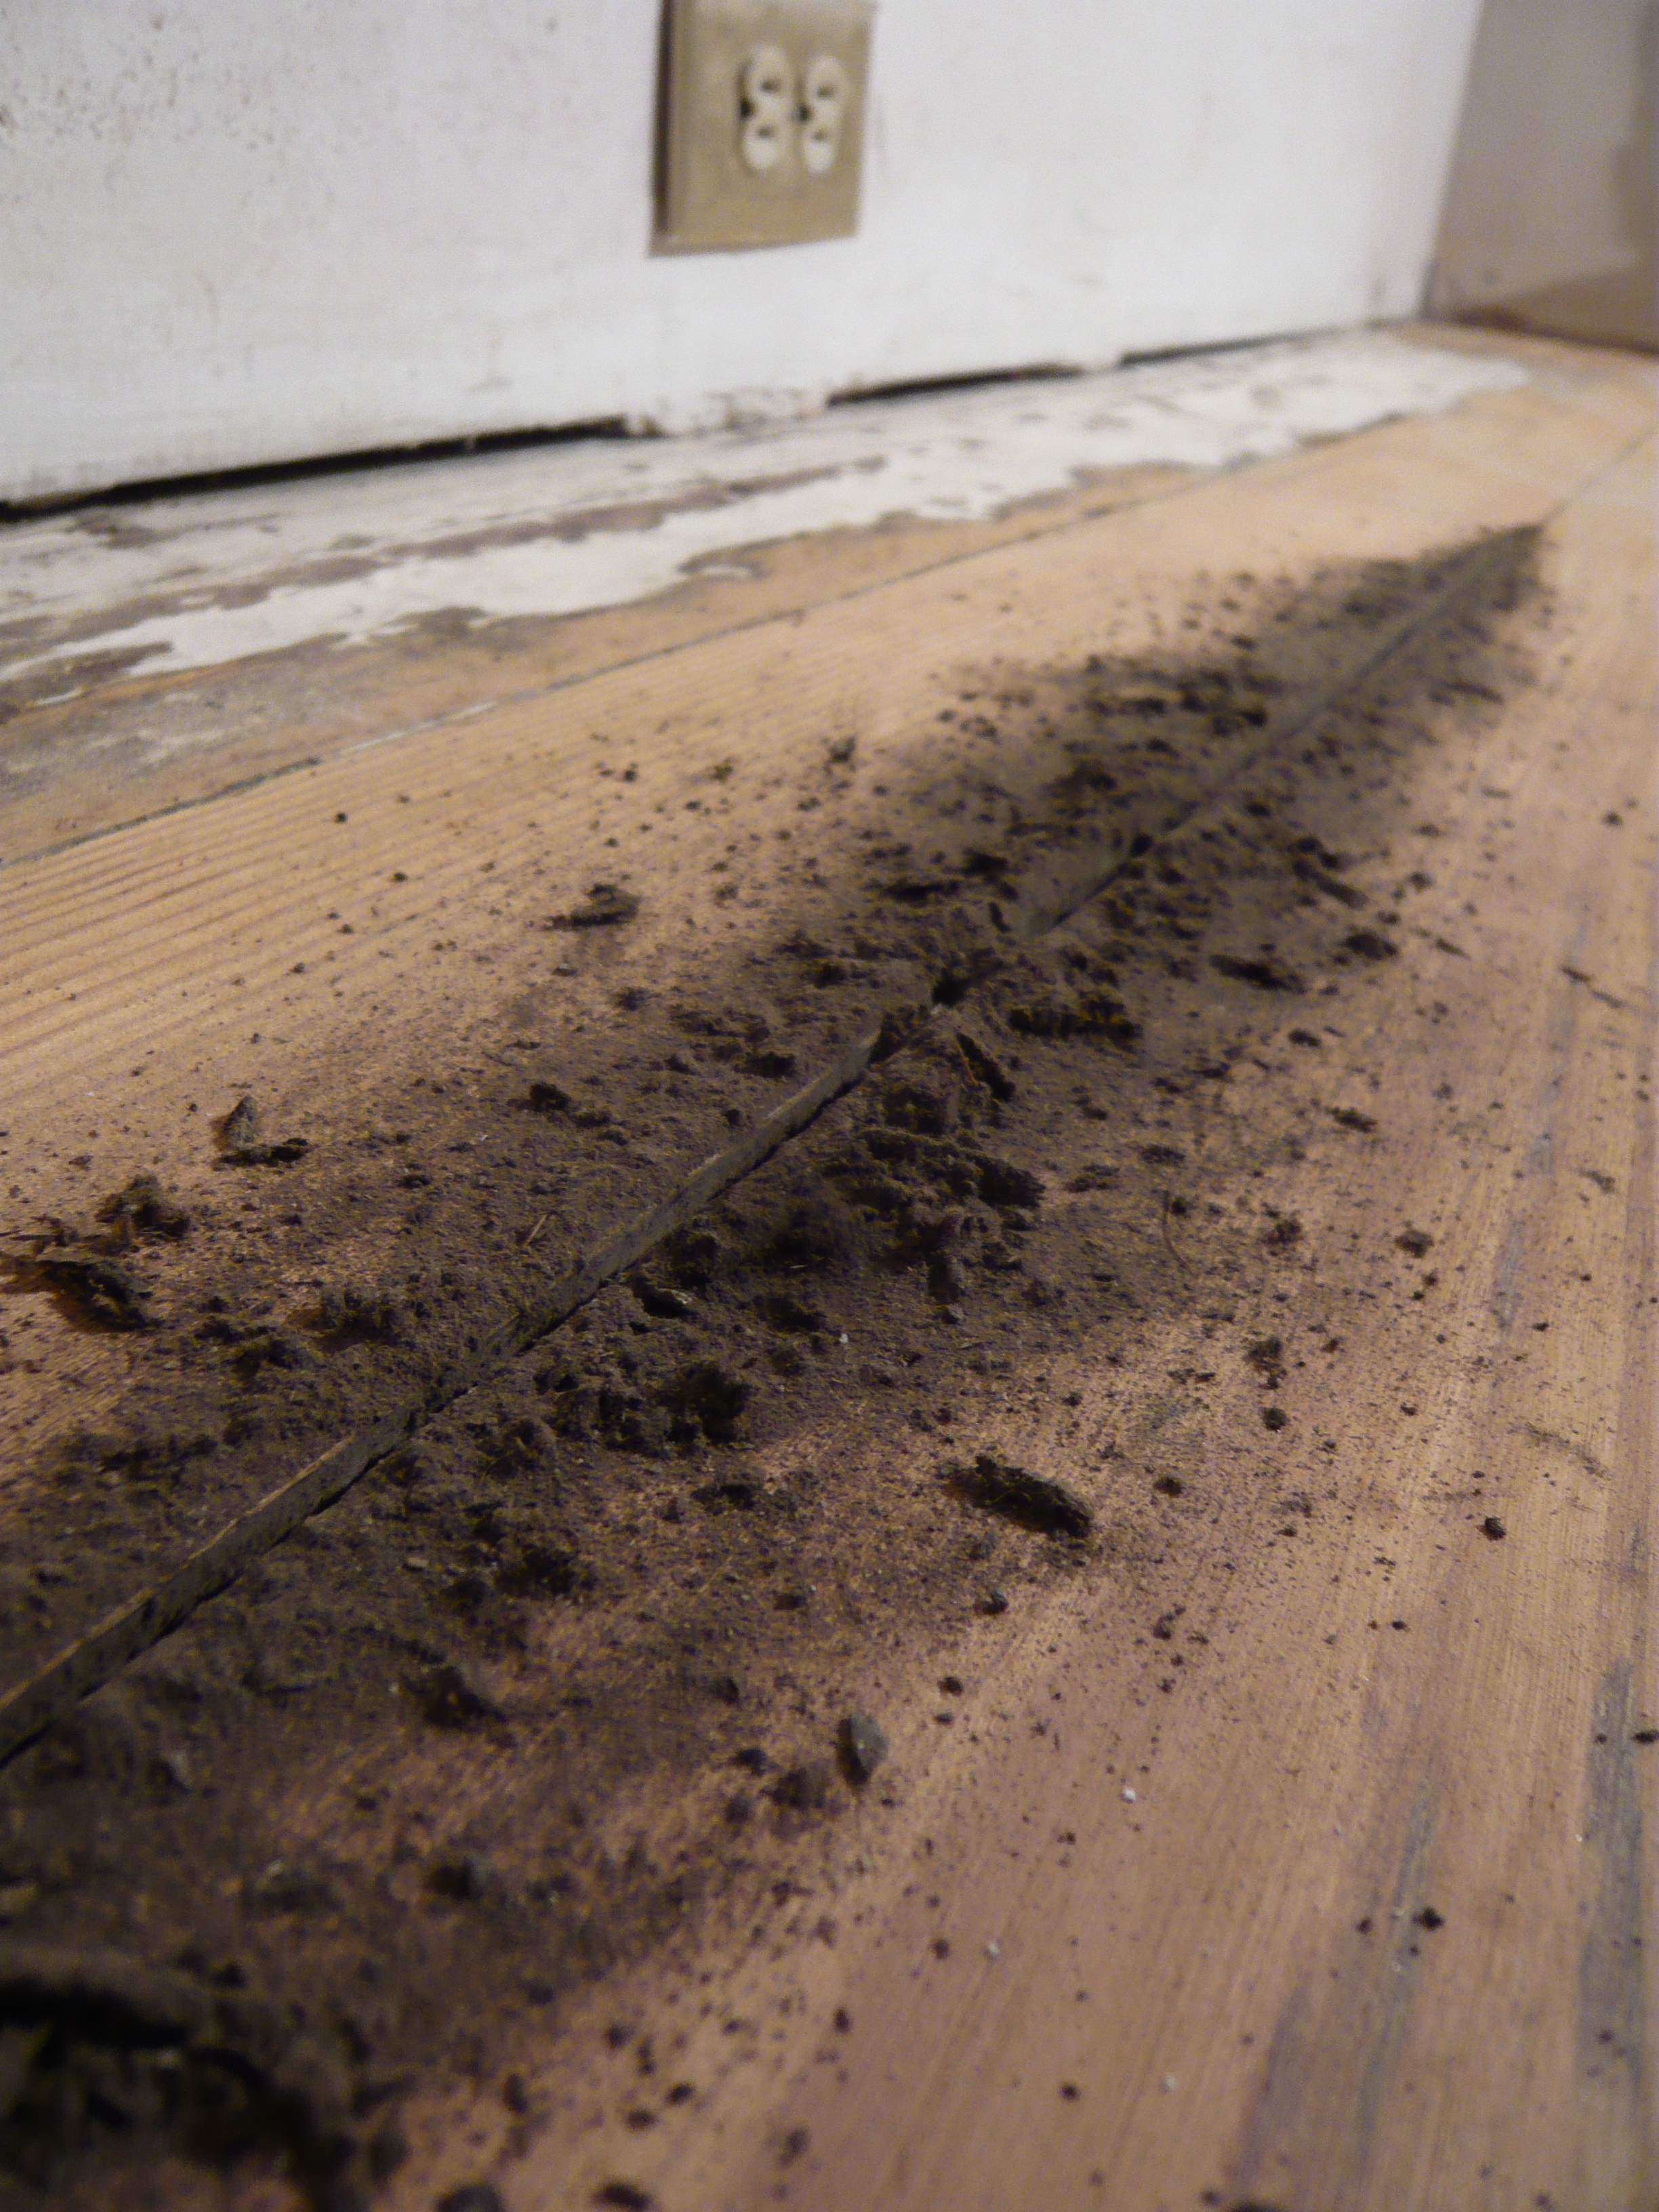
Antique dirt from between the boards!
We did a little scraping before the first sanding and a little after when it was easier to tell what was wood and what was not.
Neither of us had sanded a floor before. I had watched some Youtube videos and read some tips. Everyone made it sound like we were going to ruin our floors. Even the guys at Home Depot Tool Rental said we should use a vibrating sander and not a floor sander. I was convinced I’d look away for a second and find that I had sanded all the way through to the joists below. We were happy that weekend to have a large crew of 7. Unfortunately, I had caught some sort of stomach bug the night before and was in no shape to be working on anything
The bad reputation of the drum sander turned out to be completely unfounded. We had intended to rent it for 4 hours in order to rough sand the top floors. After the 1st hour we decided we’d need to keep the machine for 24 hours just to rough in a single floor. The cupping of the boards along with other flaws required some serious sanding time even with the coarsest 24 grit paper. We learned that sanding diagonally evened out the boards faster.
Most of this happened while I was in bed at home so we didnt get a ton of photos that day, but here are some a week later when I did the 2nd floor.
First Pass. Remove enough to see the nails that were hidden by paint.
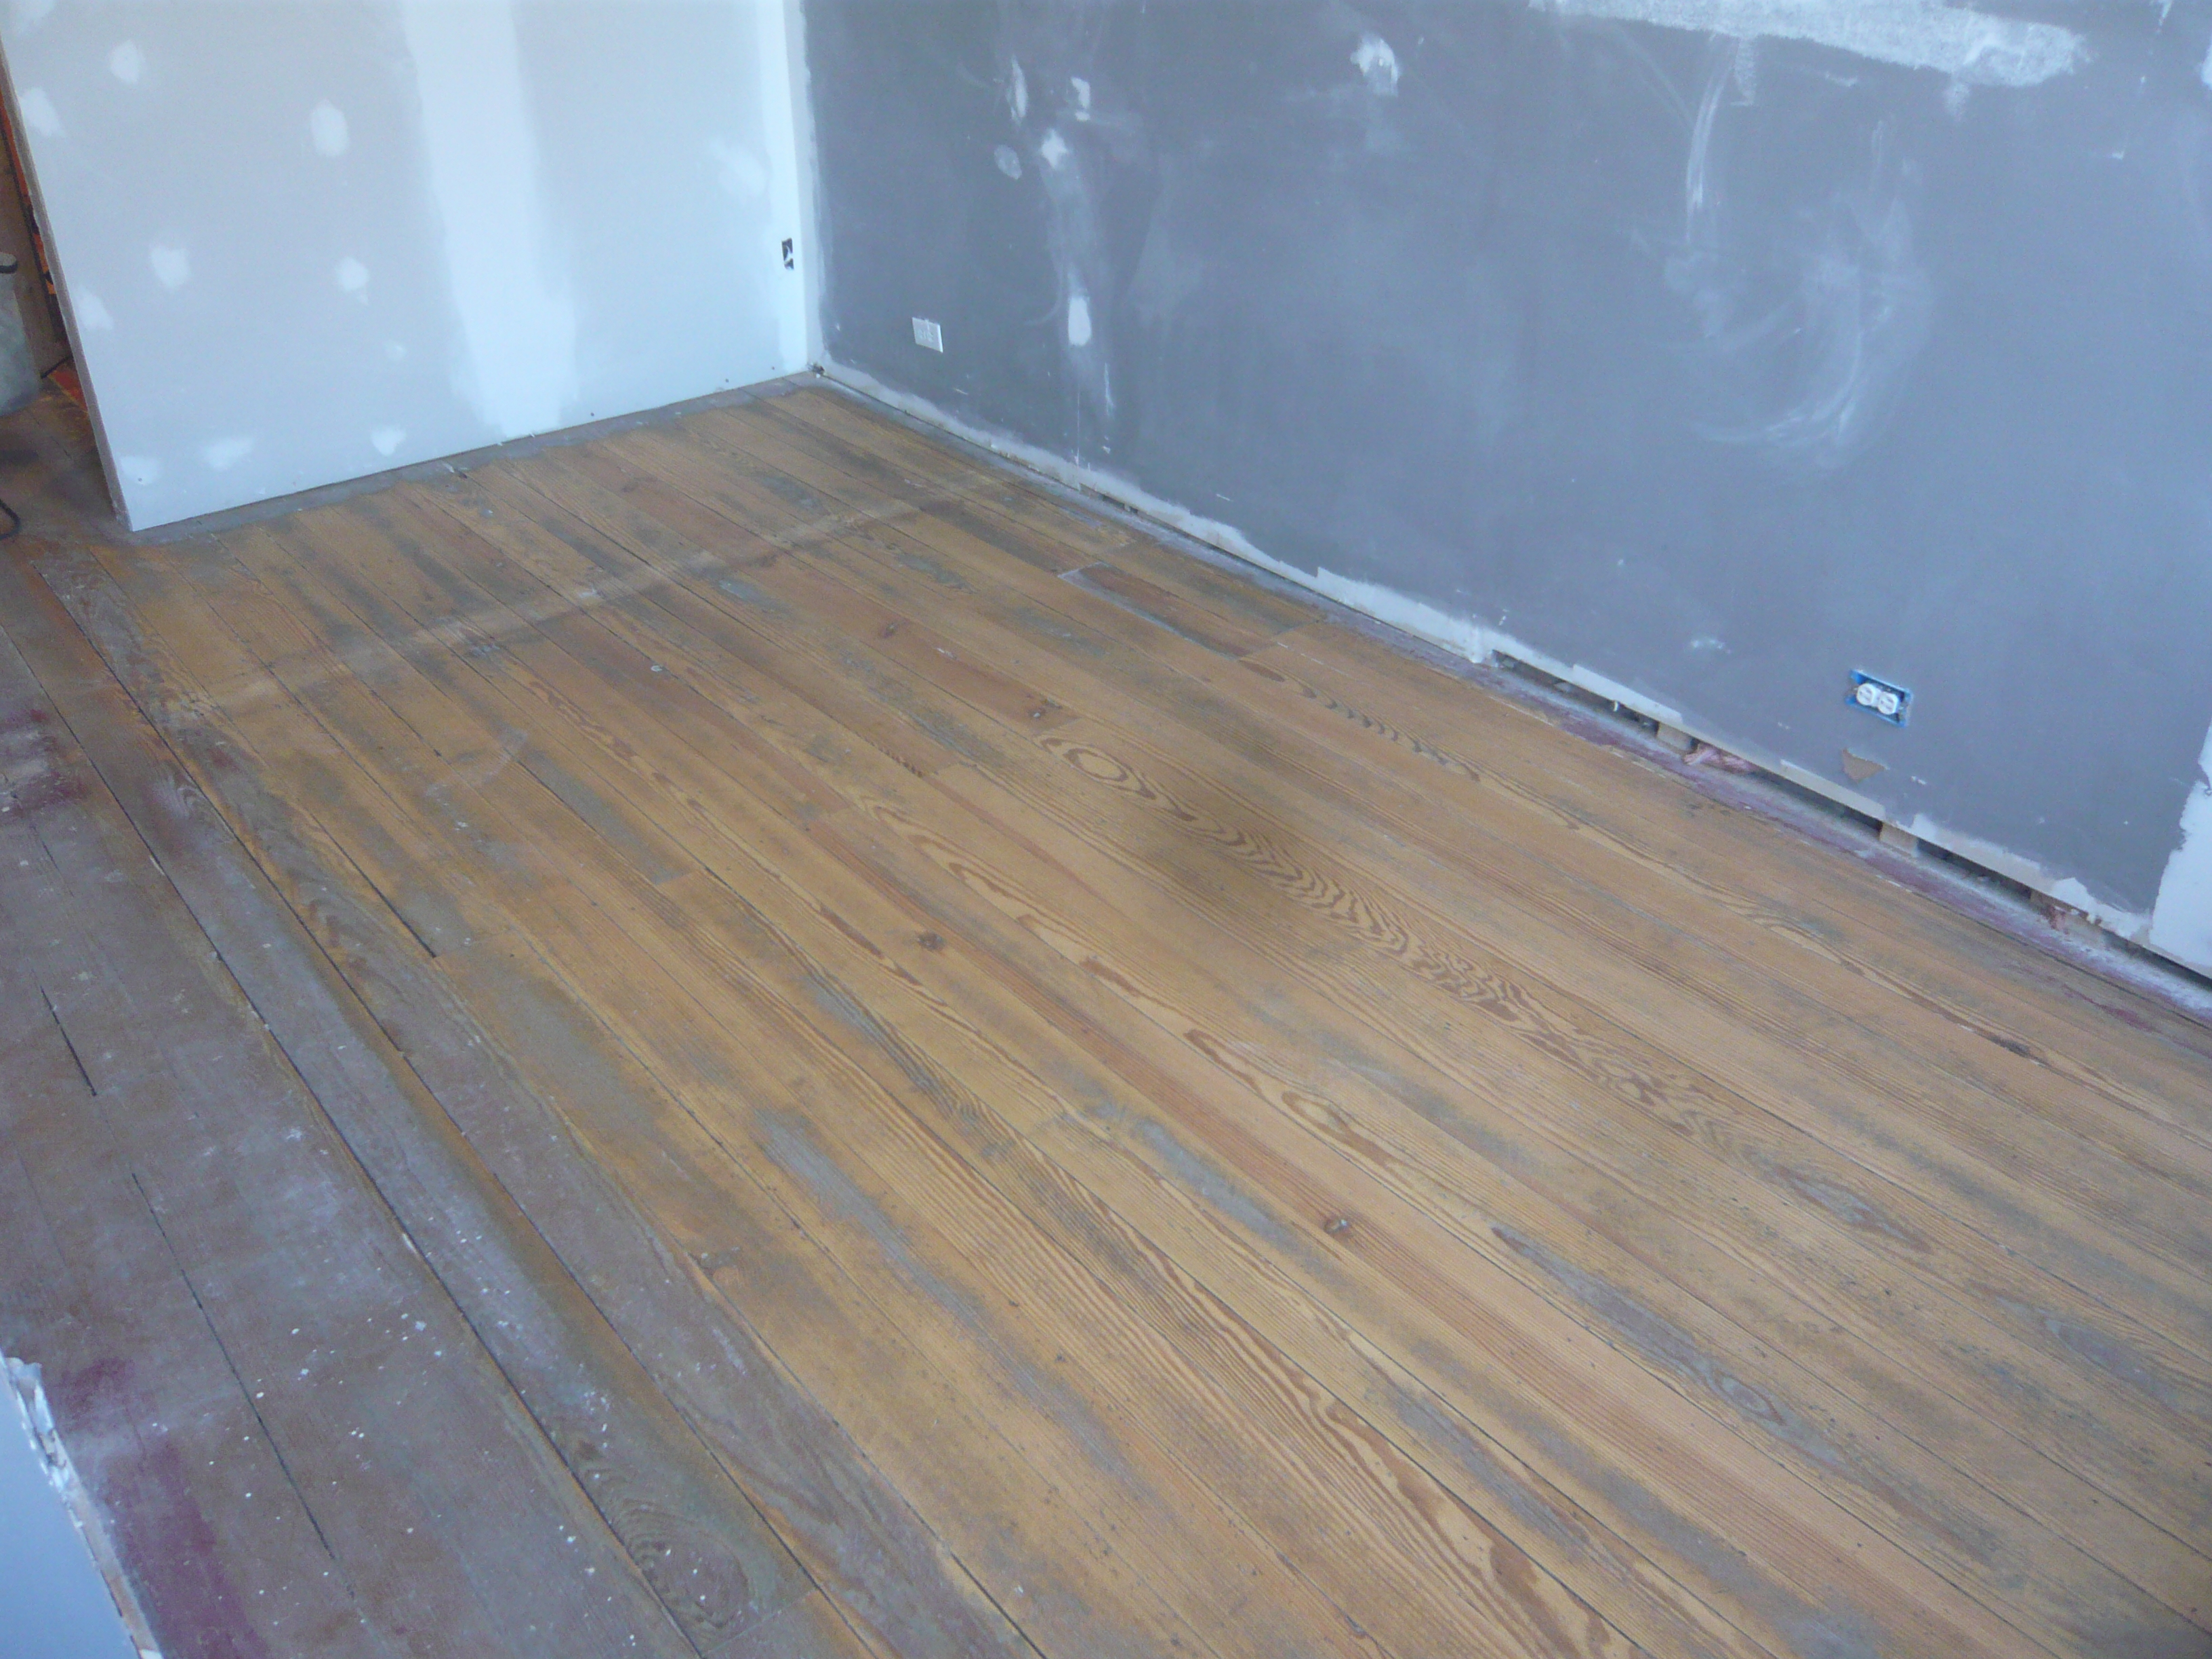
This is the 2nd floor after 24, 36 and 60 grit paper. Colors in the grain really start to come out after 60 grit. You can hardly see the thousands of nail holes in this photo. The 2nd Floor has tons.
After a final sanding with 60 and then 100 grit paper, the colors of the wood just glowed. There were bright yellows, reds and oranges. Every board was different.
Siri and I decided that we would oil the floors rather than use polyurethane. This was the old method of finishing floors. It has more of a satin finish to it, but that’s what we wanted. One benefit is that if you scratch the floor, you can just sand it out and oil it with a rag.
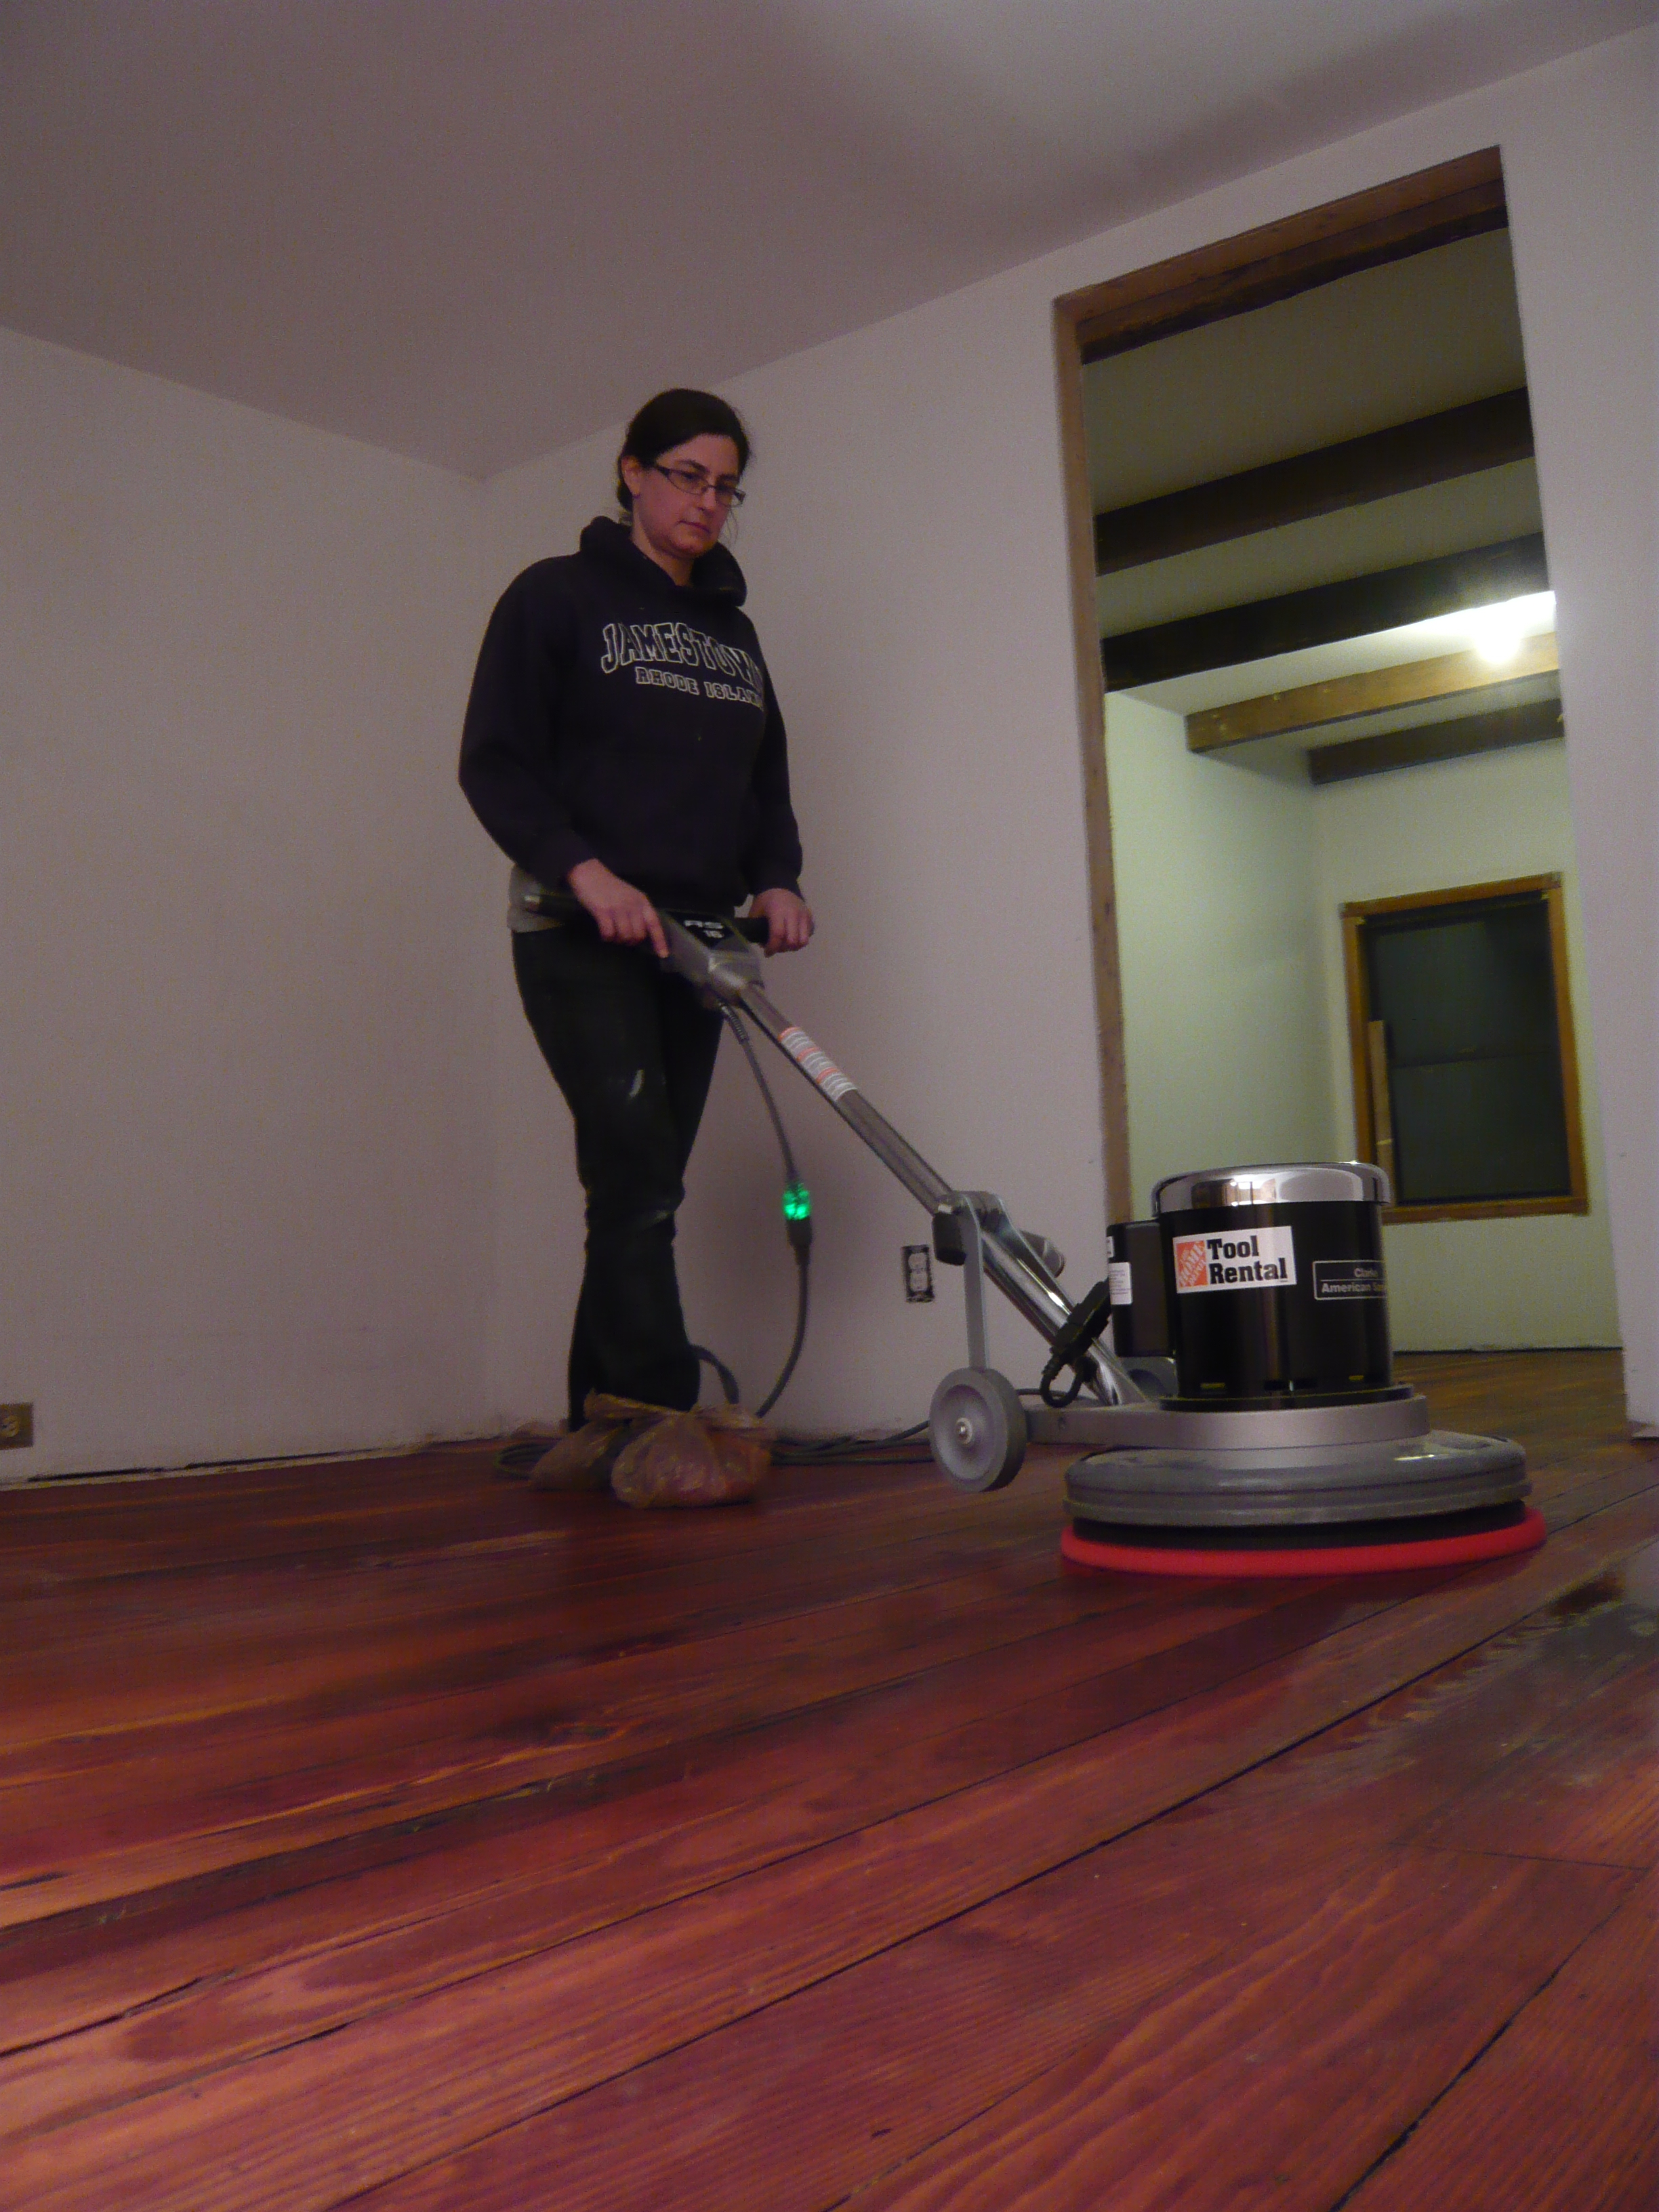
Siri and the buffing machine
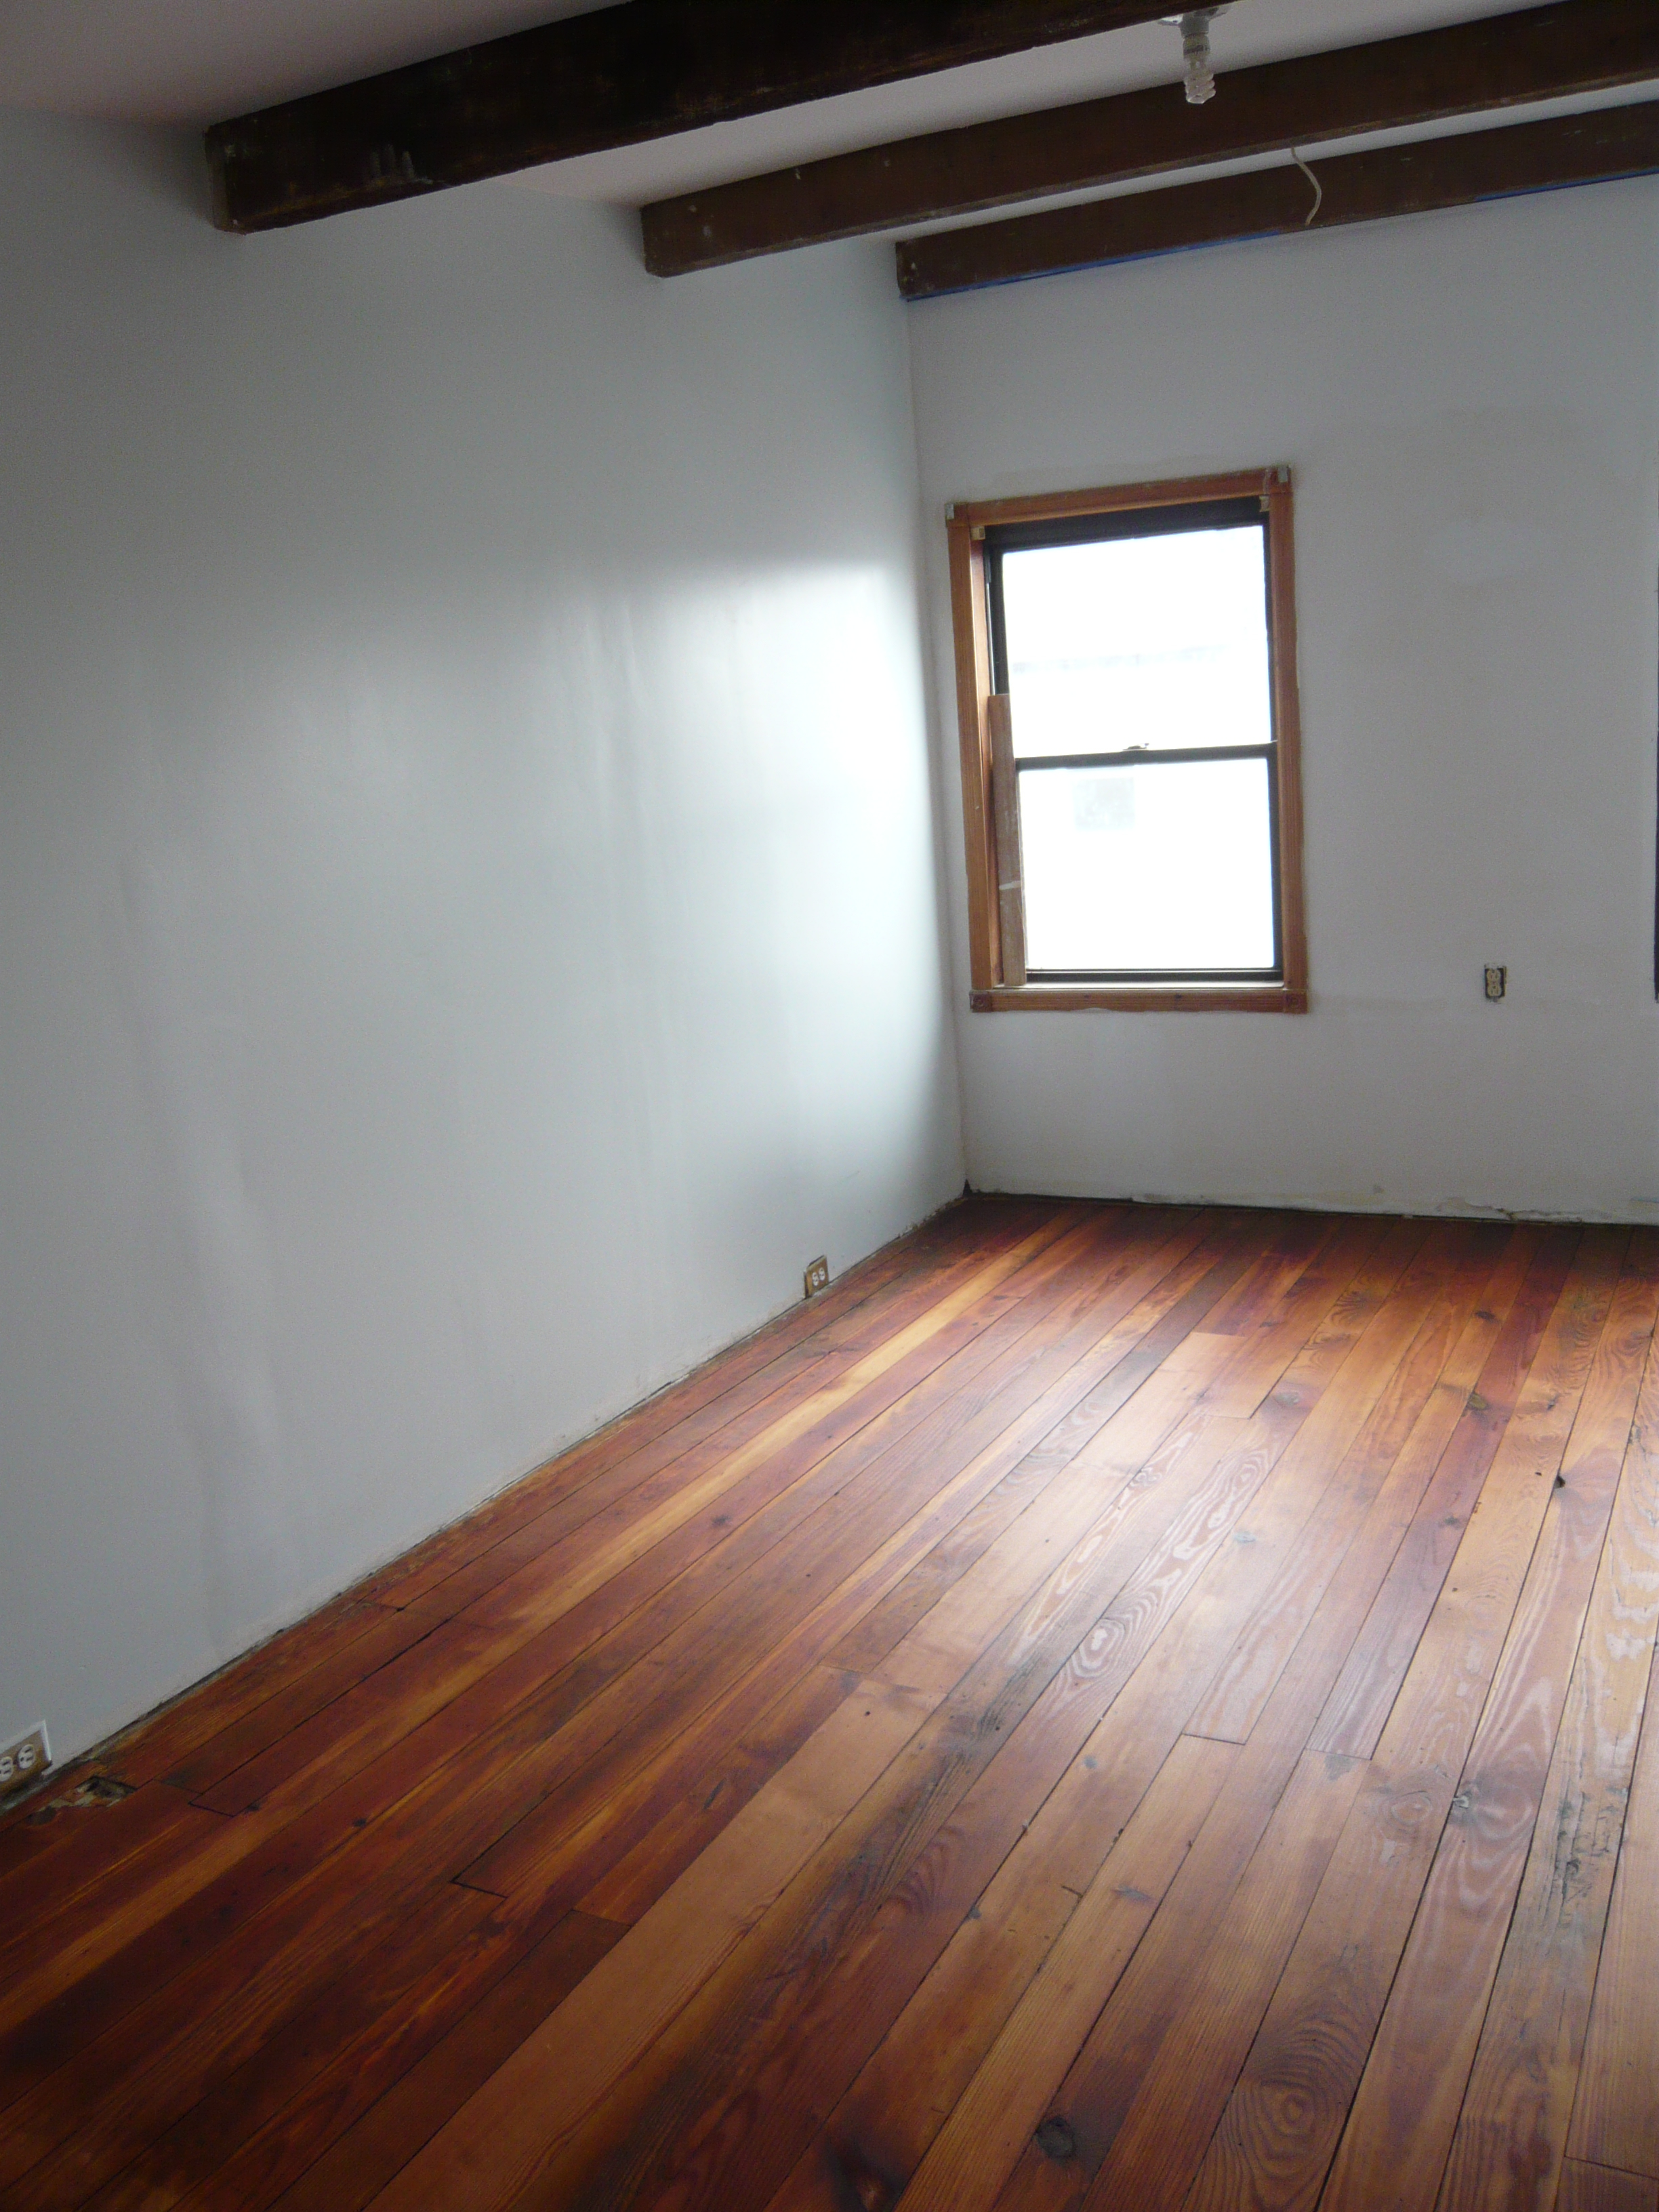
This is the 3rd Floor pretty much finished. What a transformation!


