
Saying goodbye to the old stairs was hard / not hard. Like the set above them they had been repaired far too many times and way too poorly. Look at all these bandaids. There was even a dab of caulk holding this together.
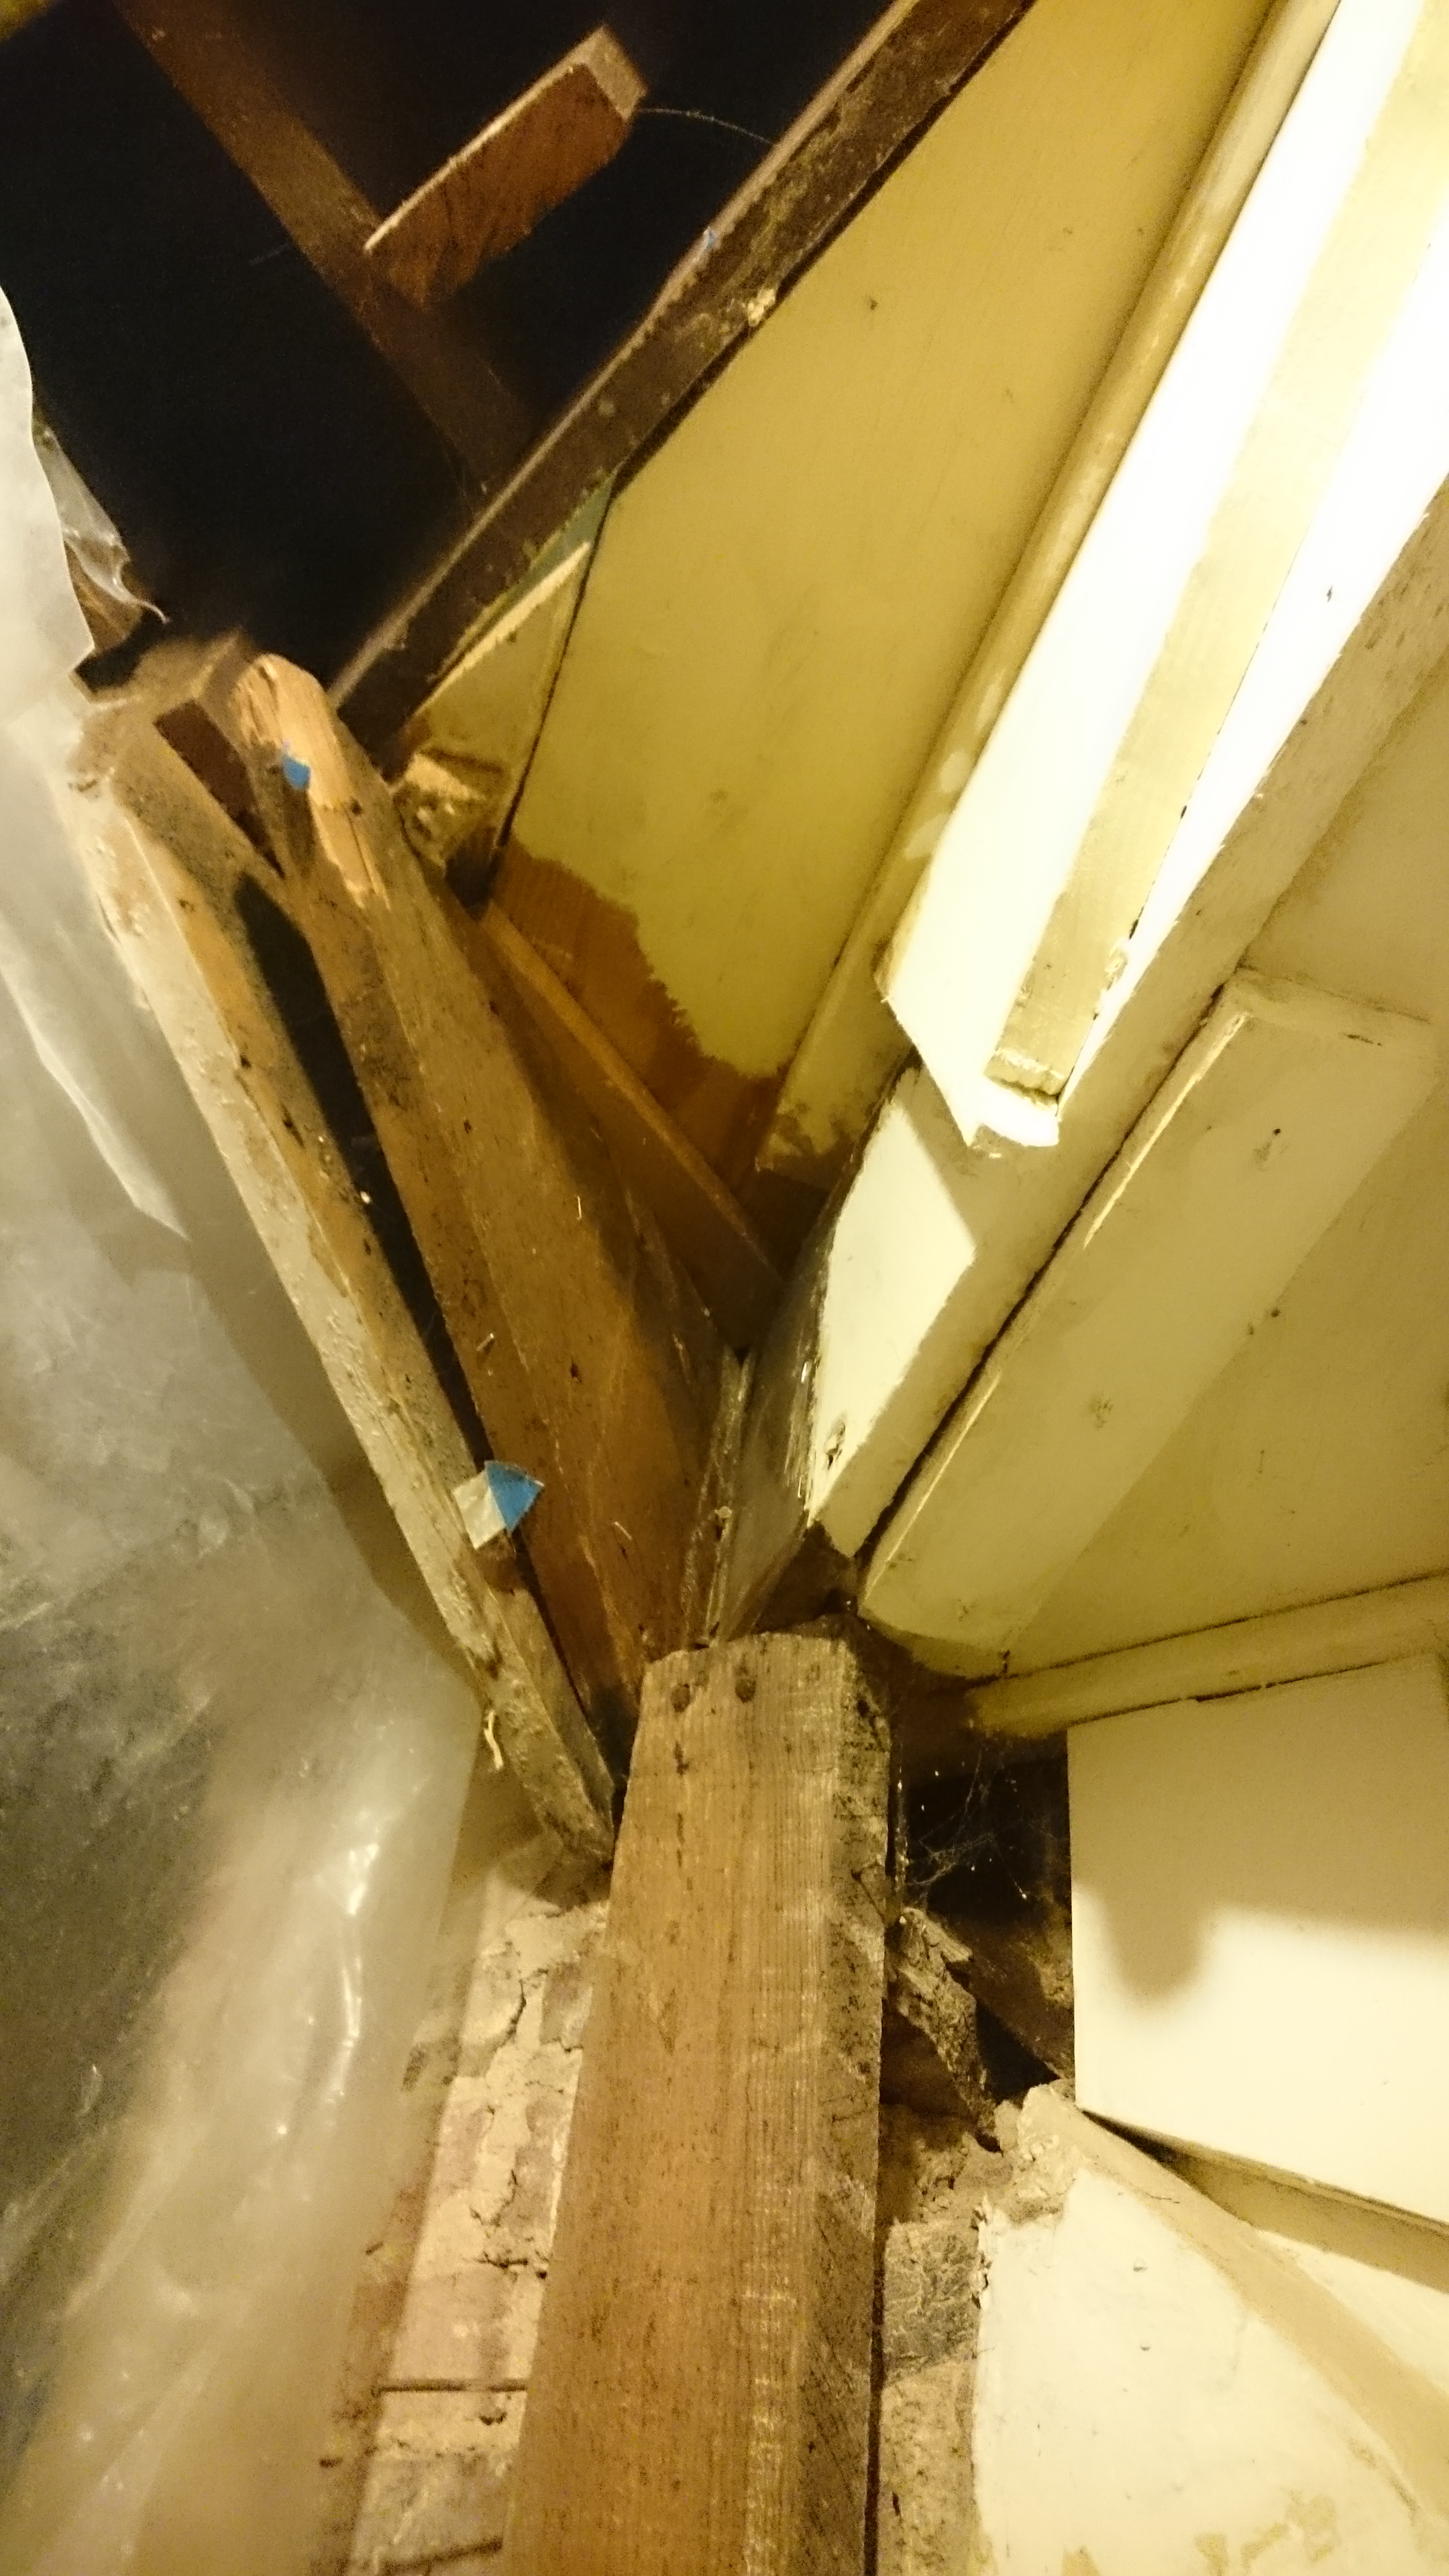
There was certainly some craftsmanship involved with these tight double winder stairs though. Once most of the repairs were removed, you could see a bit of elegance in how they were built. Harder to see is the wear and tear on the risers. How many feet needed to climb this staircase in the last 150 years to wear down spots in them?
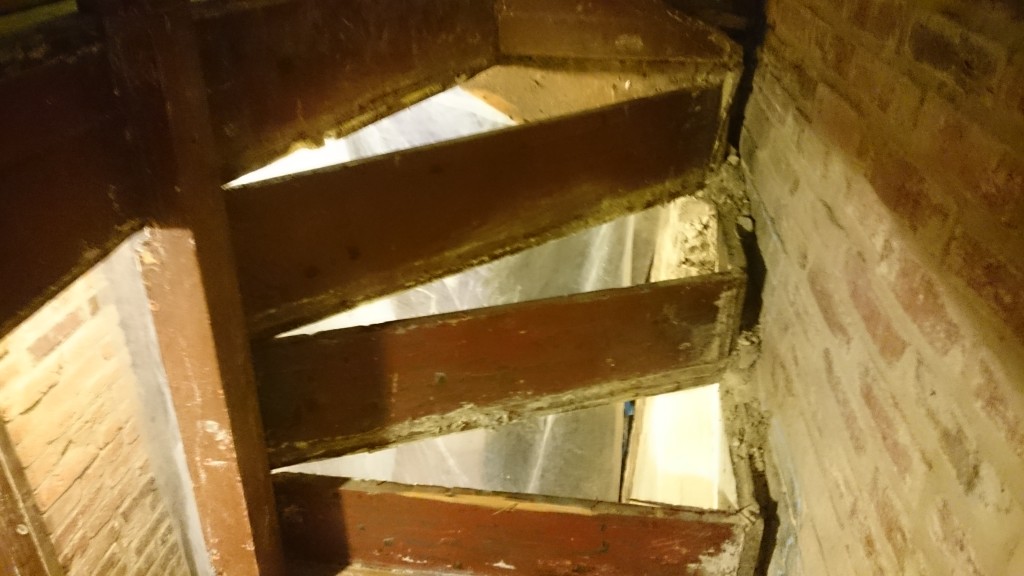
Yet, out they had to come, because, like before, there were bricks to be done. This section was where we would show guests the need for all the pointing by pulling bricks right out of the wall.
Before
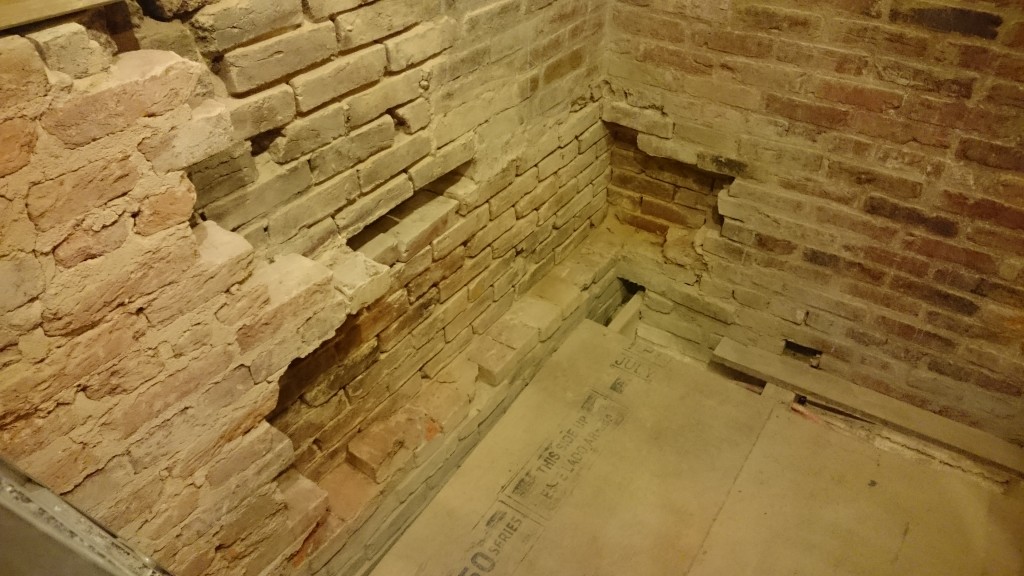
Once its cleaned up though, it looks pretty good. The steps in the bricks are no accident. They’re the size of our Ikea shelves. We’ll be adding 3 under the stairs to the 6 already have along the wall in the kitchen.

After
While the top stair had one turn with 3 steps / 90°, the bottom stair case has two turns: the bottom with 4 stairs / 90° and the top with 3 stairs / 66°. Naturally this makes the stairs smaller (22° vs 30°). To correct the bottom, we spread out the bottom 4 stairs from 90° to 120° overall and reduce the top stair which was integrated into the 2nd floor making all the curving stairs 30°. The 5 straight stairs in the center had their run increased from 8″ to 8 5/8″. Not a huge gain, but it will do.

Only a few days in at this point and we already done with the steel. This is quite different than the last set. Getting there. Less than a week to go and we can open this nice bottle of champagne that we set aside for when the bricks and stairs are all done.