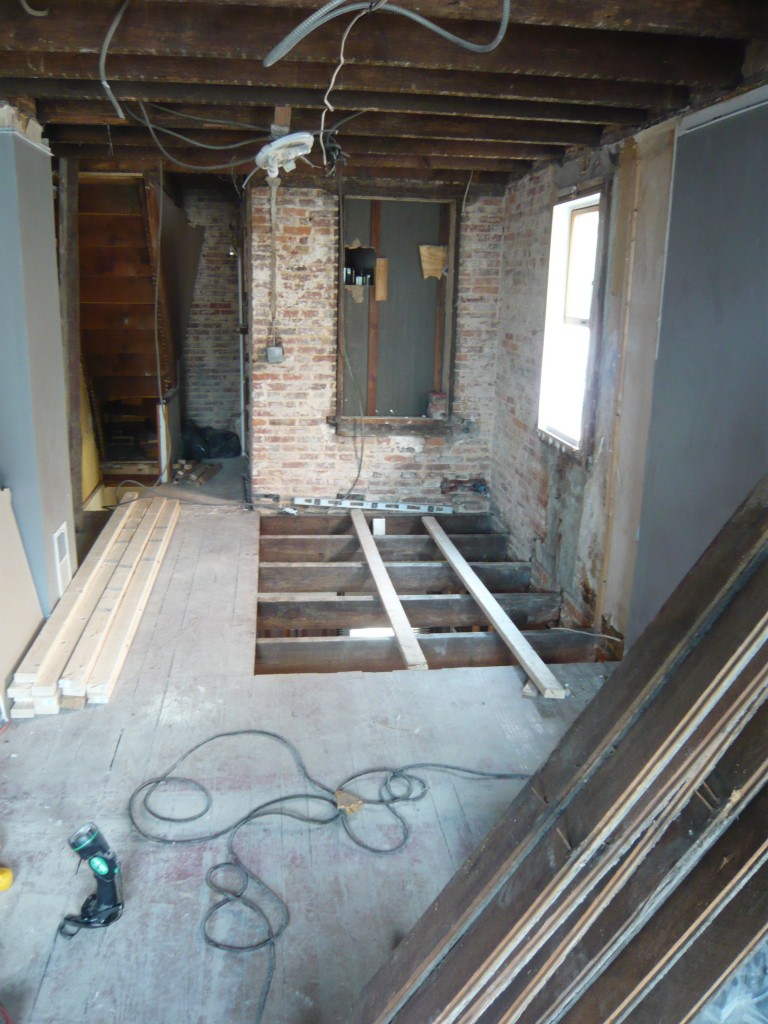
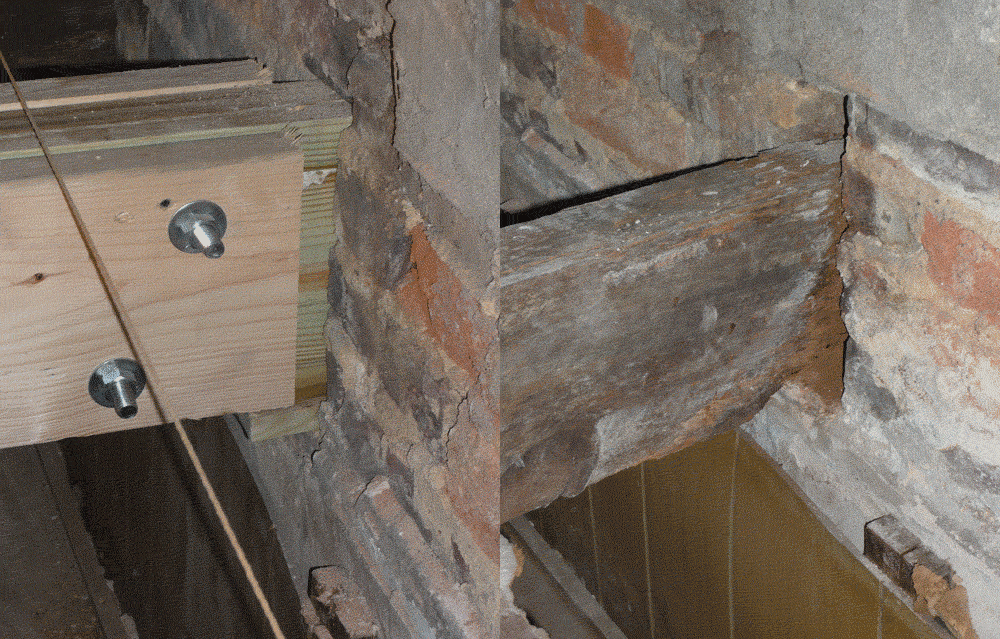
With big plans to fly through the floor and get right to the walls, we hit a major set back once the floor was up. The two joists under the side window had been water damaged on the end and were no longer supporting the floor.
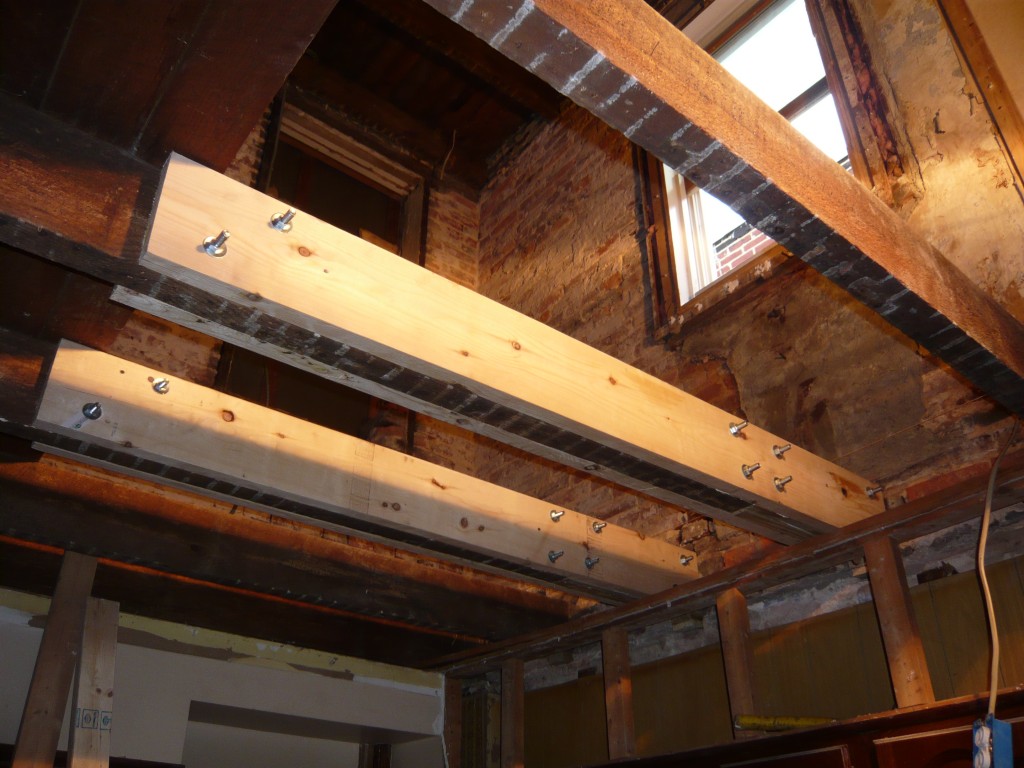
It took all day to fix these by cutting off 3 feet from the end, and sandwiching pressure treated wood between two 2x8s. We also leveled the other 4 joists with treated shims. The end result is a strong and level base for Siri’s bathroom tile to sit on.
Put up walls on Sunday? Nope. Dad suggested we do the drain plumbing while everything was easy to get to. We had to put a hole in the external brick wall for a 3″ drain and remove the 4″ cast iron stack. We also decided that while we were at Home Depot getting plumbing supplies, we should also get all of the dry wall for the 2nd and 3rd floors. Why now? It would be impossible to get large sheets up the stairway so its best we slide it up through the open floor while we still can. This took us into the afternoon.
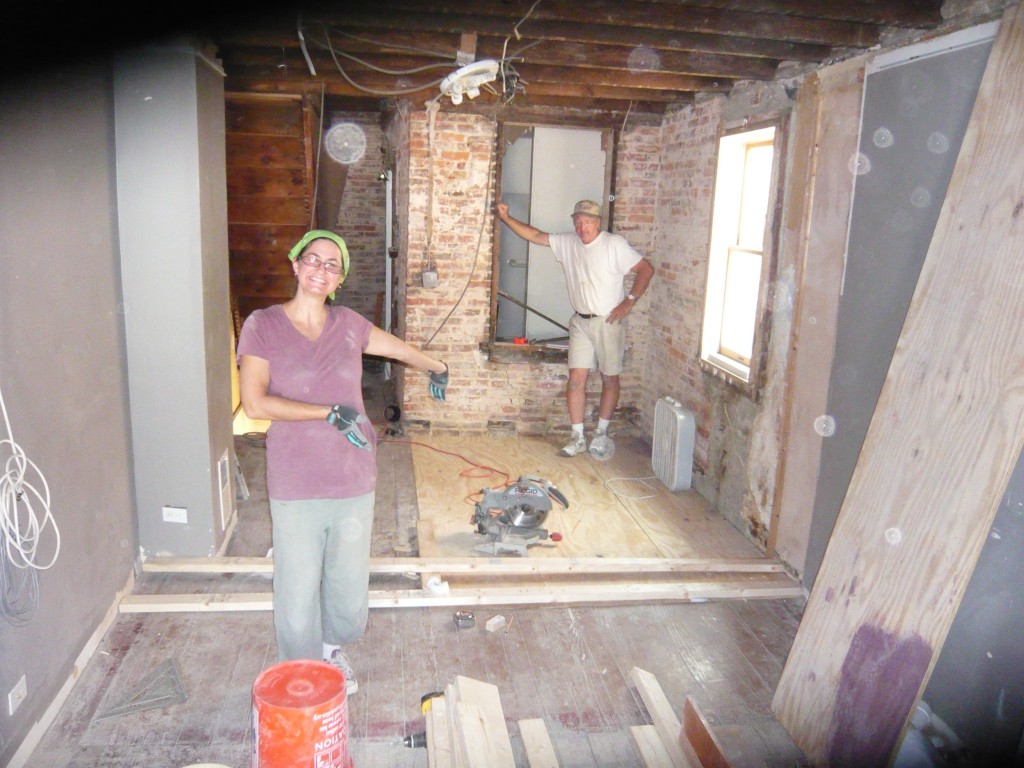
Finally, late Sunday afternoon, with the joists repaired, the plumbing in and the drywall stacked in the corner, we got to cut and lay down the plywood floor. Although it took longer than I had hoped to get to this point, I believe this will save us time and hassle in the future by better support the bathrooms tile flooring.

Siri and dad showing off the new bathroom subfloor! Thanks mom & dad for coming down and helping all weekened.
Next step is building our bathroom walls. Hopefully I learned enough this past weekend to do it right.


