
About to get to work
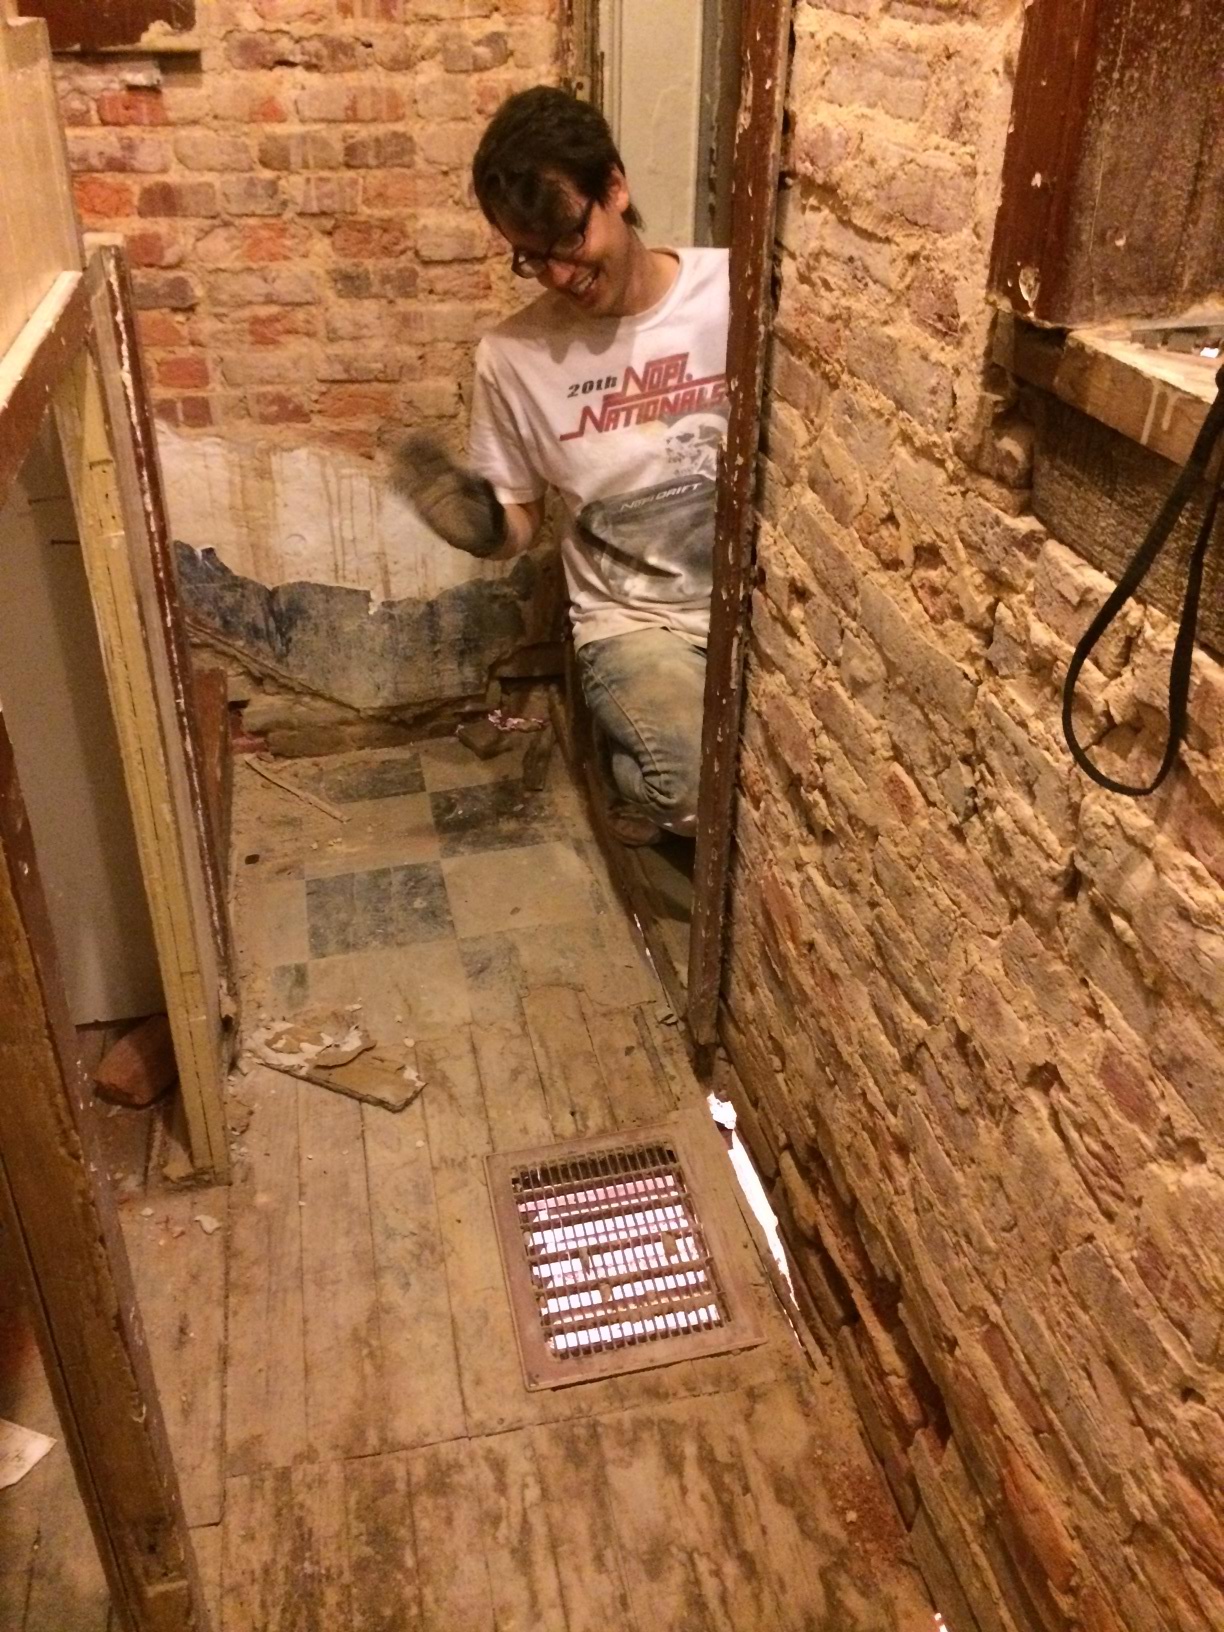
The next stage of the brick project is the stairway down to the first floor. Since cleaning up is such a pain on an uneven floor, I wanted to install the new floor first. Easier said than done though. The floor is held up by joists that were sitting on long since rotted away boards and bricks. This caused them to be uneven and to sag / creak when walked over. Previous owners had made matters worse installing heat registers in the floor several times. Underneath in the crawlspace many of the bricks had started to crumble. When bricks fell out, they would fill the hole with fiberglass insulation (WTF??). Its amazing we never fell through. In some places the bricks were missing five feet down. The board and the 7 bricks on top of it were all moving as you can see in this video:
It was pretty much the same story all the way around. I decided to replace all the bricks between the stretcher courses. I’d do a vertical section here and there and leave the old bricks in to hold up the house. I’m still alive to write this so I guess it worked. In the end I replaced a 24″ strip between stretchers all the way around where the floor would go.

And….gone! Only the minimum needed to hold up the stairs was left in, but even that would go by the end.
As I moved to the back of the stairway, more and more of the rotted joists had to be removed. In the end we hung the stairs with a 2×4 from the joist in the ceiling above and used a 2×12 plank to get across the pit. (We even hosted a party like this.)
In the back, as I replaced the bricks, I left 3 pockets to install the 2×8 joists in as I decided to have the joists run perpendicular to how they were originally. This has the added benefit of making trips into the crawl space less likely to cause head injuries. I’d use joist hangers on the last joist at the back of the kitchen and I’d double up the middle joists to be able to carry the extra weight of the stairs sitting on it.
Finally with the bricks done and the joists in we installed the subfloor. Next is the stapling up of our final 1/6 floor heating. This will cover the kitchen and the stairway. Up until now, we had no heat in that end of the 1st floor and the other half could barely keep up on the colder days.
I like the thrifty recycling of a window jamb to support the stairs!