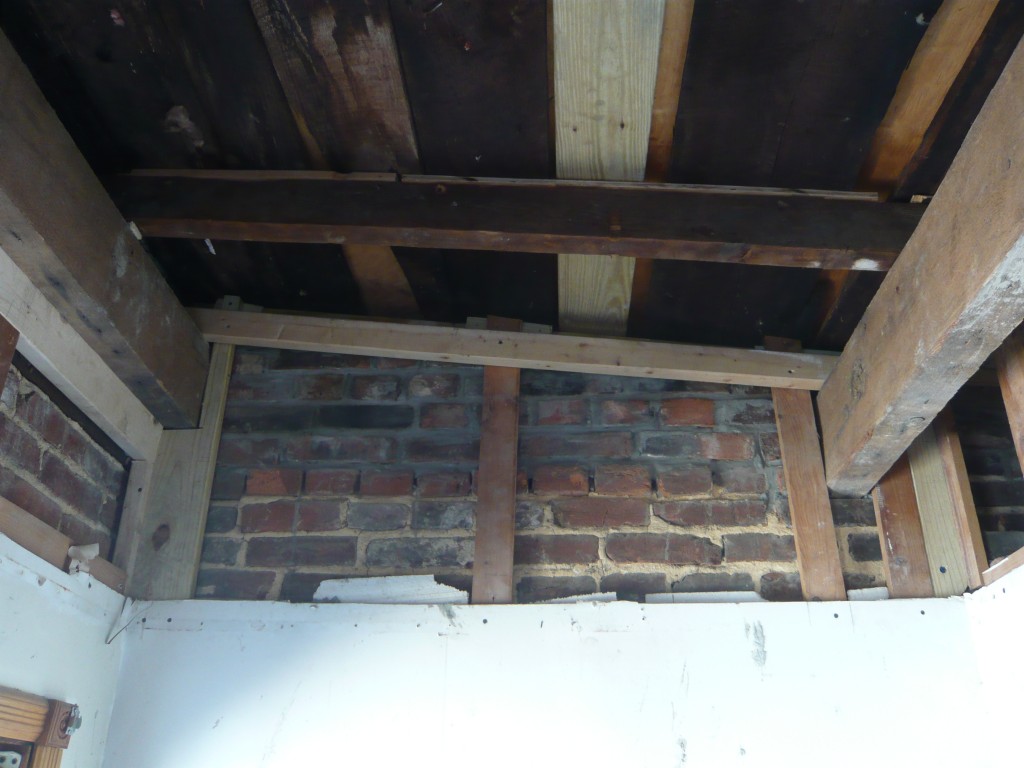
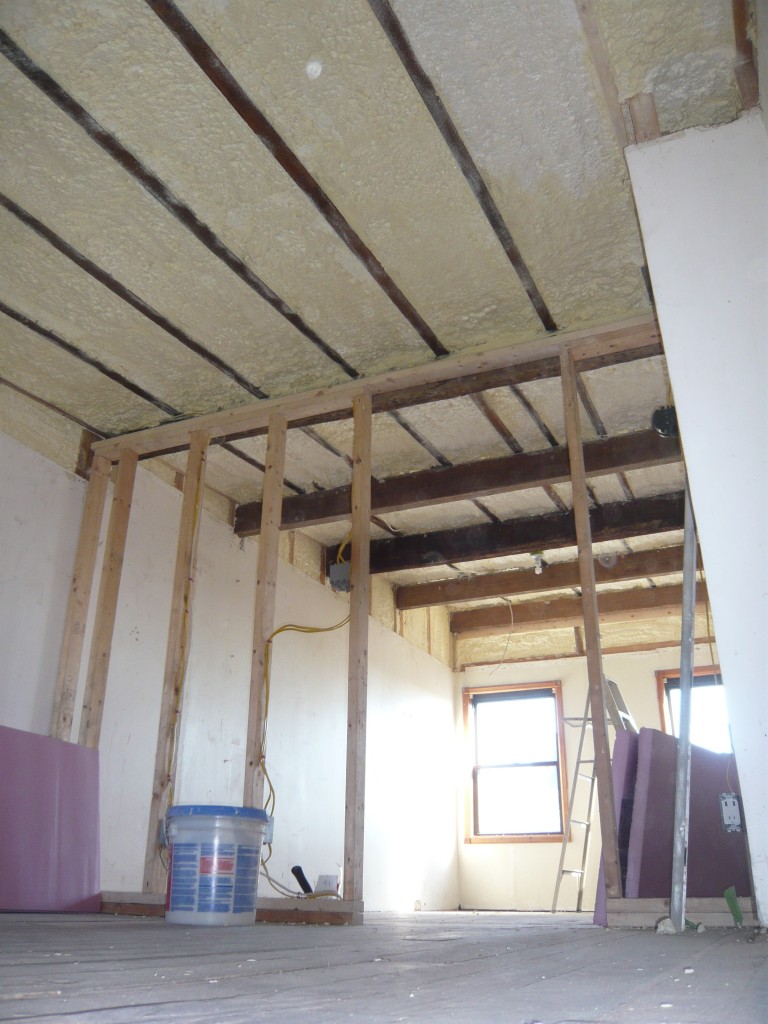
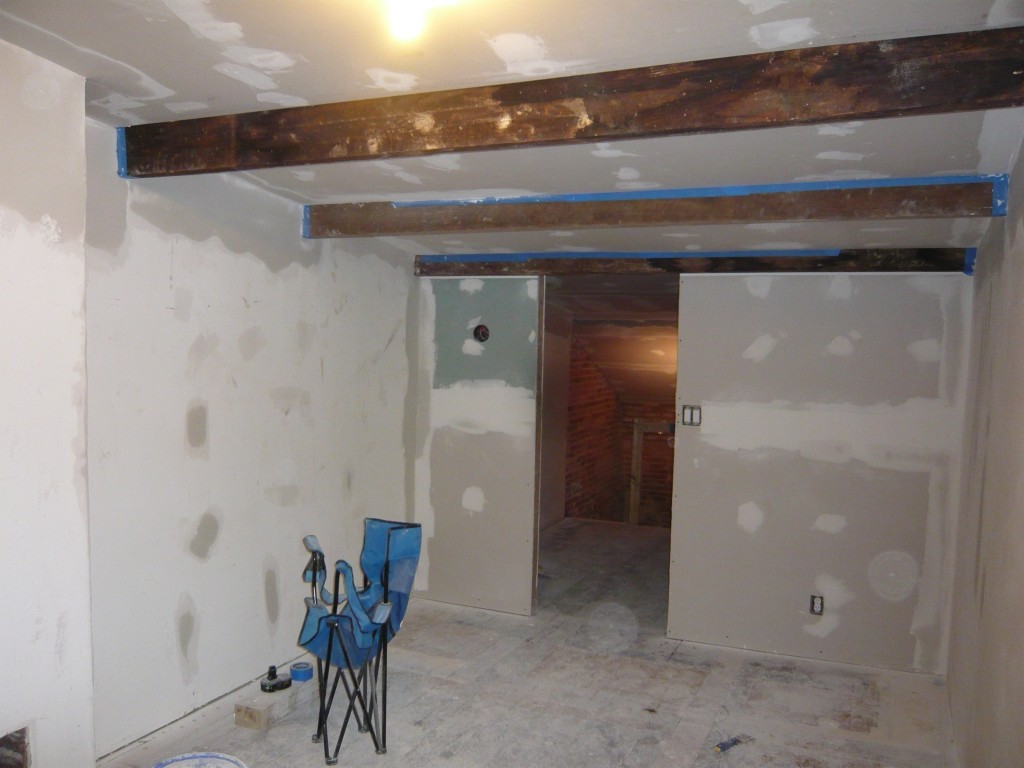
We’re working on drywall now. It took a whole lot of hard work to get to this point. Had to finish and test everything first before we covered it up. After putting up new walls, this included repairing the bricks, the roof, replacing the plumbing and electric. Lots of work for sure. Its a shame it will all be hidden away. Here is a peek at the work that got us here.
After fixing the bricks and roof, we still had to add nailers for the drywall. This took a while but with that help of my brother and dad, we got it done. Very tedious work.
After we got everything up, it was time for spray foam. We paid a company to do this part. It took them half a day and they needed a large box truck to carry their machine. While they were at it, we also had them do the closet / former bathroom / future office / deck entryway.
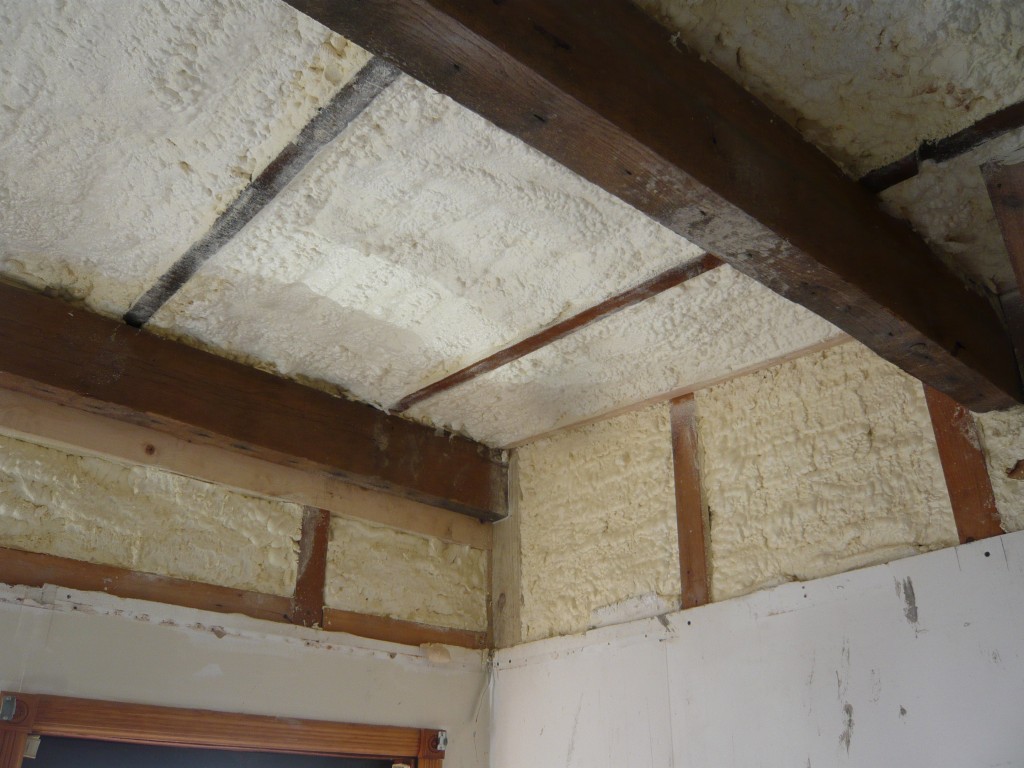
More detail in the corner. Walls are only about 1″ thick, but they act as a vapor barrier and are likely way more effective than cramming in styrofoam sheets which is what is likely behind the drywall that we left in place.
On the 3rd floor, we tried our best, without replacing the whole roof, to meet the minimum recommended R value for a roof in our area of R-38.
- Inside Air film: R- .61
- 1/2″ Drywall: R- .45
- 2″ Pink Foam: R- 10
- 1″ Air Gap: R- 1
- 4″ Spray Foam: R- 25
- 1/2″ Plywood: R- .62
- 1/2″ Fiber Board: R- .1.32
- Rolled Roofing: R- .44
- Exterior Air Film: R. -.17
The total R value for our roof is between R-33.36 and R-38.16. This depends on the thickness of the foam between the joists.

When they sprayed it, they were careful to not make it stick up higher than the joists so it would be easy to install drywall. They were a bit too conservative in my view sometimes leaving over an inch of cup between joists. Luckily, even the sealed air gap itself has a value of R-1.
Pretty good on paper. Pretty effective in the real world. With just the work lights on, the top floor can get HOT enough that we needed to open windows. Condensation shouldn’t be an issue inside the ceilings, but it does occur on the windows and maybe even in the walls.
The guest room doesnt have the 2″ pink sheets as we decided that ceiling height for this small area was more important than R value. There will be some interesting transition from the stair way to the 3rd floor ceiling here, but we’ve got it figured out. I’m not too worried. For over 100 years people lived in this house and I can’t imagine it had more than R-10 and it had visible air leaks (I mean I could see the harbor looking through them).

Iris helping me to lift one of these heeaaavvvyyy sheets while dad does something likely more significant in the background.
After all the insulation was up, we added the drywall. On the 3rd floor there was lots of cutting as nothing at all is square or level. We shimmed with wood and still found some spots that would push in. We did some experimenting and figured out that we could punch a hole in the drywall and spray in some Great Stuff foam which would act as a shim after the sheet was already up.

Walls are up, still need to finish the small pieces above where the drop ceiling used to be. Dad took care of all that little stuff while I worked on finishing things downstairs. Strangely the old man seems to enjoy this stuff.
The previous owners only did drywall up to the drop ceiling so we had to do the rest up to the top. Dad is intent on blending it in with spackle.
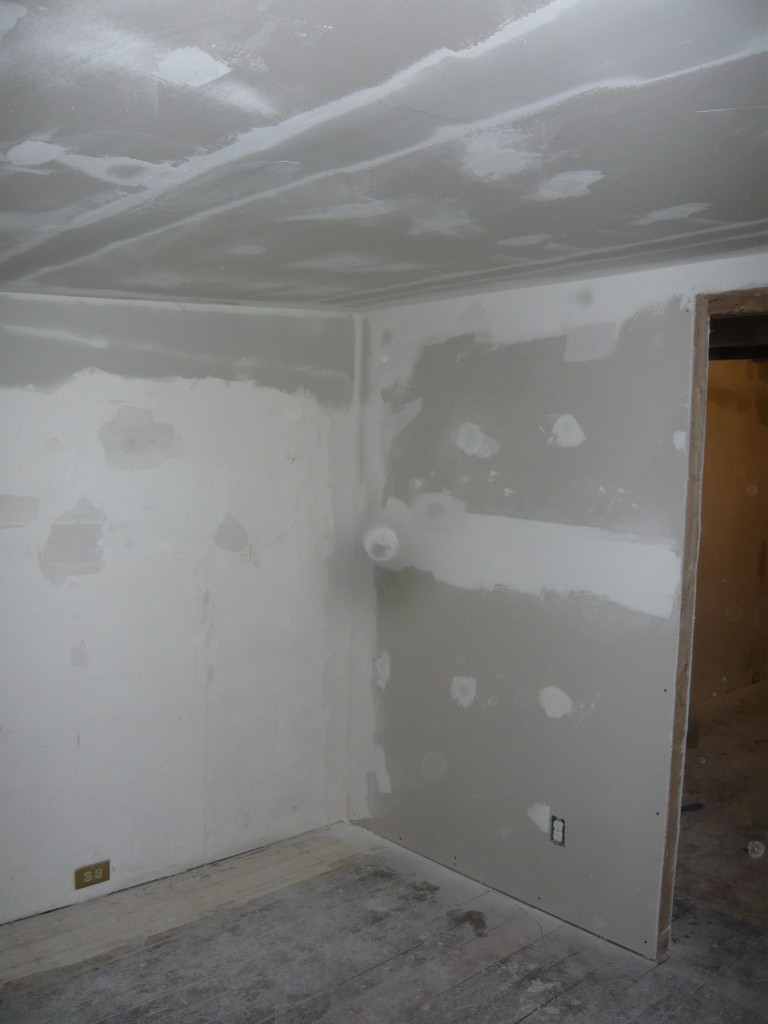
Starting to Spackle. Also, we seem to have developed a black spot in the middle of all our pictures. Construction and digital cameras don’t mix.
So its coming down to the wire. We likely have another week of sanding and spackling on the 2nd and 3rd floors before they’re done. After that we sand / oil the floors. Hopefully that will be the end of the dust and we can start painting and moving in boxes!

