These infernal machines have been keeping us busy for weeks. Here is a quick run down of our appliances and how they’re keeping us busy.
Dishwasher
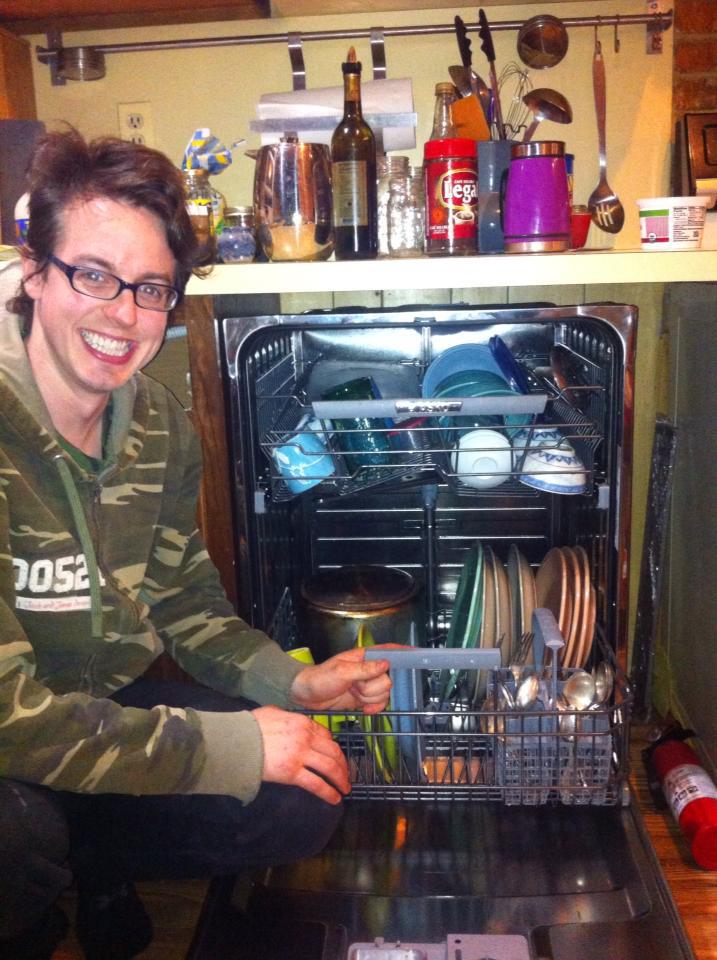
First load in our new dishwasher
We just got this about two weeks ago. It is a sleek Swedish model from Asko. Stainless steel top to bottom and really quiet. Usually something like this would be out of our price range, but we got it for $400 with a few scratches and dents. Got a photo of the first successful load, but as with all our appliances, it started acting up soon after. The drain pump was going and going when we woke up this morning. Hoping its something as simple as leveling. Crossing our fingers its an easy fix.
Fridge
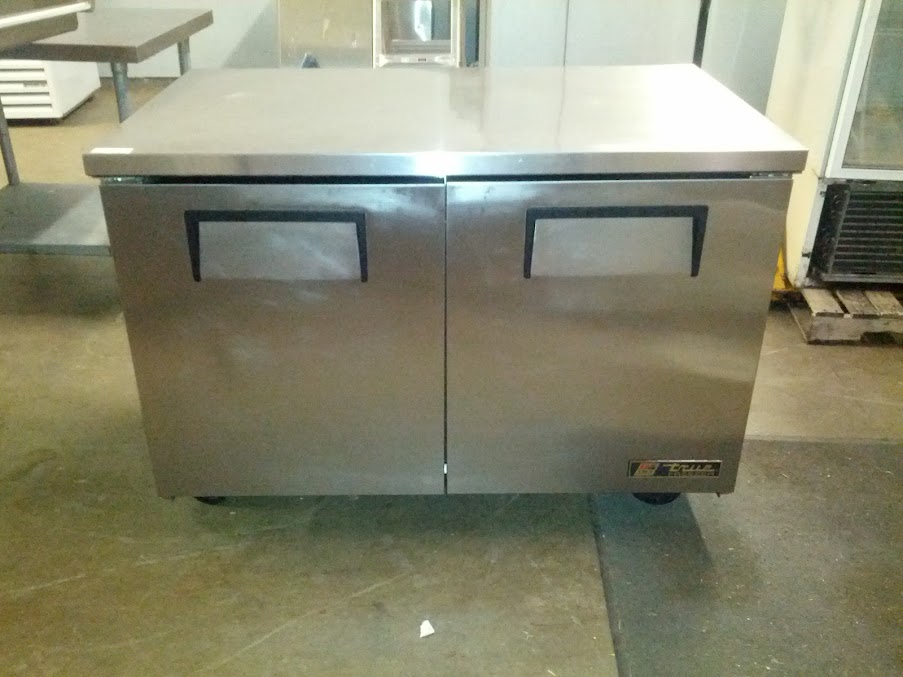
Under Counter Fridge
With only 10′ of width, a fridge will always be an important consideration for how the room feels. The standard fridge stuck out into the room nearly 1/3 of its total width and more than halfway to the ceiling. Visually it was a wall and really split the space in half. To overcome this we decided to go under counter. Siri found an True under counter fridge (TUC-48). Its a used commerical model and is 4′ wide and about 34″ high.
Unfortunately, about a month after getting this, it stopped cooling completely. We made some calls to have someone look at it, but with fees around $120 / hour with no estimate on how long it would take, we decided to do some research first. I’ve been taking a crash course on refrigeration and have learned a bit of the concepts and lingo.
We were lucky in that the house came with a full height fridge in the basement and a college fridge in the shed that both work. We were able to put all the critical cool stuff like milk into the fridge and all our coldest items in the freezer.
Stove/Oven
This is one of the few original things we’ve got in the house. Its a pretty standard unit. We found out back in the first day of demolition that the stovetop worked when a board fell onto the handle and turned it on igniting the drop cloth that was over it. Unfortunately, it wasn’t until we had the kitchen back together that we found the oven itself was not working. There isn’t much that can go wrong on a gas oven so I’ve got high hopes that we can find this gremlin. I’m suspecting something in the glow igniter or wiring.
Media Center
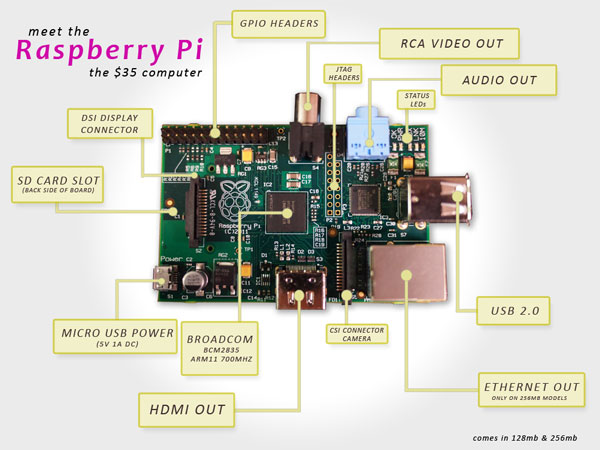
Raspberry Pi – $35 mini computer.
So maybe this one’s not an appliance, but its important to mention (because it’s fun). We’ve gotten my 40″ Samsung mounted to the wall opposite our couch. To avoid clutter on the wall we’ve moved all the speakers and computer cables down under the floor to a shelf next to the couch. This keeps the wall with the TV just that.. a wall and a TV, none of the clutter. The few wires we do need (Coax, power, HDMI, Monitor w/sound) are all black and bundled up right down into the floor below. We’re experimenting with the speakers by putting them under the couch pointing towards the TV. Sitting above them you have no idea the sound is not coming from the TV as the sound bounces off the wall.
To serve up files we’ve gotten a Raspberry Pi set up as a Media Server running XBMC via Raspbmc. If you’ve not heard of a Raspberry Pi yet, its a project to create a cheap but powerful computer for education purposes. The top of the line model only costs $35 and its about the size of a credit card. Its bare bones though, just a circuit board. It’s going to take some playing to get it all dialed it, but that’s run… right? I’ve connect a 2TB USB hard drive to it via a powered USB hub. This should store plenty of photos, music and movies. I hope to get the TV’s remote working via CEC so we can control the pi with it.